With the spudger still inserted between the rear case and front case, slide the spudger along the right edge of the device, moving toward the bottom, prying as you go.
Continue prying along the bottom edge of the device from right to left, freeing it from the front panel.
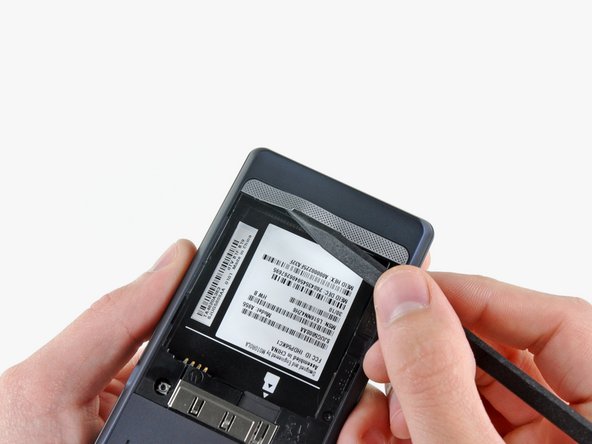
Insert a spudger between the back and front case of the display assembly, and peel the two ribbon cables off the two adhesive pads along the back case of the display assembly.
The location of the pads on the back case is shown. The top left corner of the case is the corner of the phone shown in the first picture.
You need a T2 torx, not a T3 torx for the Verizon Motorola Droid 2 A955. I got almost to the end, then was frustrated when my T3 wasn't working. Now i have to wait to get a new screwdriver while my phone is in pieces.
This phone is also called the Motorola Milestone 2. On my phone the keyboard screws were T3 as stated. It did not have the rubber cover over the battery connector in step 16. I had to replace the screen so I heated the old one slightly over a gas flame to help remove the adhesive and carefully lifted it off the front panel after step 32. The new screen already had a self adhesive backing so just dropped into place. I'm not sure it was necessary to peel back the LCD ribbon in step 26 as I was not replacing the LCD?