简介
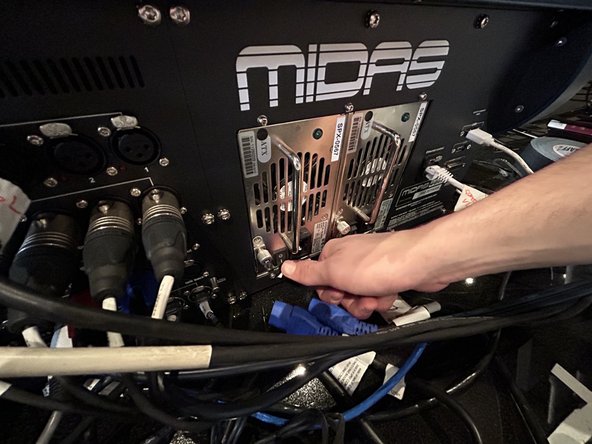
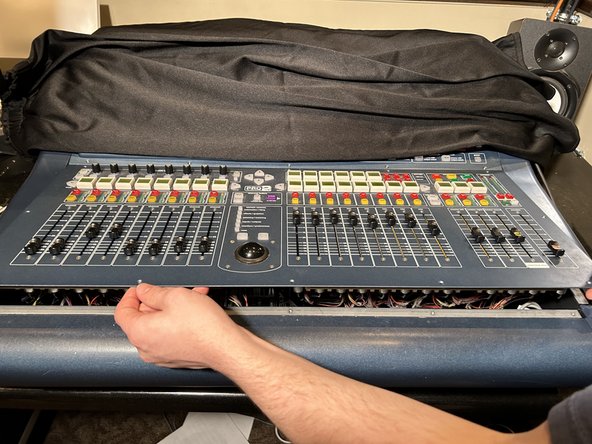
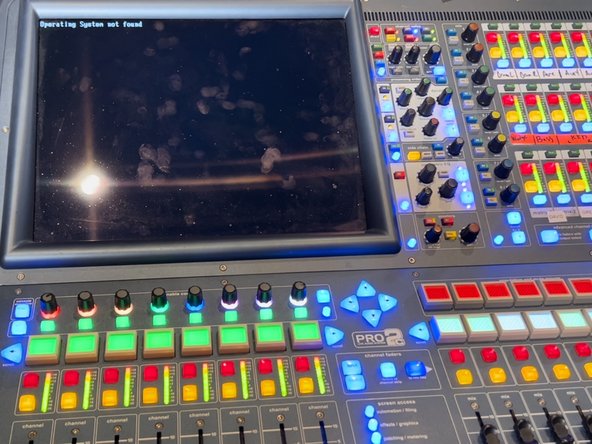
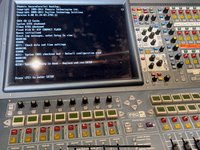
If your Midas Pro 2C Console is producing a screen reading “Operating System Not Found” you may need to replace your CMOS battery. If you are performing the recommended maintenance of replacing it every 3 years, use this guide to replace the CMOS battery.
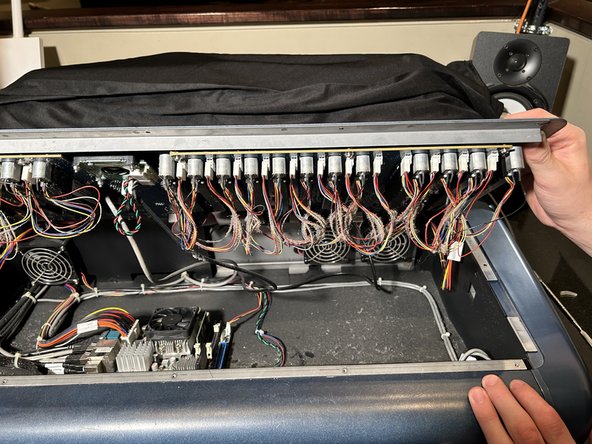
The CMOS battery is a small battery that allows the computer in the console to remember settings like time and date, and boot sequence order.
When this battery is dead the computer inside of the console is unable to turn on correctly.
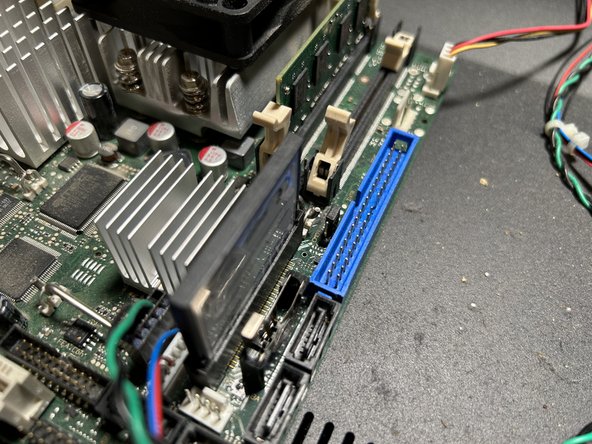
Almost every CMOS battery is a CR2023.
你所需要的


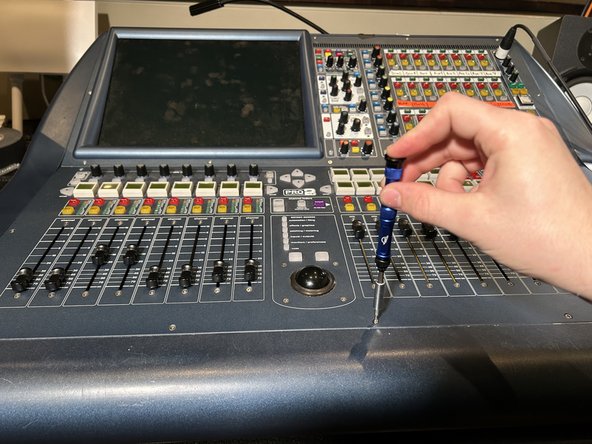


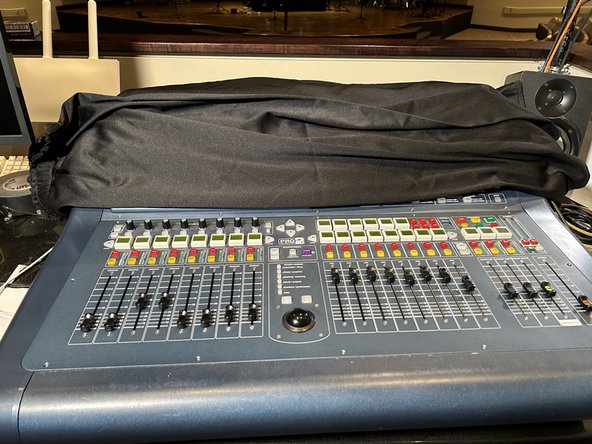


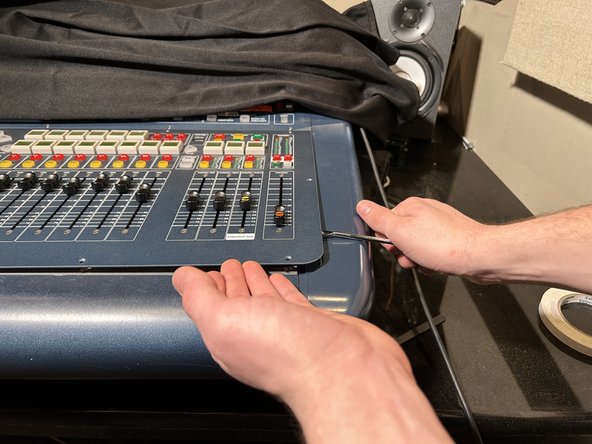


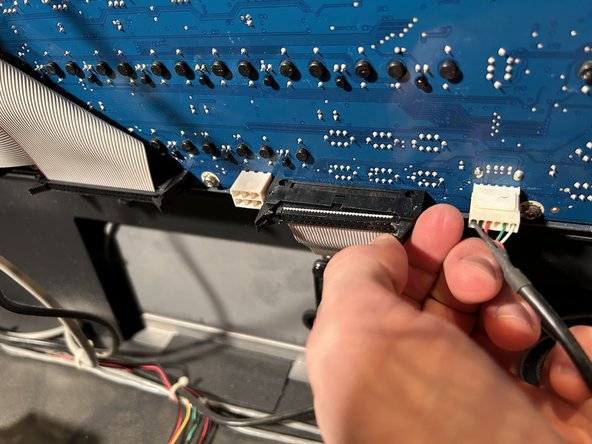
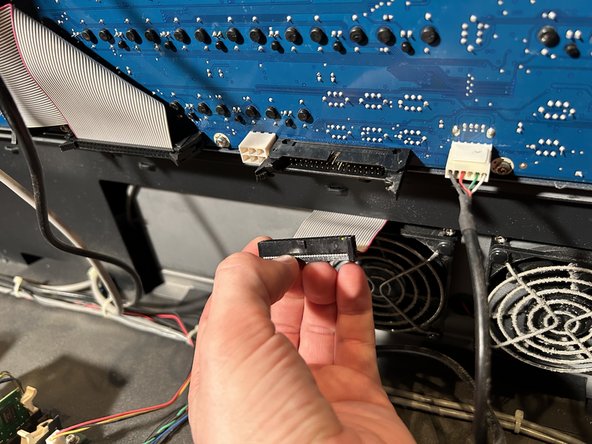


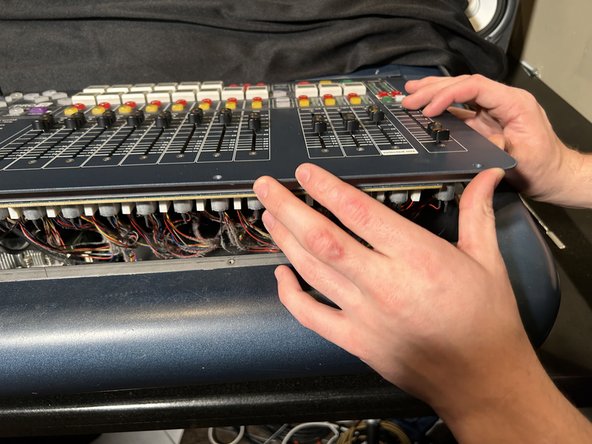


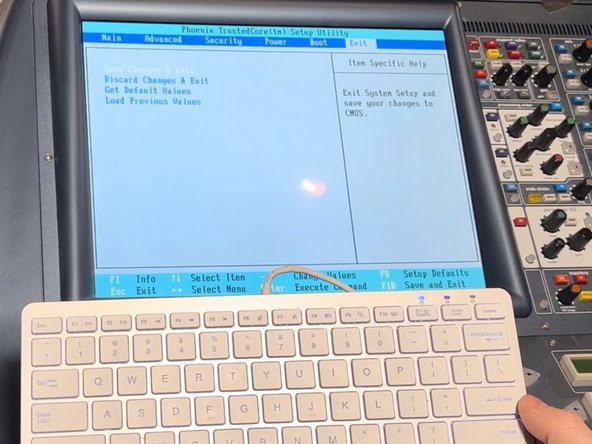
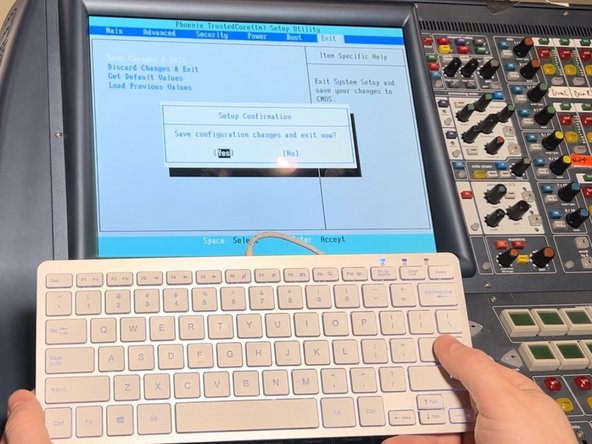


To reassemble your device, follow these instructions in reverse order.
5等其他人完成本指南。
团队

University of Memphis, Team 2-69, Cameron Spring 2023 University of Memphis, Team 2-69, Cameron Spring 2023 的会员
UM-CAMERON-S23S2G69
3 名成员
创作了3篇指南