跳转到主内容

Microtek ScanMaker 5900 New Upper Lid Bulbs Replacement

你所需要的

  1. Microtek ScanMaker 5900 New Upper Lid Bulbs Replacement, Remove serial port connection: 步骤 1 中的图像 1,3 Microtek ScanMaker 5900 New Upper Lid Bulbs Replacement, Remove serial port connection: 步骤 1 中的图像 2,3 Microtek ScanMaker 5900 New Upper Lid Bulbs Replacement, Remove serial port connection: 步骤 1 中的图像 3,3
    • Loosen the screws on the serial port by turning them counter clockwise by hand.

    • After loosening the screws, pull the serial port out.

  2. Microtek ScanMaker 5900 New Upper Lid Bulbs Replacement, Remove Lid: 步骤 2 中的图像 1,3 Microtek ScanMaker 5900 New Upper Lid Bulbs Replacement, Remove Lid: 步骤 2 中的图像 2,3 Microtek ScanMaker 5900 New Upper Lid Bulbs Replacement, Remove Lid: 步骤 2 中的图像 3,3
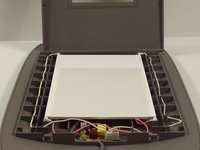
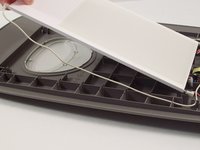
    • Lift lid to its vertical position.

    • Pull lid straight up to remove it from the scanner.

  3. Microtek ScanMaker 5900 New Upper Lid Bulbs Replacement, Remove the protective plastic covering: 步骤 3 中的图像 1,3 Microtek ScanMaker 5900 New Upper Lid Bulbs Replacement, Remove the protective plastic covering: 步骤 3 中的图像 2,3 Microtek ScanMaker 5900 New Upper Lid Bulbs Replacement, Remove the protective plastic covering: 步骤 3 中的图像 3,3
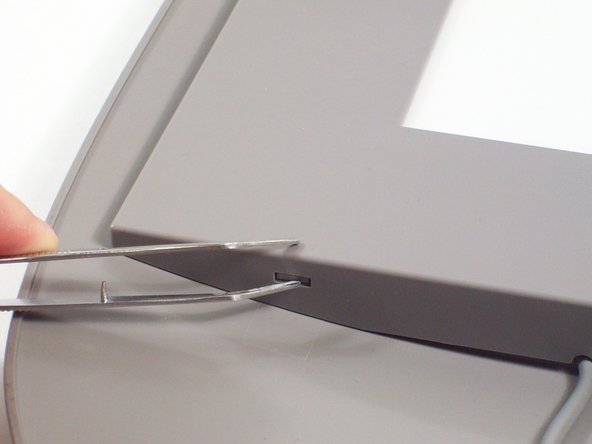
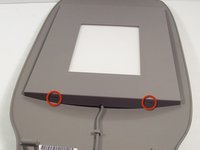
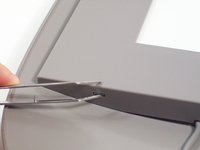
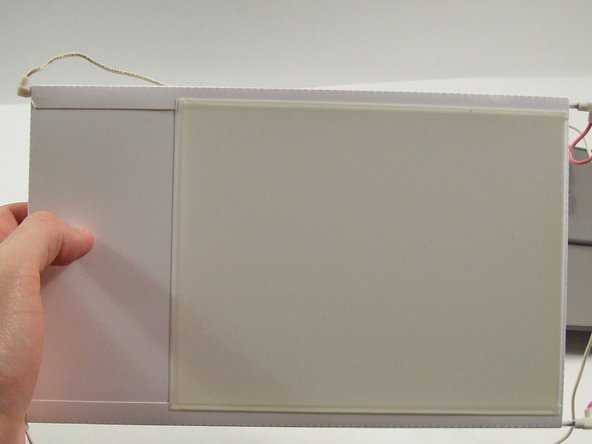
    • Notice that there are two plastic tabs that need to be pushed in to remove the plastic covering.

    • Use tweezers to push these tabs in.

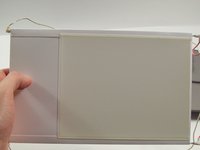
    • Gently pull the plastic covering off of the upper lid.

  4. Microtek ScanMaker 5900 New Upper Lid Bulbs Replacement, Remove wires from circuit board: 步骤 4 中的图像 1,3 Microtek ScanMaker 5900 New Upper Lid Bulbs Replacement, Remove wires from circuit board: 步骤 4 中的图像 2,3 Microtek ScanMaker 5900 New Upper Lid Bulbs Replacement, Remove wires from circuit board: 步骤 4 中的图像 3,3
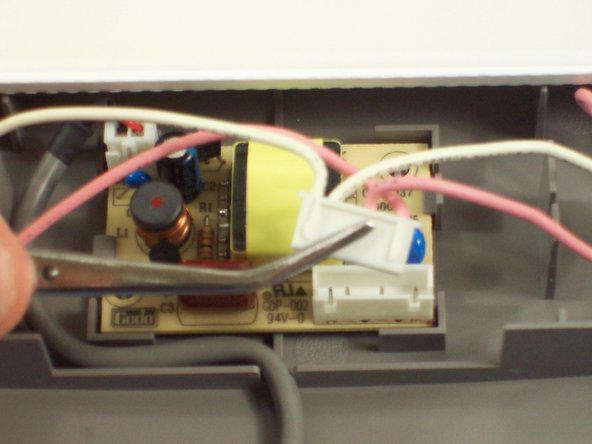
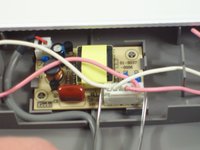
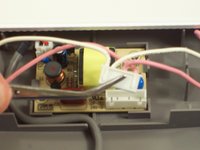
    • Grab the plastic wire housing near the serial port.

    • Gently pull and jiggle the wire housing until it comes free from the circuit board.

  5. Microtek ScanMaker 5900 New Upper Lid Bulbs Replacement, Remove the bulbs: 步骤 5 中的图像 1,2 Microtek ScanMaker 5900 New Upper Lid Bulbs Replacement, Remove the bulbs: 步骤 5 中的图像 2,2
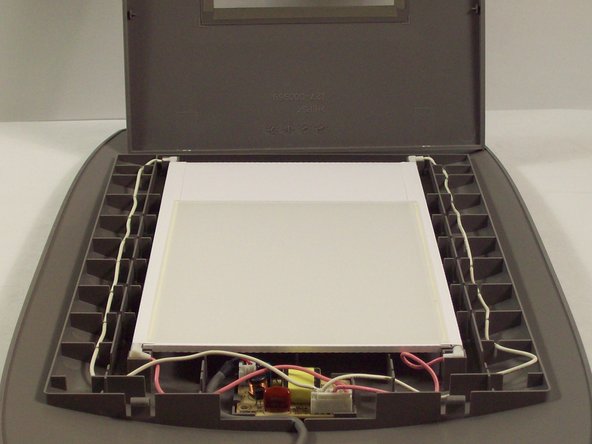
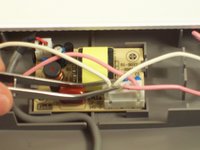
    • Gently lift up the bulbs and remove the wires from the plastic.

    • After completely freeing the bulbs, buy new ones and replace.

结论

To reassemble your device, follow these instructions in reverse order.

Taylor Nesheim

于10/11/11注册

59 声望

创作了7篇指南

团队

Cal Poly, Team 6-9, Regan Fall 2011 Cal Poly, Team 6-9, Regan Fall 2011 的会员

CPSU-REGAN-F11S6G9

2 名成员

创作了22篇指南

0条评论

添加评论

浏览统计数据:

过去 24 小时: 0

过去 7 天: 0

过去 30 天: 0

总计 1,149