跳转到主内容

Makita GA4030K Disk Cover Removal

仅作为前提条件
本指南仅用作其他指南的先决条件。不能单独食用。

你所需要的

  1. Makita GA4030K Disk Cover Removal, Disk Cover: 步骤 1 中的图像 1,1
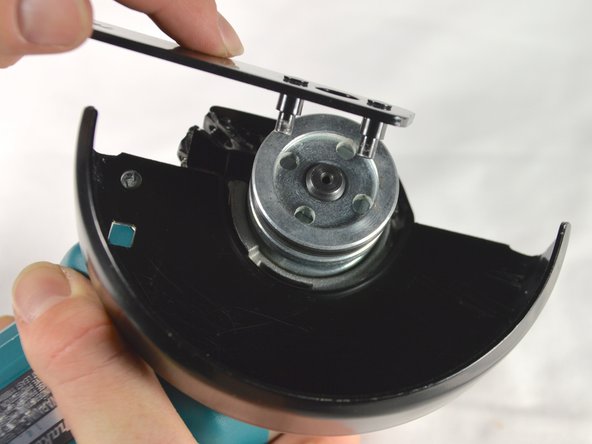
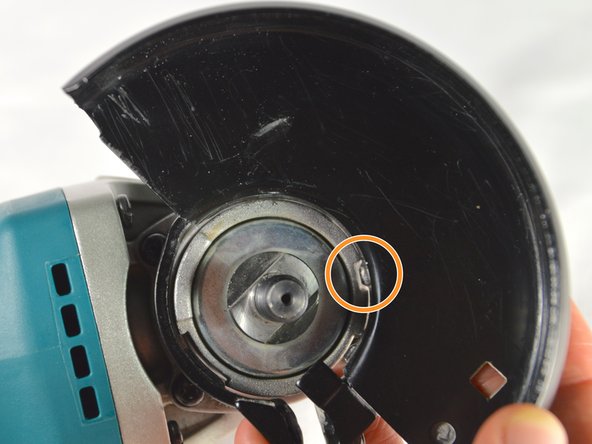
    • Check for the provided lock nut wrench. This is used for loosening the piece that keeps the disk and cover attached.

  2. Makita GA4030K Disk Cover Removal: 步骤 2 中的图像 1,1
    • Unscrew the handle unit until it is removed completely.

  3. Makita GA4030K Disk Cover Removal: 步骤 3 中的图像 1,2 Makita GA4030K Disk Cover Removal: 步骤 3 中的图像 2,2
    • Hold the black switch located on the front casing.

    • Still holding the switch, use the lock nut wrench to loosen the silver disk holding everything in place.

    • Once loose, remove the silver disk and/or your grinding disk.

  4. Makita GA4030K Disk Cover Removal: 步骤 4 中的图像 1,2 Makita GA4030K Disk Cover Removal: 步骤 4 中的图像 2,2
    • Use a Phillips #02 screwdriver to remove the 15 mm pan head screw that holds the cover in place.

    • Remove the cover by lining up the knob on the cover with the notch in face plate.

结论

To reassemble your device, follow these instructions in reverse order.

另外一个人完成了本指南。

Nyssa Backes

于04/01/15注册

467 声望

创作了3篇指南

团队

Cal Poly, Team 12-5, Lancaster Spring 2015 Cal Poly, Team 12-5, Lancaster Spring 2015 的会员

CPSU-LANCASTER-S15S12G5

4 名成员

创作了13篇指南

0条评论

添加评论

浏览统计数据:

过去 24 小时: 1

过去 7 天: 1

过去 30 天: 1

总计 49