跳转到主内容
加入维修社区 - 创建账户

Macintosh Powerbook 5300cs Trackpad Replacement

你所需要的

    1. Macintosh Powerbook 5300cs Trackpad Replacement, Battery: 步骤 1 中的图像 1,1
      • The battery compartment is located in the front-right side of the laptop.

      询问修复机器人

      添加评论

    2. Macintosh Powerbook 5300cs Trackpad Replacement: 步骤 2 中的图像 1,1
      • To insert the battery, gently slide it into the compartment until it clicks in place.

      • To remove, slide the button highlighted in the red rectangle to the right to release the battery and slide it from the compartment.

      添加评论

    1. Macintosh Powerbook 5300cs Trackpad Replacement, Keyboard: 步骤 3 中的图像 1,1
      • With the laptop upside down and with the battery removed, use a Torx #9 screw driver to remove the three .84 in. screws shown.

      询问修复机器人

      添加评论

    2. Macintosh Powerbook 5300cs Trackpad Replacement: 步骤 4 中的图像 1,2 Macintosh Powerbook 5300cs Trackpad Replacement: 步骤 4 中的图像 2,2
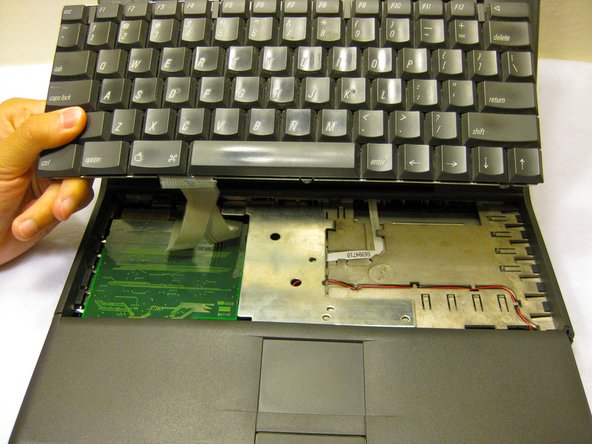
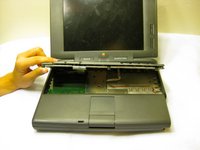
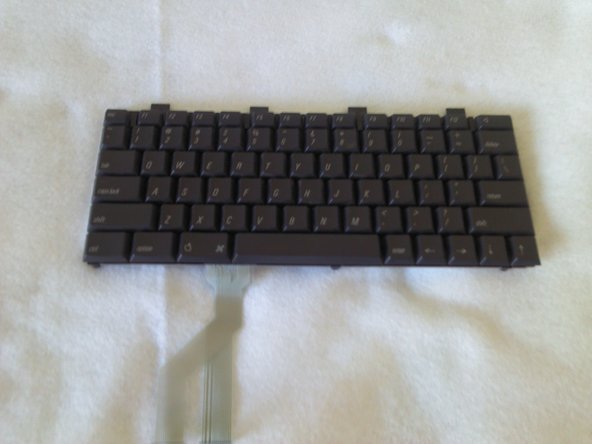
      • Carefully pull up on the front of the keyboard to pop it out from the case.

      • Then slide the back out so the keyboard becomes nearly free.

      询问修复机器人

      添加评论

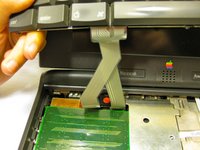
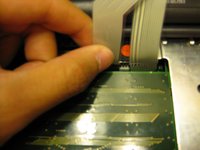
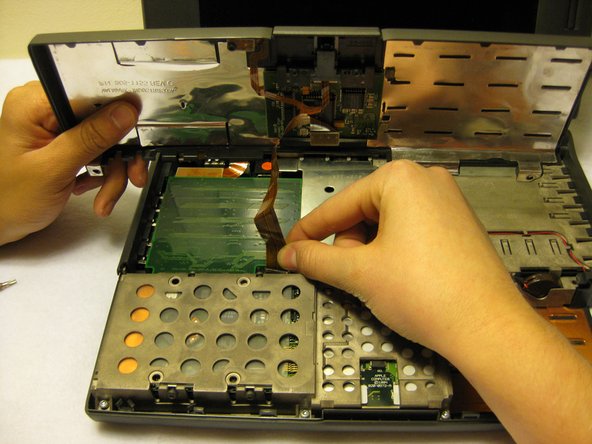
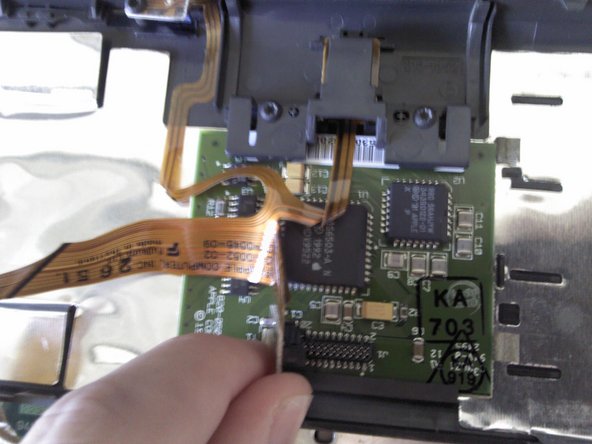
    3. Macintosh Powerbook 5300cs Trackpad Replacement: 步骤 5 中的图像 1,3 Macintosh Powerbook 5300cs Trackpad Replacement: 步骤 5 中的图像 2,3 Macintosh Powerbook 5300cs Trackpad Replacement: 步骤 5 中的图像 3,3
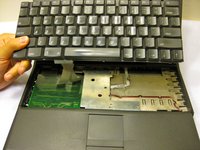
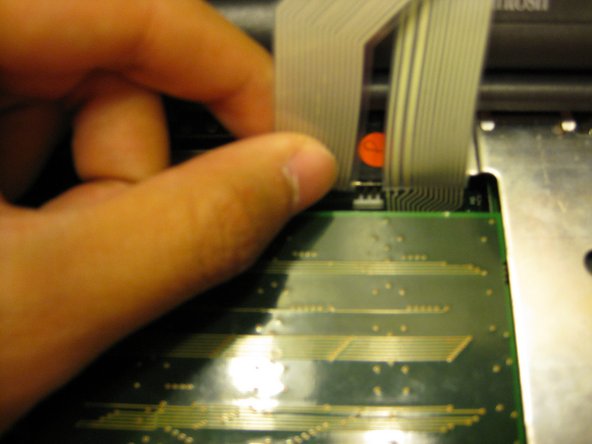
      • Disconnect the ribbon that is connecting the keyboard to the rest of the computer.

      • Pull the keyboard out and repair or replace as needed.

      询问修复机器人

      添加评论

    1. Macintosh Powerbook 5300cs Trackpad Replacement, Trackpad: 步骤 6 中的图像 1,3 Macintosh Powerbook 5300cs Trackpad Replacement, Trackpad: 步骤 6 中的图像 2,3 Macintosh Powerbook 5300cs Trackpad Replacement, Trackpad: 步骤 6 中的图像 3,3
      • Remove the front plastic panel of the laptop by carefully lifting it up and forward.

      • There will be another another ribbon cable connecting the trackpad; use caution when lifting the front panel.

      询问修复机器人

      添加评论

    2. Macintosh Powerbook 5300cs Trackpad Replacement: 步骤 7 中的图像 1,1
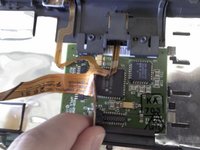
      • Remove the orange stripped ribbon that connects the trackpad to the device by carefully pulling the ribbon from its connector up and out.

      添加评论

    3. Macintosh Powerbook 5300cs Trackpad Replacement: 步骤 8 中的图像 1,2 Macintosh Powerbook 5300cs Trackpad Replacement: 步骤 8 中的图像 2,2
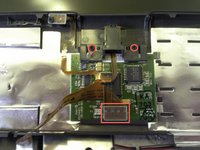
      • With a Torx #9 screwdriver, remove the two .20 in. screws circled in red that are holding the trackpad in place. This will disconnect the mouse button.

      • Following this action, disconnect the ribbon highlighted with the red rectangle connecting the trackpad to the laptop.

      • Remove the mouse button by sliding it out from the top of the orange ribbon.

      询问修复机器人

      添加评论

    4. Macintosh Powerbook 5300cs Trackpad Replacement: 步骤 9 中的图像 1,1
      • The trackpad can now be removed from the laptop. Adjust the trackpad as needed.

      询问修复机器人

      添加评论

结论

To reassemble your device, follow these instructions in reverse order.

取消:我没有完成这个指南。

2等其他人完成本指南。

Ronan

于10/10/11注册

72 声望

创作了4篇指南

团队

Cal Poly, Team 6-1, Regan Fall 2011 Cal Poly, Team 6-1, Regan Fall 2011 的会员

CPSU-REGAN-F11S6G1

4 名成员

创作了13篇指南

0指南评论

添加评论

浏览统计数据:

过去 24 小时: 0

过去 7 天: 5

过去 30 天: 42

总计 1,526