跳转到主内容

本指南有最近更改,您可查看未经巡查的最新版本

Macintosh IIsi Ram Replacement

你所需要的

  1. Macintosh IIsi Ram Replacement, Top Case: 步骤 1 中的图像 1,2 Macintosh IIsi Ram Replacement, Top Case: 步骤 1 中的图像 2,2
    • Start by turning the computer around, and remove this #0 Phillips Screw.

    • There may or may not be a Phillips #0 screw here, depending on whether or not the computer has ever been serviced.

  2. Macintosh IIsi Ram Replacement: 步骤 2 中的图像 1,3 Macintosh IIsi Ram Replacement: 步骤 2 中的图像 2,3 Macintosh IIsi Ram Replacement: 步骤 2 中的图像 3,3
    • Now lift these two clips, and slowly pivot the case up.

    • You can now seperate the top of the computer from the rest of the machine.

  3. Macintosh IIsi Ram Replacement, Ram: 步骤 3 中的图像 1,3 Macintosh IIsi Ram Replacement, Ram: 步骤 3 中的图像 2,3 Macintosh IIsi Ram Replacement, Ram: 步骤 3 中的图像 3,3
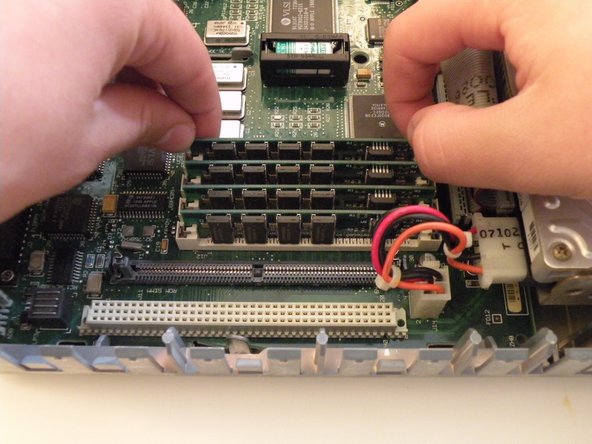
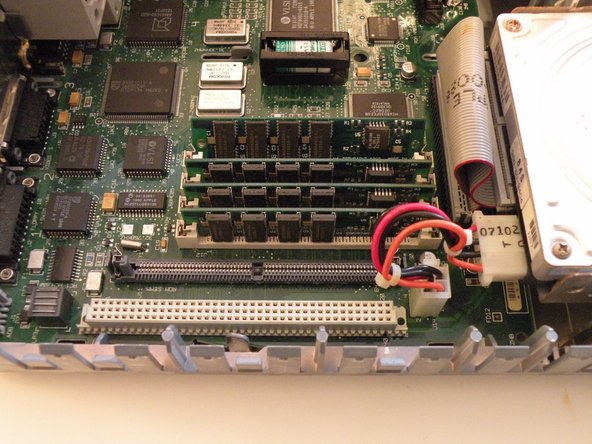
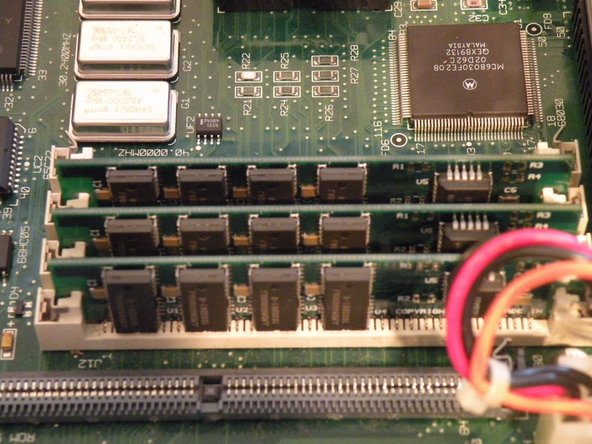
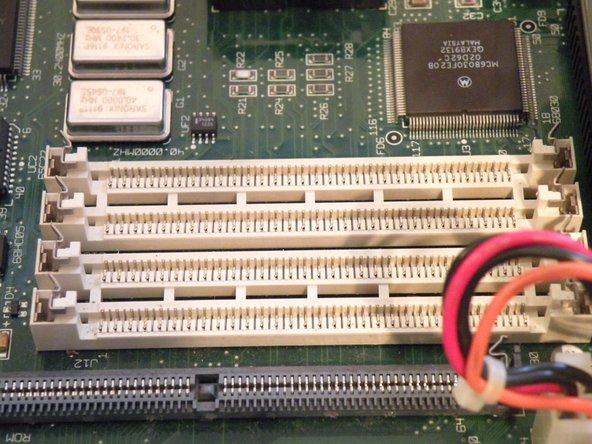
    • The IIsi uses 4 30-Pin SIMMs (Installed in pairs of 2) for a maximum ram capacity of 65MB. It has 1MB soldered to the logic board as well.

    • Start with this SIMM. Push these 2 metal tabs outward, then push the ram forward. It can then be lifted out. You have to remove the SIMMs in order, starting with the one you just removed. You can then work your way through all of them.

  4. Macintosh IIsi Ram Replacement: 步骤 4 中的图像 1,3 Macintosh IIsi Ram Replacement: 步骤 4 中的图像 2,3 Macintosh IIsi Ram Replacement: 步骤 4 中的图像 3,3
    • 1st Photo: The RAM Module

结论

To reassemble your device, follow these instructions in reverse order.

4等其他人完成本指南。

Chris Green

于10/11/09注册

36,978 声望

创作了49篇指南

团队

Master Techs Master Techs 的会员

Community

322 名成员

创作了2,520篇指南

0条评论

添加评论

浏览统计数据:

过去 24 小时: 0

过去 7 天: 0

过去 30 天: 6

总计 2,213