Whenever working near the logic board, it is always wise to first disconnect the battery to avoid short circuits.
If present, grab the plastic tab attached to the battery connector and pull it toward the front edge of the device. For Late-2011 models the battery connector will not have a tab and is simply a plug that inserts straight down into the motherboard--to remove pry the plug straight up.
If the plastic tab is missing, use a spudger to pry the connector up from its socket.
Pull the tab parallel to the face of the logic board.
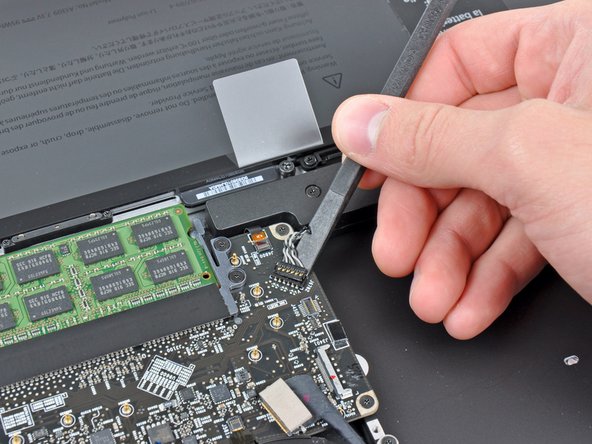
Pull the camera cable toward the optical drive opening to disconnect it from the logic board.
The camera cable socket is very fragile. Do not apply any upward force to this socket, as it may break off the logic board. Pull the camera cable parallel to the face of the logic board.
For Late 2011 models, the camera connector plugs straight down into the motherboard—to remove this connector, gently lift it straight up.
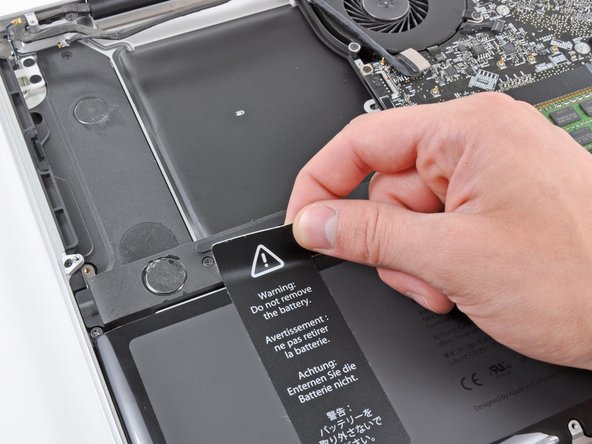
Use an iPod opening tool or another soft thin-edged tool to carefully lift up a corner of the "Warning: Do not remove the battery" sticker off the right speaker/subwoofer enclosure.
Peel the sticker off the right speaker/subwoofer enclosure.
It is not necessary to peel the sticker off the battery.