简介
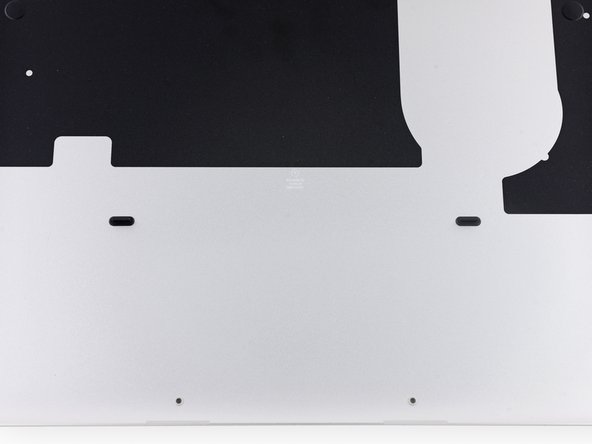
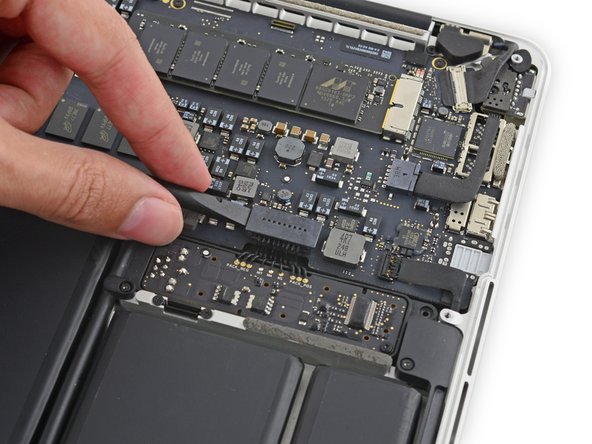
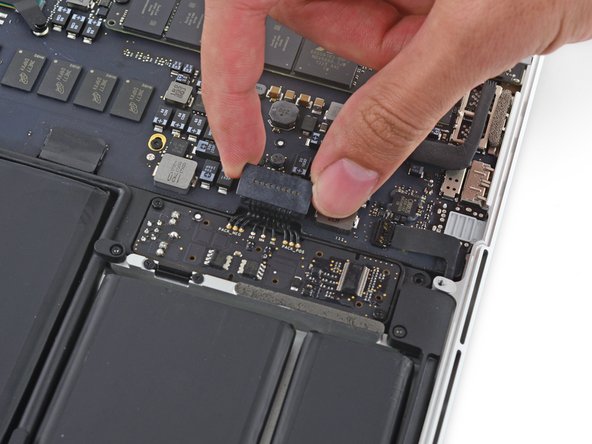
用这条指导来拆除或是交换散热铁。
在你拆除你的散热铁后不要忘了依照我们的 涂散热膏指南来涂散热膏。
你所需要的







若要重新组装你的设备,以逆序方式执行这些说明。
若要重新组装你的设备,以逆序方式执行这些说明。
56等其他人完成本指南。






5条评论
what part should i purchae to get the rubber fan bumper?
Bonjour !
Merci pour ce tutoriel de qualité ! Pour la pâte thermique, j’ai opté pour la Grizzly Kryonaut… Un peu overkill pour un MBP 13” de 2015, mais cela devrait contribuer à sa longévité !
Une remarque cependant : sur mon modèle, la vis en ROUGE de l’ETAPE 9 n’était pas une Torx T5, mais une Y00 ! Cela ne m’a pas posé de problème car j’avais le kit complet de tournevis, mais cela l’aurait été si je n’avais acheté qu’un P5 et un T5 ! Faites attention !
Bonne continuation !
PS: si certains doutent de leurs capacités à réaliser cette opération, sachez que je suis grand débutant en informatique et que je n’ai eu AUCUN problème. La partie la plus ardue étant le retrait du connecteur de la batterie !
Used this guide to pop the heat sink and scrape off the old thermal paste. Cleaned and re-applied with new paste, hopefully leading to better thermal performance. One thing I noticed is that the heatsink doesn’t cover the second module (presumed to be the integrated GPU) next to the CPU? Perhaps this is why thermal performance is so abysmal on these little guys.
In my MacBook Pro, the screw in step 9 that is farthest away from the CPU is a Philips screw, rather than T5 Torx.
I bought my MacBook Pro in 2016, over a year after it came out, so this might be different depending on when yours was manufactured.
