Remove the four 3 mm indicated Phillips #00 screws from the front wall of the battery compartment. When working from the left, remove the 2nd, 4th, 7th and 9th screw.
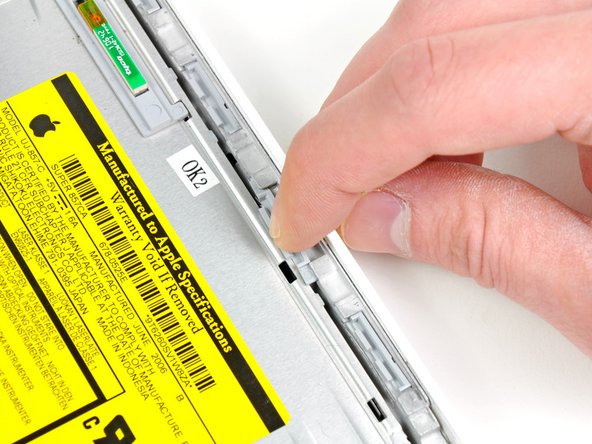
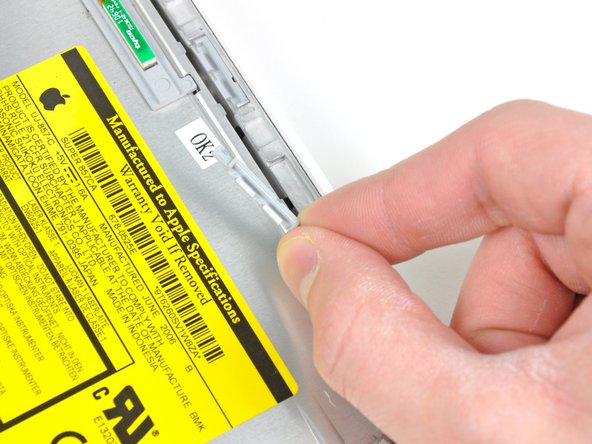
Starting near the display and working around to the front of the computer, pry up on the upper case. It is held with clips on the right above the optical drive. These will release with some firm lifting pressure.
Be careful when prying up the upper case. It's very easy to slice open a fingertip and thus provide the blood sacrifice the Mac gods sometimes require of those who insist on doing their own repairs.
There's a trackpad and keyboard ribbon connecting the upper case to the logic board, so don't pull the upper case off entirely just yet.
If you have trouble getting the clips to release, be careful that you are not prying the plastic top of the upper case away from its metal frame.
While holding up the upper case (from the bottom or the top), use a spudger to pry up the orange trackpad and keyboard cable from its connector.
Take care to pry between the black socket and the white connector. You might have to pry on both sides for it to release properly.
Do not pry from the bottom or the top, but from the sides.
If you happen to break your upper case cable when removing the upper case, we stock the cable individually and we have a guide that makes replacing it easy.