Flip the computer over so the last display screw is more easily accesible.
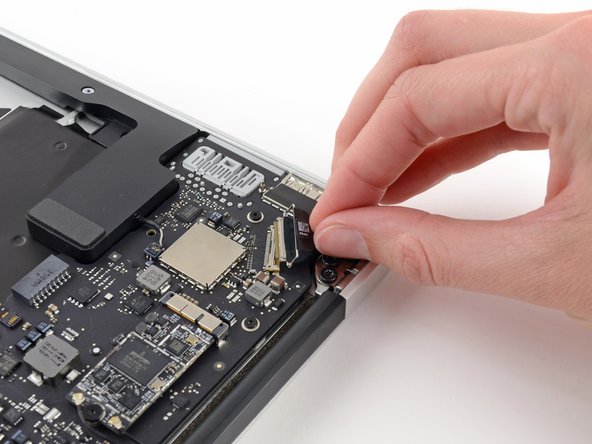
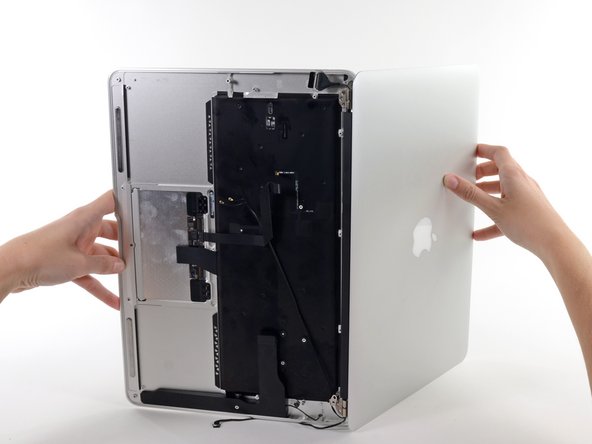
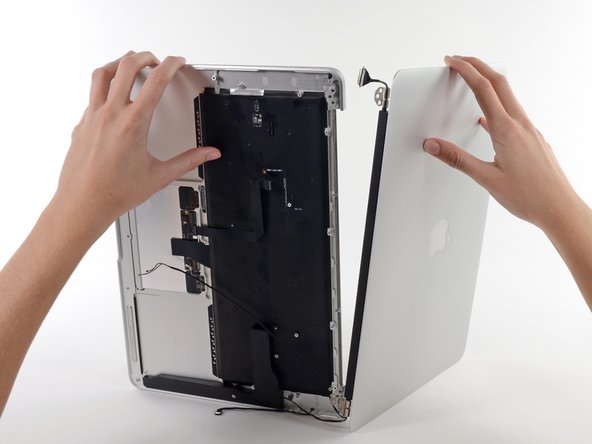
Before removing the final display screw, be sure to hold the display and upper case steady with your other hand. Failure to do so may allow the components to fall onto the table, causing potentially expensive damage.
Remove the last 4.9 mm T8 Torx screw securing the display to the upper case.
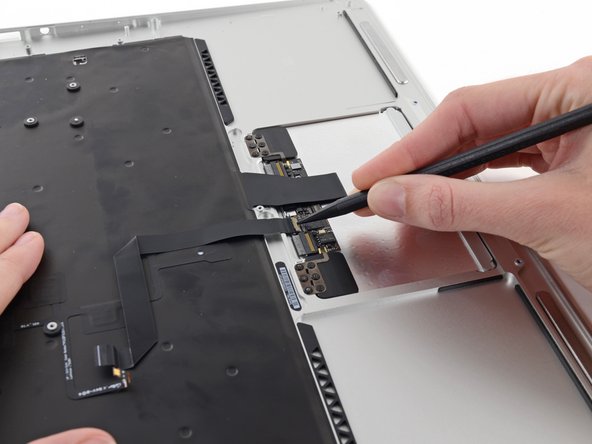
While carefully lifting the keyboard ribbon cable with one hand, use the tip of a spudger or your fingernail to flip up the retaining flap on the keyboard ribbon cable ZIF socket.
Be sure you are prying up on the hinged retaining flap, not the socket itself.
Pull the keyboard ribbon cable straight out of its socket toward the front edge of the Air.
Six 1.6 mm Phillips screws securing the trackpad to the upper case.
One 1.4 mm T5 Torx set screw from its tapped hole near the front edge of the upper case.
During reassembly, do not over-tighten the set screw, as the button will cease to click at a certain point. Adjust the set screw until the movable side of the trackpad has minimal play.
Carefully lift the edge of the trackpad closest to the keyboard from its recess in the upper case by lifting it away from the brackets attached to the upper case.