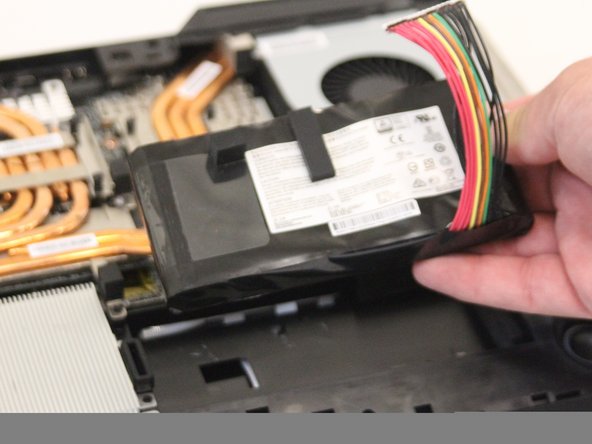
跳转到主内容

MSI GT75VR 7RF Titan Pro SSD/Hard Drive Replacement

你所需要的

  1. MSI GT75VR 7RF Titan Pro SSD/Hard Drive Replacement, SSD/Hard Drive: 步骤 1 中的图像 1,1
    • Remove the four rear screws using the Phillips #0 screwdriver from the laptop as shown. The screws are 0.5 inches long.

  2. MSI GT75VR 7RF Titan Pro SSD/Hard Drive Replacement: 步骤 2 中的图像 1,2 MSI GT75VR 7RF Titan Pro SSD/Hard Drive Replacement: 步骤 2 中的图像 2,2
    • Using the black nylon spudger, carefully remove the rear cover from the laptop.

  3. MSI GT75VR 7RF Titan Pro SSD/Hard Drive Replacement: 步骤 3 中的图像 1,3 MSI GT75VR 7RF Titan Pro SSD/Hard Drive Replacement: 步骤 3 中的图像 2,3 MSI GT75VR 7RF Titan Pro SSD/Hard Drive Replacement: 步骤 3 中的图像 3,3
    • Carefully unplug the battery and remove it from the laptop. This will be held down with adhesive, but can be safely removed once unplugged.

  4. MSI GT75VR 7RF Titan Pro SSD/Hard Drive Replacement: 步骤 4 中的图像 1,2 MSI GT75VR 7RF Titan Pro SSD/Hard Drive Replacement: 步骤 4 中的图像 2,2
    • Using the Phillips #0 screwdriver, remove each screw from the heatsink and remove it.

  5. MSI GT75VR 7RF Titan Pro SSD/Hard Drive Replacement: 步骤 5 中的图像 1,3 MSI GT75VR 7RF Titan Pro SSD/Hard Drive Replacement: 步骤 5 中的图像 2,3 MSI GT75VR 7RF Titan Pro SSD/Hard Drive Replacement: 步骤 5 中的图像 3,3
    • Using the Phillips #0 screwdriver, remove each screw from the SSD card units, then unplug and remove them. The screws are 0.25 inches long.

  6. MSI GT75VR 7RF Titan Pro SSD/Hard Drive Replacement: 步骤 6 中的图像 1,2 MSI GT75VR 7RF Titan Pro SSD/Hard Drive Replacement: 步骤 6 中的图像 2,2
    • Remove all screws from the back of the hard drive using the Phillips #0 screwdriver, then lift up and unplug the unit. Screws are 0.15625 inches long.

结论

To reassemble your device, follow these instructions in reverse order.

另外一个人完成了本指南。

0条评论

添加评论

浏览统计数据:

过去 24 小时: 0

过去 7 天: 3

过去 30 天: 15

总计 1,541