简介
If your MSI GS66 Stealth laptop (model 11UE-007) is having difficulty charging or holding a charge, a battery replacement using this guide is necessary. The battery is the device in the laptop that supplies power to the device. A faulty battery would be the reason your laptop is not charging properly in a number of ways such as not holding a charge properly which would result in the laptop dying early or not charging at all.
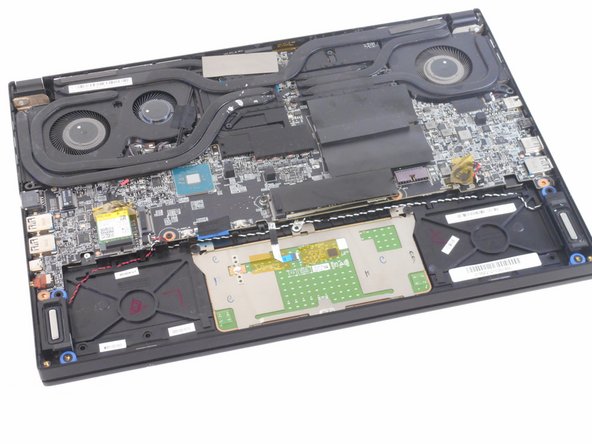
Unfortunately, there is no "easy" fix to this problem and will require the steps seen in this guide to remove it from the inside of the laptop. Before proceeding with disassembly, make sure it is fully disconnected from the charger and the device is powered off. First remove the backplate from the bottom part of the laptop and once inside the laptop push out the white connector. For this guide, you will need to use a Phillips J1 screwdriver, a blue iFixit opening tool, and an iFixit opening pick.
你所需要的
-
-
Orient your laptop so that the bottom is facing up and the hinge is away from yourself.
-
-


To reassemble your device, follow these instructions in reverse order.
To reassemble your device, follow these instructions in reverse order.
3等其他人完成本指南。
团队

University of Memphis, Team 1-4, Sneed Fall 2023 University of Memphis, Team 1-4, Sneed Fall 2023 的会员
UM-SNEED-F23S1G4
4 名成员
创作了6篇指南