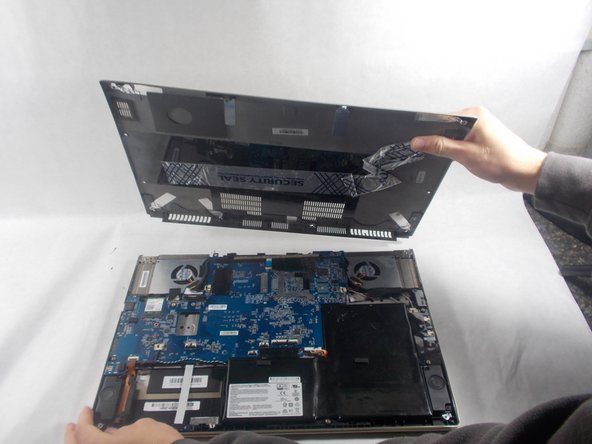
跳转到主内容

MSI GS60 Ghost Pro 4K Gold Edition Motherboard Replacement

你所需要的

  1. MSI GS60 Ghost Pro 4K Gold Edition Motherboard Replacement, Back Panel: 步骤 1 中的图像 1,1
    • Place this device back panel facing up.

  2. MSI GS60 Ghost Pro 4K Gold Edition Motherboard Replacement: 步骤 2 中的图像 1,1
    • Using the screwdriver, unscrew the highlighted 1.2mm Phillips head #0 screws which secure the back panel into place.

  3. MSI GS60 Ghost Pro 4K Gold Edition Motherboard Replacement: 步骤 3 中的图像 1,2 MSI GS60 Ghost Pro 4K Gold Edition Motherboard Replacement: 步骤 3 中的图像 2,2
    • Using the plastic opening tools, separate the back panel from the rest of the device.

    • Do this by firmly pressing the head of the tool into the space between the back panel, and the rest of the device.

  4. MSI GS60 Ghost Pro 4K Gold Edition Motherboard Replacement, Battery: 步骤 4 中的图像 1,1
    • Pull the back panel off.

  5. MSI GS60 Ghost Pro 4K Gold Edition Motherboard Replacement: 步骤 5 中的图像 1,1
    • Notice the L-shaped battery in the lower right corner of the opened laptop.

    • Disconnect the battery from the slot it is connected to. You'll need to push on the sides of the clip and pull.

  6. MSI GS60 Ghost Pro 4K Gold Edition Motherboard Replacement: 步骤 6 中的图像 1,2 MSI GS60 Ghost Pro 4K Gold Edition Motherboard Replacement: 步骤 6 中的图像 2,2
    • Lift up the battery with your fingers and remove it from the laptop.

    • Place the battery away from the laptop in a safe spot and insert your new battery by hooking it up to the slot you previously disconnected the old battery from.

  7. MSI GS60 Ghost Pro 4K Gold Edition Motherboard Replacement, MotherBoard: 步骤 7 中的图像 1,1
    • Unscrew the 4 1.2mm Phillips #0 screws connecting the motherboard to the laptop case.

    • Disconnect the wires connecting to the motherboard to the USB ports.

    • Disconnect the ribbon cables connecting the keyboard, and track pad of the device.

  8. MSI GS60 Ghost Pro 4K Gold Edition Motherboard Replacement: 步骤 8 中的图像 1,1
    • Lift the motherboard up and out of the device casing.

结论

To reassemble your device, follow these instructions in reverse order.

2等其他人完成本指南。

nonEdward666

于10/18/17注册

340 声望

创作了3篇指南

团队

UMass Dartmouth, Team S2-G2, Julie Fall 2017 UMass Dartmouth, Team S2-G2, Julie Fall 2017 的会员

UMASSD-JULIE-F17S2G2

4 名成员

创作了7篇指南

2条评论

How to proceed with a keyboard replacement?

Had a water spill, some keys not working anymore, could this be fixable by a keyboard swap?

Can this be a n IC damage?

Fahad Hassan - 回复

Same question :

How to replace this keyboard ?

c dric - 回复

添加评论

浏览统计数据:

过去 24 小时: 1

过去 7 天: 4

过去 30 天: 11

总计 771