简介
The Logitech K120 Keyboard is known for its cheap price and comfort. It also has slits at the bottom of the keyboard to allow liquids to flow out of the keyboard. Luckily, the keyboard is also very easy to disassemble and that’s exactly what this guide is for.
你所需要的
视频概述
-
-
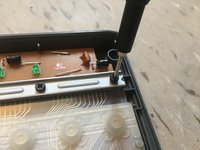
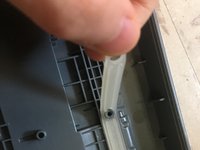
Use the spudger to separate the top of keyboard from the bottom of the keyboard.
-
-
-
-
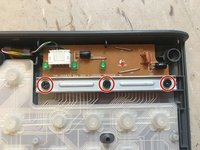
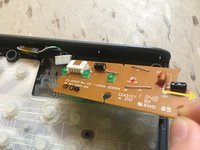
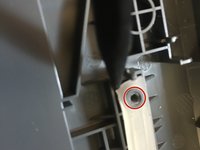
Unscrew the highlighted screws using a Phillips #000 Screwdriver. Turn the screwdriver counter-clockwise.
-
-
-
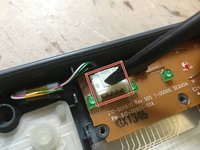
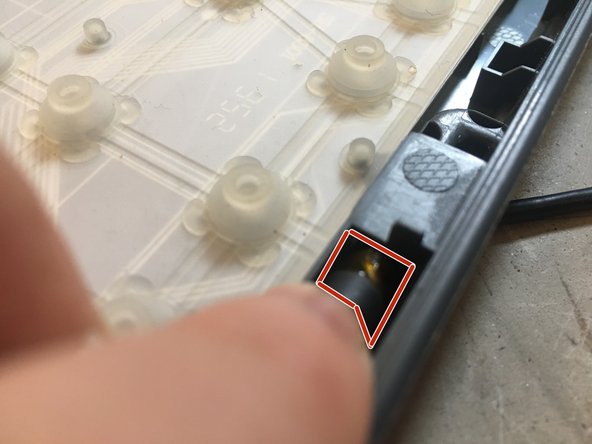
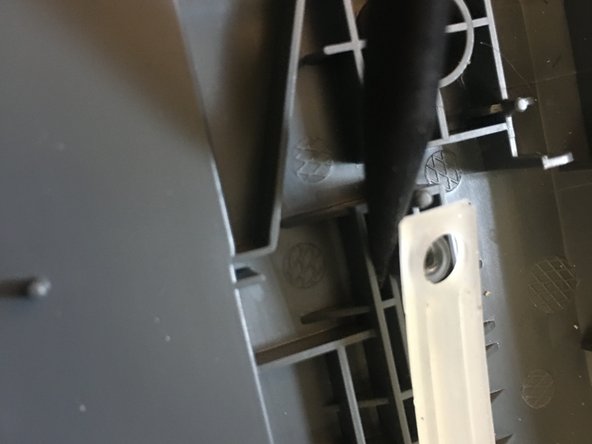
Use the spudger and carefully pry the connector out of its socket. (Highlighted in the pictures)
-
-
-
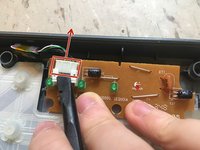
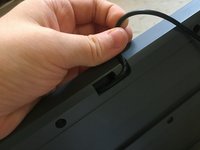
Carefully nudge the connector out of the hole in which the cable enters the keyboard's chassis.
-
-
-
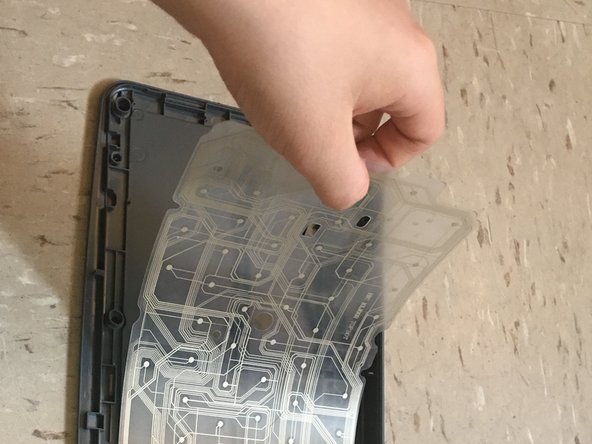
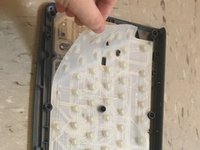
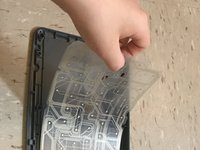
Stick the sharp end of the spudger into the corner of the second membrane and bring the spudger partly underneath the membrane.
-
Lift the membrane off of the first standoff.
-
Peel the rest of the membrane off carefully so the membrane doesn't rip.
-


3等其他人完成本指南。

4指南评论
I followed your guide for disassembly and did the opposite for reassembly, now all three leds turn on when plugged in but none of the keys respond. Any idea what I should do?
Make sure that the rubber membrane is making contact with the pads on the plastic sheets. If they are, make sure the connector is fully plugged in. If it is, make sure the keyboard is plugged into the right USB port.
Camuise -
Haven't answered my real question does one repair or replace circuit membrane when liquid has shorted on line? Or throw out and buy a new keyboard?
KimKostyna - 回复
Your best bet is to try and clean up the membrane using isopropyl alcohol. There doesn't seem to be anywhere to buy a new circuit membrane, so if that doesn't work you'll most likely have to buy a new keyboard.
Camuise -