跳转到主内容

Logitech Harmony Touch Motherboard Replacement

你所需要的

  1. Logitech Harmony Touch Motherboard Replacement, Motherboard: 步骤 1 中的图像 1,3 Logitech Harmony Touch Motherboard Replacement, Motherboard: 步骤 1 中的图像 2,3 Logitech Harmony Touch Motherboard Replacement, Motherboard: 步骤 1 中的图像 3,3
    • Open the latch that covers the charging port.

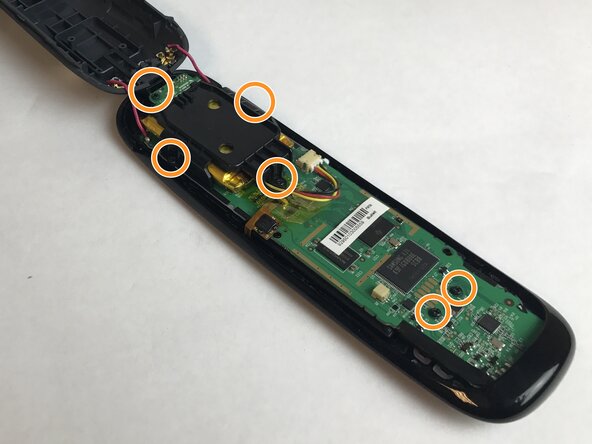
    • Remove the black sticker, then remove the screw with the indicated screwdriver.

    • Take the plastic opening tool, and run it down the side of the remote to pop the case open.

    • While doing this step, there are three wires that connect the two pieces. Be sure not to rip the wires out.

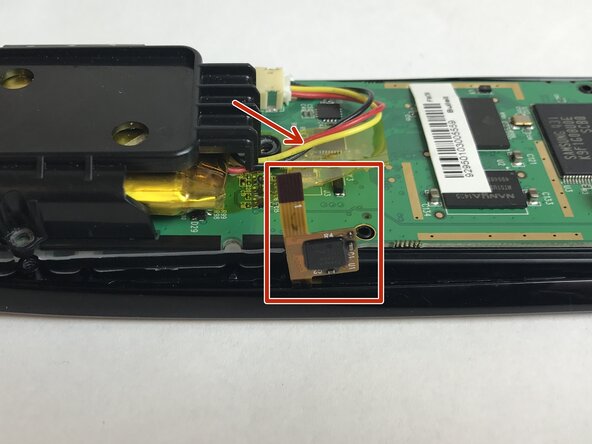
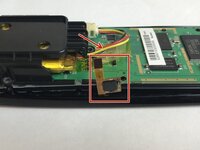
    • Detach the white clamp in order to partially disconnect the case from the motherboard.

  2. Logitech Harmony Touch Motherboard Replacement: 步骤 2 中的图像 1,3 Logitech Harmony Touch Motherboard Replacement: 步骤 2 中的图像 2,3 Logitech Harmony Touch Motherboard Replacement: 步骤 2 中的图像 3,3
    • Peel back the thin yellow plastic film and detach the clip found underneath.

    • Remove the screws that connect the motherboard to the case with the suggested screwdriver.

    • Next, carefully remove the motherboard from the top piece of the case.

    • The motherboard is connected to the bottom part of the case.

    • You should now be able to access all of the buttons and remove them from the case.

结论

To reassemble your device, follow these instructions in reverse order.

团队

USF Tampa, Team S4-G2, Eyestone Fall 2017 USF Tampa, Team S4-G2, Eyestone Fall 2017 的会员

USFT-EYESTONE-F17S4G2

4 名成员

创作了5篇指南

0指南评论

添加评论

浏览统计数据:

过去 24 小时: 0

过去 7 天: 3

过去 30 天: 16

总计 912