你所需要的
-
-
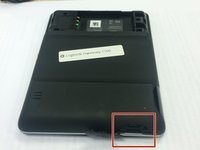
Remove the battery cover by pushing down on the circled areas and pushing outward.
-
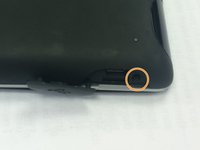
Remove the battery by lifting up the battery on the corner exposed by the indent in the case
-
-
-
-
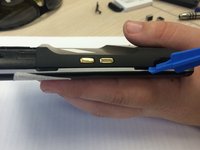
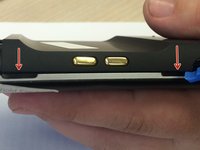
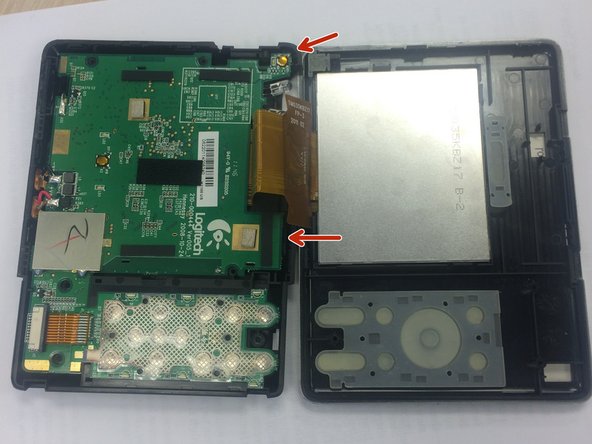
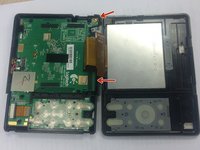
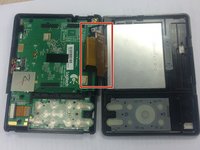
Pop out the plastic screen backing on front of device.
-
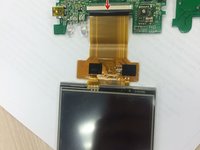
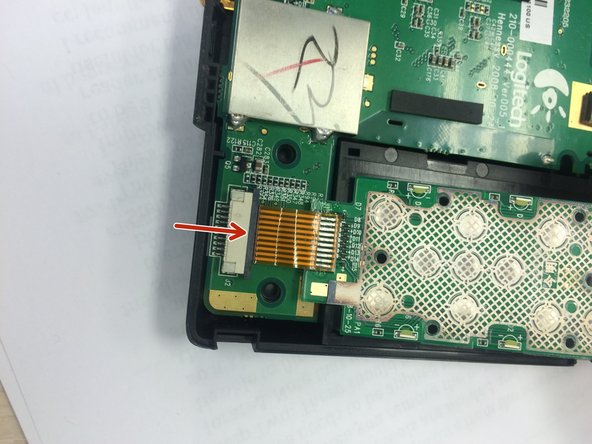
Loosen the screen backing by pushing back on the plastic clips that hold the screen backing in place.
-


团队

Ohio State, Team 1-5, Burgess Spring 2016 Ohio State, Team 1-5, Burgess Spring 2016 的会员
OSU-BURGESS-S16S1G5
4 名成员
创作了2篇指南