跳转到主内容

Logitech Gamepad F310 Case Replacement

你所需要的

  1. Logitech Gamepad F310 Case Replacement, Case: 步骤 1 中的图像 1,2 Logitech Gamepad F310 Case Replacement, Case: 步骤 1 中的图像 2,2
    • Use a Phillips #1 screwdriver to remove all seven 3 mm screws that secure the rear case.

  2. Logitech Gamepad F310 Case Replacement: 步骤 2 中的图像 1,2 Logitech Gamepad F310 Case Replacement: 步骤 2 中的图像 2,2
    • Press along the seams of the controller and gently pull the front and rear case apart.

    • If necessary, use an opening tool to help pry the front and rear case apart.

    • Make sure to open the controller with the front facing down so that the buttons do not fall out.

  3. Logitech Gamepad F310 Case Replacement: 步骤 3 中的图像 1,1
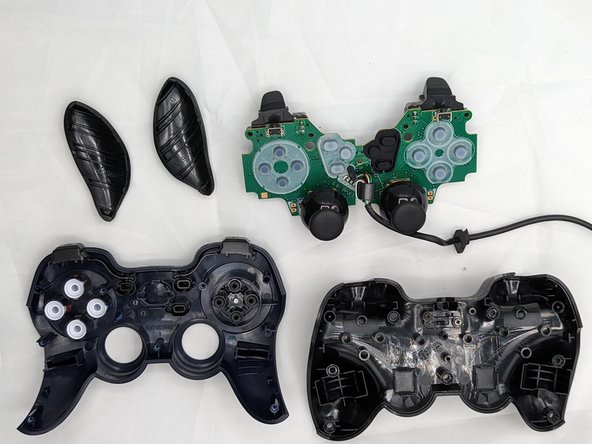
    • Separate the front and rear case.

    • There are two side panels on the controller that come apart as well. When putting them back together, they slot into place on the sides of the controller.

  4. Logitech Gamepad F310 Case Replacement, Case: 步骤 4 中的图像 1,2 Logitech Gamepad F310 Case Replacement, Case: 步骤 4 中的图像 2,2
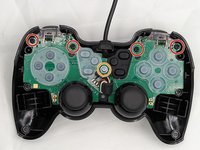
    • Use a Phillips #1 screwdriver to remove:

    • Four 3 mm screws

    • One 5 mm screw

    • Remove the central silver screw last.

    • Gently lift the motherboard off of the back case and slide the cord out of the slot on top.

结论

You have successfully taken the case off of your controller! Using the new case, follow these steps in reverse order to assemble your fixed controller.

0条评论

添加评论

浏览统计数据:

过去 24 小时: 1

过去 7 天: 2

过去 30 天: 16

总计 79