跳转到主内容

Logitech Dual Action Triggers Repair

你所需要的

  1. Logitech Dual Action Triggers Repair, Logitech Dual Action Triggers Repair: 步骤 1 中的图像 1,1
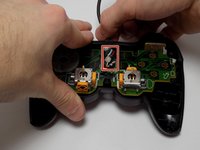
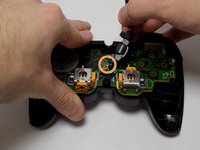
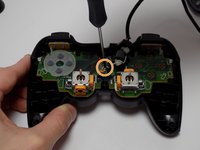
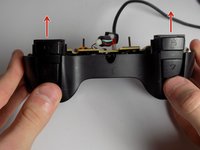
    • To get into the controller, you will need to unscrew the 7 screws on the back.

    • You will have to remove the bottom oval sticker to reveal the screw circled in red.

  2. Logitech Dual Action Triggers Repair: 步骤 2 中的图像 1,2 Logitech Dual Action Triggers Repair: 步骤 2 中的图像 2,2
    • With the screws removed, turn the controller upside down and separate the front end from the back end.

    • It is likely that the buttons will fall out of place, so as you open the controller, try to keep track of where the pieces go.

  3. Logitech Dual Action Triggers Repair: 步骤 3 中的图像 1,1
    • There should be 4 circular buttons labeled 1-4, 4 smaller circular buttons for the D-Pad, and 3 oval shaped buttons.

  4. Logitech Dual Action Triggers Repair: 步骤 4 中的图像 1,3 Logitech Dual Action Triggers Repair: 步骤 4 中的图像 2,3 Logitech Dual Action Triggers Repair: 步骤 4 中的图像 3,3
    • In the center of the controller, pull upwards on the USB cord.

    • Be careful not to pull hard enough to yank the wires connecting to the logic board.

    • With the wire out of the way, remove the screw it exposed. This will disconnect the logic board from the controller.

  5. Logitech Dual Action Triggers Repair: 步骤 5 中的图像 1,3 Logitech Dual Action Triggers Repair: 步骤 5 中的图像 2,3 Logitech Dual Action Triggers Repair: 步骤 5 中的图像 3,3
    • To remove the triggers, push upwards from the back on them.

    • Once far enough, detach the logic board from the back cover piece and the triggers.

  6. Logitech Dual Action Triggers Repair: 步骤 6 中的图像 1,2 Logitech Dual Action Triggers Repair: 步骤 6 中的图像 2,2
    • If the wire is unplugged solely from the logic board, you can fasten it back into its place.

    • Look at the second picture to see where the wires go.

  7. Logitech Dual Action Triggers Repair: 步骤 7 中的图像 1,3 Logitech Dual Action Triggers Repair: 步骤 7 中的图像 2,3 Logitech Dual Action Triggers Repair: 步骤 7 中的图像 3,3
    • Unscrew the screw on the trigger to remove the back cover.

    • Once removed, carefully pull the back cover off.

  8. Logitech Dual Action Triggers Repair: 步骤 8 中的图像 1,1
    • The 3 wires are soldered into the 3 spots circled on the picture.

    • You can now fasten the wire into the right spot on the trigger piece.

结论

To reassemble your device, follow these instructions in reverse order.

4等其他人完成本指南。

Brian Neuman

于01/20/15注册

893 声望

创作了3篇指南

团队

USF Tampa, Team 7-4, Remmell Winter 2015 USF Tampa, Team 7-4, Remmell Winter 2015 的会员

USFT-REMMELL-W15S7G4

4 名成员

创作了3篇指南

2条评论

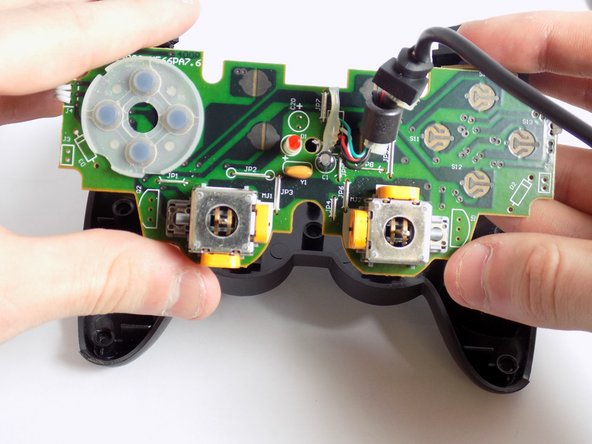
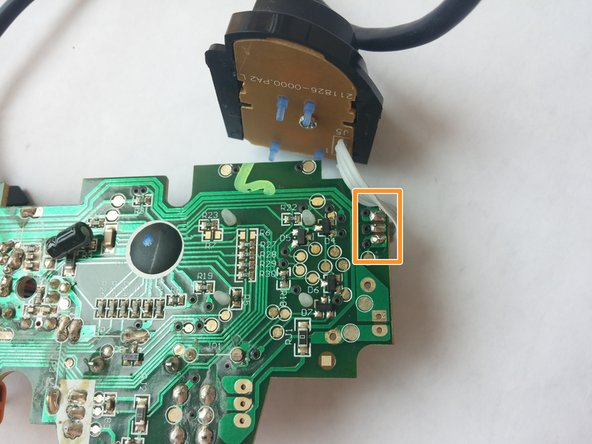
Hi dear, can you say me the order of colours in the USB cable? I think green, white, red, black thin and black thick. Is It correct?

Cas - 回复

Where can I get conductive pads for this?

Ginga - 回复

添加评论

浏览统计数据:

过去 24 小时: 0

过去 7 天: 30

过去 30 天: 123

总计 8,931