你所需要的
-
-
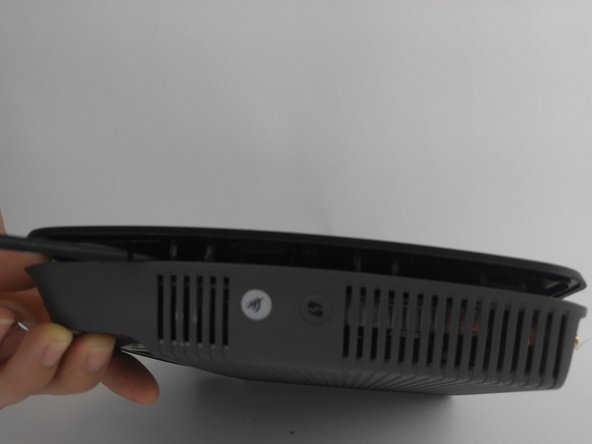
Remove the sticker on the bottom.
-
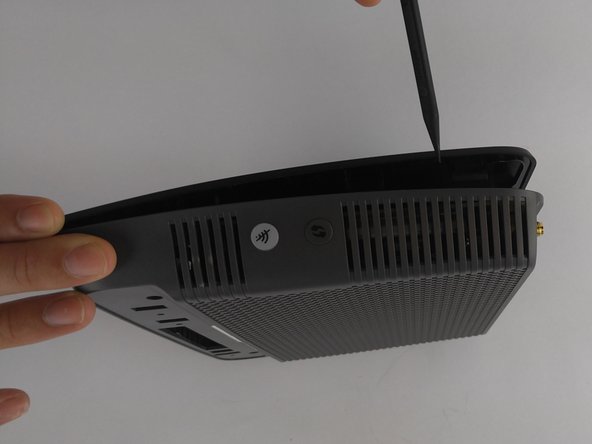
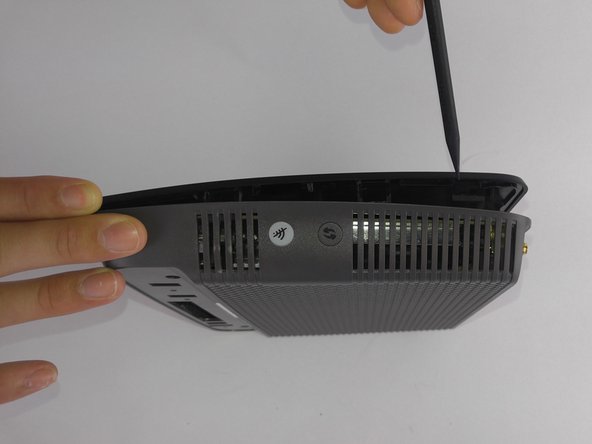
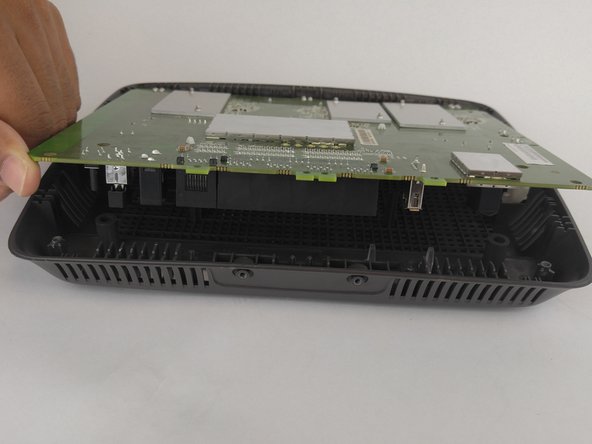
Remove the two screws holding the bottom plate in place. Use Phillips screwdriver tip #1 , the screw head-size is 5mm.
-
-


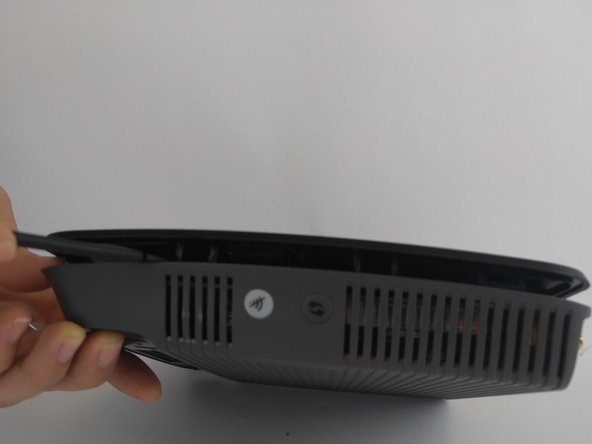

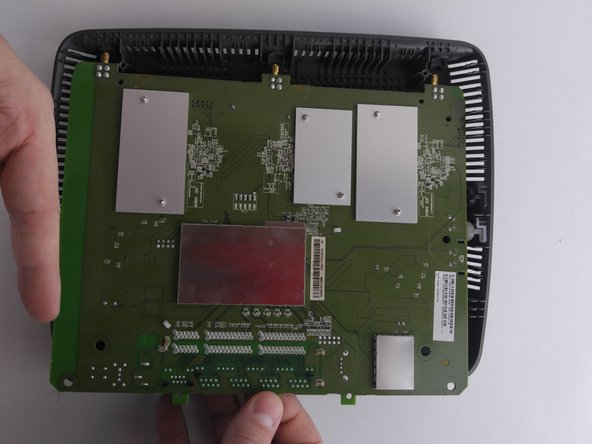
To reassemble your device, follow these instructions in reverse order.
To reassemble your device, follow these instructions in reverse order.
3等其他人完成本指南。
团队

USF Tampa, Team 9-1, Lacy Fall 2016 USF Tampa, Team 9-1, Lacy Fall 2016 的会员
USFT-LACY-F16S9G1
4 名成员
创作了10篇指南
2条评论
Thank you for making this guide, Henry! I used this to help disassemble an EA7300. EA7300 has just 4 screws, all under the rubber pads on the bottom. Pull the pads off (they're glued on and pulling them off does not destroy them) and set them aside with the adhesive facing up to keep the adhesive clean for sticking back on. At least for the EA7300, there are no clips in the corners. Pry a front corner enough to slide in any plastic card you don't mind it gets damaged and bent. Push it in as far as possible…you should feel it hit stopping points. Slide the card through the crack to the side towards the stop, which is a clip. … (finishes in next post)
… (finishing from last comment) If it doesn't pop loose, wiggle the card some or slide back out and in again…should pop the clip open. Once you see a first clip pop open where now the card can slide past it, continue to a next clip. All the clips should pop open in a similar manner. Once one side is popped open, put a toothpick or two into that side to keep it open. The back edge’s clips are different…do the back edge last. Use more toothpicks to keep open sections you open. The back edge pulled out when I wiggled it enough after having the other sides open.