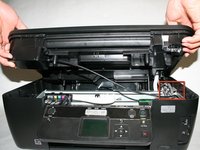
跳转到主内容

Lexmark Intuition S505 Scanner Unit Replacement

你所需要的

  1. Lexmark Intuition S505 Scanner Unit Replacement, Duplex Unit: 步骤 1 中的图像 1,1
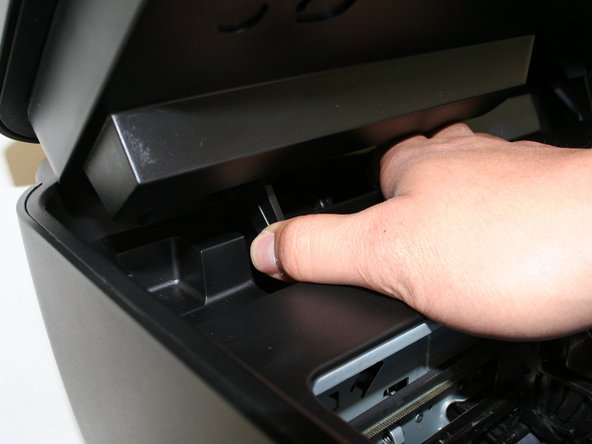
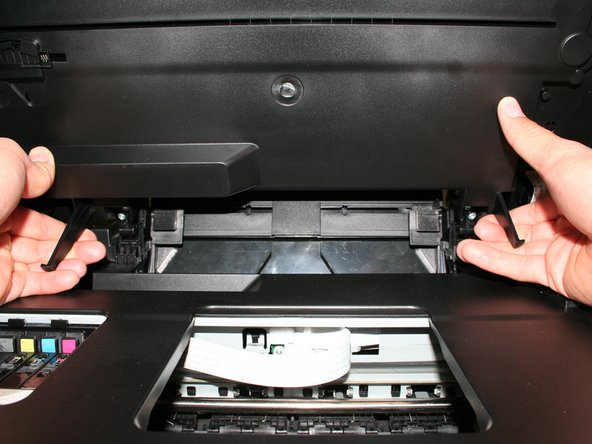
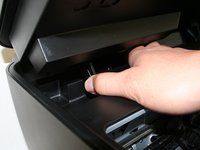
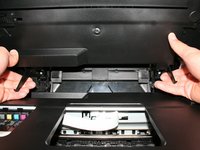
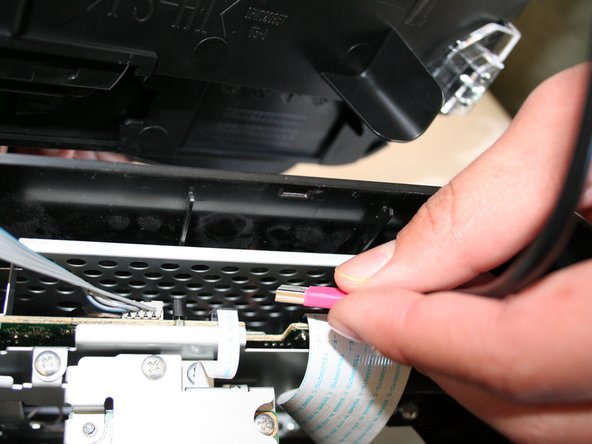
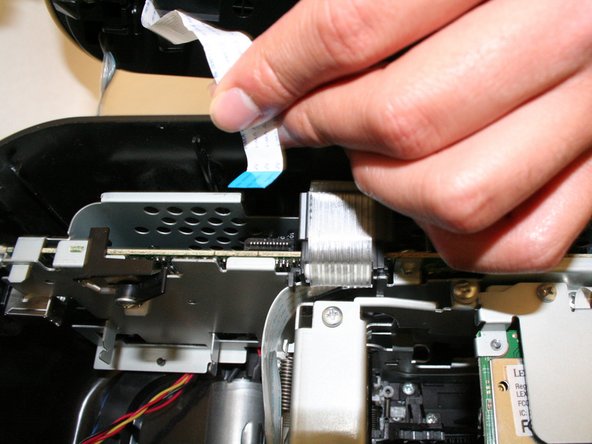
    • Hold the button down with the flat end away from the printer. When you hear a click, the duplex unit can be removed from the printer.

  2. Lexmark Intuition S505 Scanner Unit Replacement: 步骤 2 中的图像 1,2 Lexmark Intuition S505 Scanner Unit Replacement: 步骤 2 中的图像 2,2
    • Remove the duplex unit from the back of the printer with the duplex unit facing up.

  3. Lexmark Intuition S505 Scanner Unit Replacement, Scanner Unit: 步骤 3 中的图像 1,1
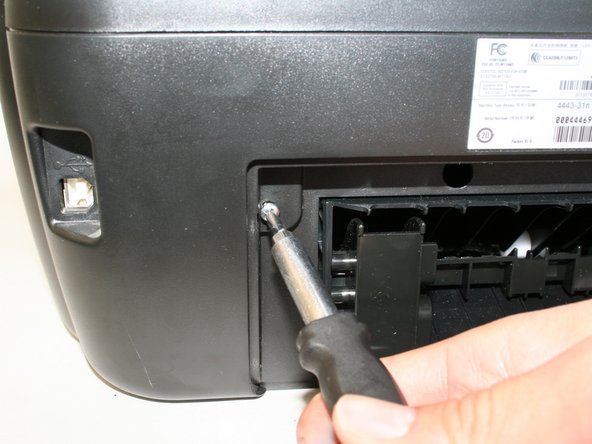
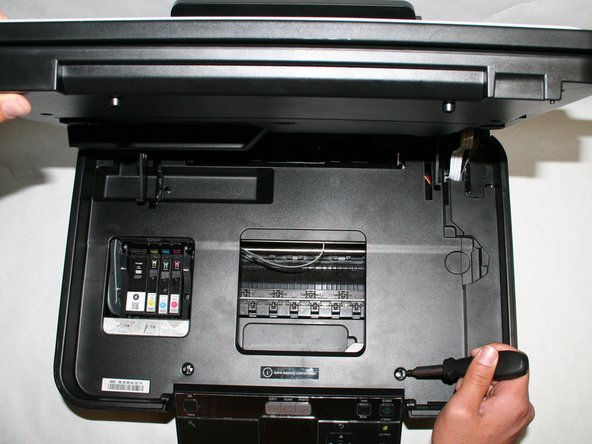
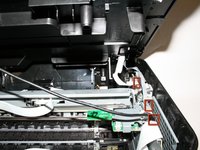
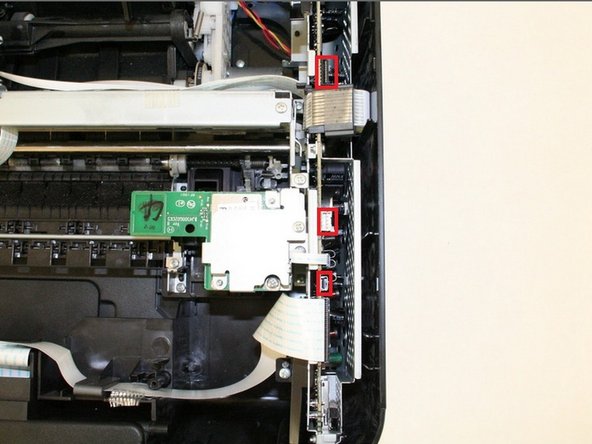
    • Locate the two screw holes that connect the two cylindrical extensions from the top portion of the scanner unit to the printer.

  4. Lexmark Intuition S505 Scanner Unit Replacement: 步骤 4 中的图像 1,1
    • Unscrew the two size#6 (5-mm head) Phillips 1-mm screws connecting the scanner unit to the printer.

  5. Lexmark Intuition S505 Scanner Unit Replacement: 步骤 5 中的图像 1,1
    • Raise and close the scanner unit to observe that the hinges lock in place when lifted.

  6. Lexmark Intuition S505 Scanner Unit Replacement: 步骤 6 中的图像 1,2 Lexmark Intuition S505 Scanner Unit Replacement: 步骤 6 中的图像 2,2
    • Firmly press the hinges inward toward the middle of the printer on both sides at the same time. The hinges should be easily lifted up and removed.

  7. Lexmark Intuition S505 Scanner Unit Replacement: 步骤 7 中的图像 1,1
    • Locate the three screws connecting the plastic tray to the printer.

  8. Lexmark Intuition S505 Scanner Unit Replacement: 步骤 8 中的图像 1,1
    • Remove the three size#6 (5-mm head) Phillips 1-mm screws connecting the scanner unit to the printer.

  9. Lexmark Intuition S505 Scanner Unit Replacement: 步骤 9 中的图像 1,1
    • Remove the plastic cover by unlocking the plastic hinges at the inside edges of the printer. Use a plastic opening tool or a tweezer to slowly move in between the crease around the printer to unlock it.

  10. Lexmark Intuition S505 Scanner Unit Replacement: 步骤 10 中的图像 1,2 Lexmark Intuition S505 Scanner Unit Replacement: 步骤 10 中的图像 2,2
    • Slowly raise, but do not remove the plastic cover with the scanner unit so that it exposes the three cables connecting the scanner unit to the printer.

  11. Lexmark Intuition S505 Scanner Unit Replacement: 步骤 11 中的图像 1,1
    • Carefully unplug the pink cable.

  12. Lexmark Intuition S505 Scanner Unit Replacement: 步骤 12 中的图像 1,1
    • Carefully unplug the gray data cable.

  13. Lexmark Intuition S505 Scanner Unit Replacement: 步骤 13 中的图像 1,1
    • Carefully unplug the white ribbon data cable.

  14. Lexmark Intuition S505 Scanner Unit Replacement: 步骤 14 中的图像 1,1
    • Locate the three ports for the cables from the scanner unit and make sure they are unplugged.

  15. Lexmark Intuition S505 Scanner Unit Replacement: 步骤 15 中的图像 1,1
    • Remove the scanner unit with the plastic cover by lifting it up from the bottom portion of the printer.

    • Be careful with the paper tray and make sure it is evenly lifted through the rectangular hole in the plastic tray

结论

To reassemble your device, follow these instructions in reverse order.

2等其他人完成本指南。

Raymond

于01/15/13注册

45 声望

创作了2篇指南

团队

Cal Poly, Team 18-38, Regan Winter 2013 Cal Poly, Team 18-38, Regan Winter 2013 的会员

CPSU-REGAN-W13S18G38

4 名成员

创作了8篇指南

0条评论

添加评论

浏览统计数据:

过去 24 小时: 0

过去 7 天: 0

过去 30 天: 3

总计 1,240