简介
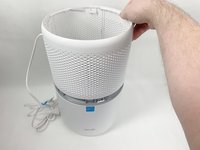
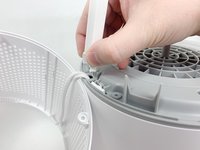
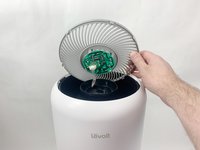
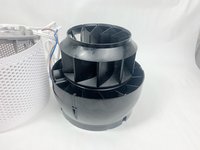
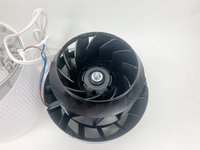
A non-functioning fan can significantly reduce your Levoit Core 300-RAC air purifier’s performance. If your device isn’t outputting enough air or the fan isn’t spinning, it may be time to clean or replace it.
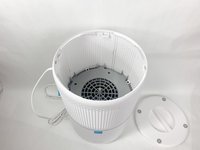
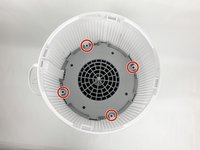
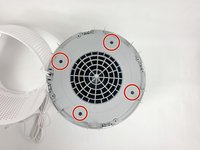
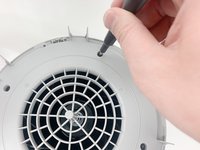
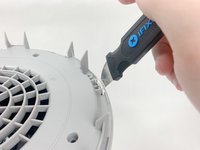
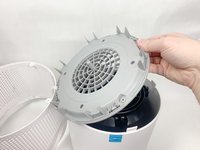
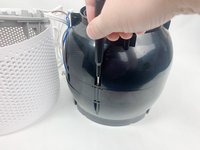
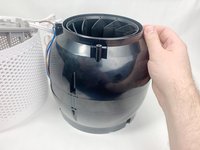
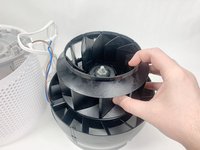
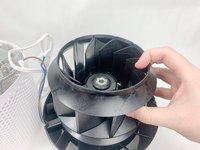
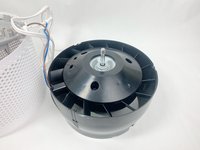
This guide demonstrates how to replace the fan. You can also use it to access the fan for cleaning with an air blower and brush. Cleaning the fan may improve performance and help avoid replacement.
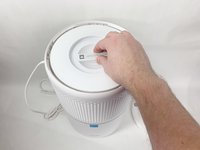
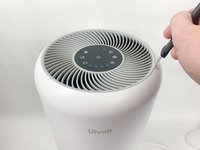
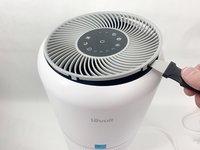
Before you begin, ensure the device is turned off and unplugged.
你所需要的


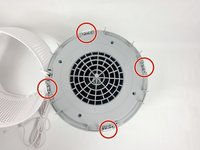


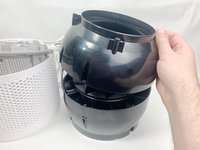


To reassemble your device, follow these instructions in reverse order.
另外一个人完成了本指南。

团队

UMass Dartmouth, Team 1-6, Petersen Fall 2023 UMass Dartmouth, Team 1-6, Petersen Fall 2023 的会员
UMASSD-PETERSEN-F23S1G6
5 名成员
创作了8篇指南