跳转到主内容

Lenovo Yoga 700-11ISK LCD Replacement

你所需要的

  1. Lenovo Yoga 700-11ISK LCD Replacement, Back Panel: 步骤 1 中的图像 1,2 Lenovo Yoga 700-11ISK LCD Replacement, Back Panel: 步骤 1 中的图像 2,2
    • Flip your device so that the bottom panel is facing up.

    • Remove the eleven 5mm Torx T5 screws from the back panel.

  2. Lenovo Yoga 700-11ISK LCD Replacement: 步骤 2 中的图像 1,1
    • Use a spudger to unclip clips on the front and near the USB ports on each side

    • Lift the back panel off

  3. Lenovo Yoga 700-11ISK LCD Replacement, Battery: 步骤 3 中的图像 1,1
    • Remove the two 3mm Phillips #1 screws holding the battery to the laptop chassis.

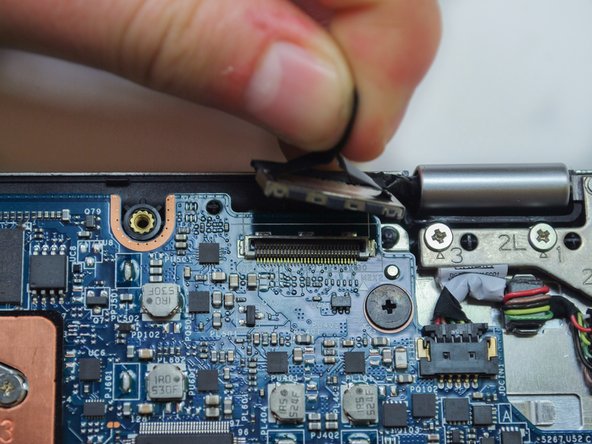
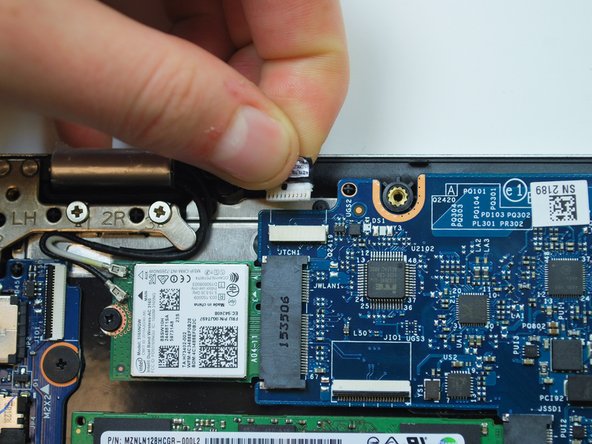
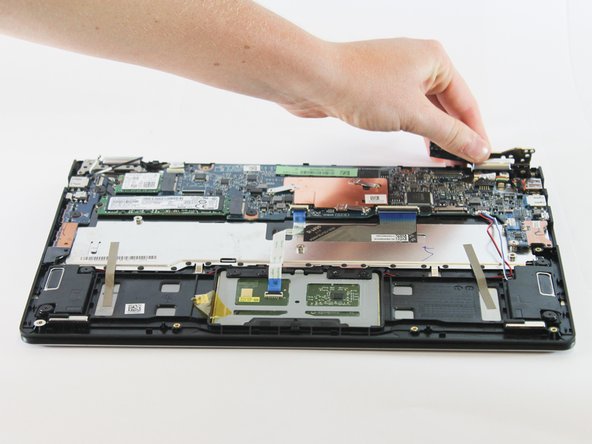
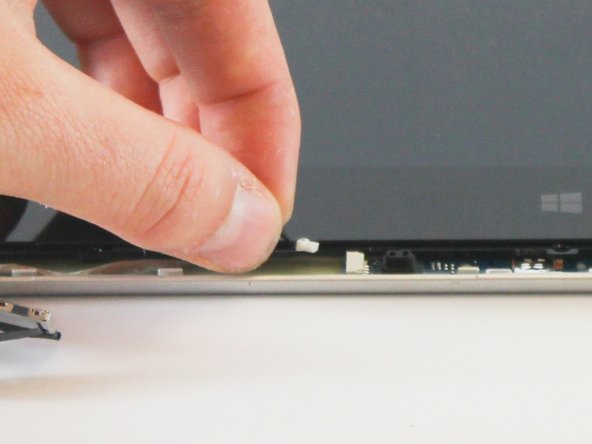
    • Disconnect the battery from the IO board by holding the connector by the sides and gently pulling the connector out.

  4. Lenovo Yoga 700-11ISK LCD Replacement: 步骤 4 中的图像 1,1
    • Carefully remove the battery from the laptop.

    • Make sure that all wires still connected to the laptop are out of the way and not pulled out with the battery.

  5. Lenovo Yoga 700-11ISK LCD Replacement, LCD: 步骤 5 中的图像 1,3 Lenovo Yoga 700-11ISK LCD Replacement, LCD: 步骤 5 中的图像 2,3 Lenovo Yoga 700-11ISK LCD Replacement, LCD: 步骤 5 中的图像 3,3
    • Disconnect the following cables attaching the LCD to the laptop:

    • Touchscreen cable

    • EDP cable

  6. Lenovo Yoga 700-11ISK LCD Replacement: 步骤 6 中的图像 1,3 Lenovo Yoga 700-11ISK LCD Replacement: 步骤 6 中的图像 2,3 Lenovo Yoga 700-11ISK LCD Replacement: 步骤 6 中的图像 3,3
    • Place the laptop with the LCD facing down so that the hinges face opposite you.

    • Disconnect both ends of the two blue ZIF (zero insertion force) connectors in the upper left corner by gently flipping the black tabs on the connector and pulling up and away from both ends of the connectors.

    • Do not pull on the blue tab of the cable without lifting up the black tabs on the connectors. The cable should slide in and out effortlessly. If there is resistance when pulling the cable, double check the black tabs.

  7. Lenovo Yoga 700-11ISK LCD Replacement: 步骤 7 中的图像 1,1
    • Unplug the black and white wireless LAN cables in the upper left corner by gently pulling upwards.

    • To reinstall a wireless LAN card, note that the black cable goes to the MAIN jack, and the white to the AUX jack.

  8. Lenovo Yoga 700-11ISK LCD Replacement: 步骤 8 中的图像 1,3 Lenovo Yoga 700-11ISK LCD Replacement: 步骤 8 中的图像 2,3 Lenovo Yoga 700-11ISK LCD Replacement: 步骤 8 中的图像 3,3
    • Remove the six 5mm Phillips #1 screws located in the top left and right corners to free the hinges.

    • Fully extend the hinges by prying upwards.

  9. Lenovo Yoga 700-11ISK LCD Replacement: 步骤 9 中的图像 1,3 Lenovo Yoga 700-11ISK LCD Replacement: 步骤 9 中的图像 2,3 Lenovo Yoga 700-11ISK LCD Replacement: 步骤 9 中的图像 3,3
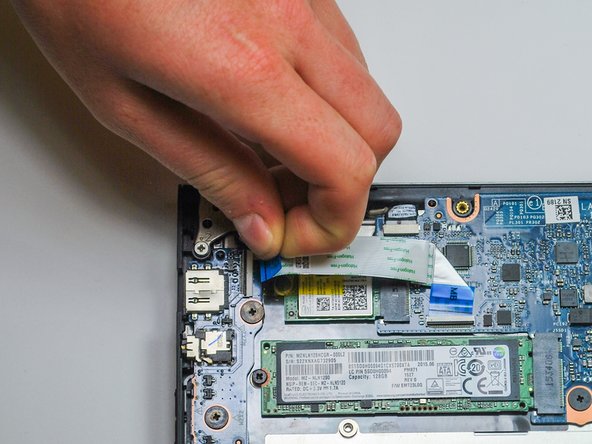
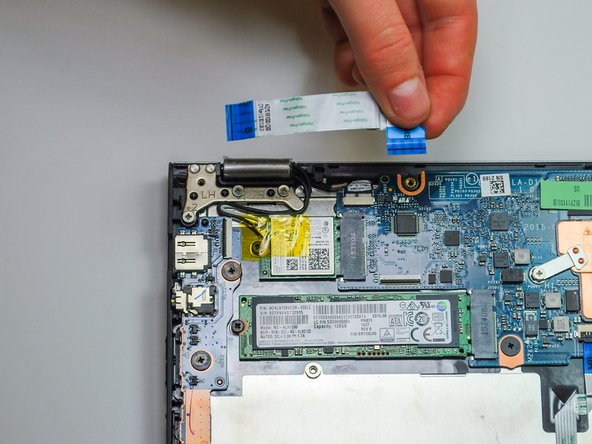
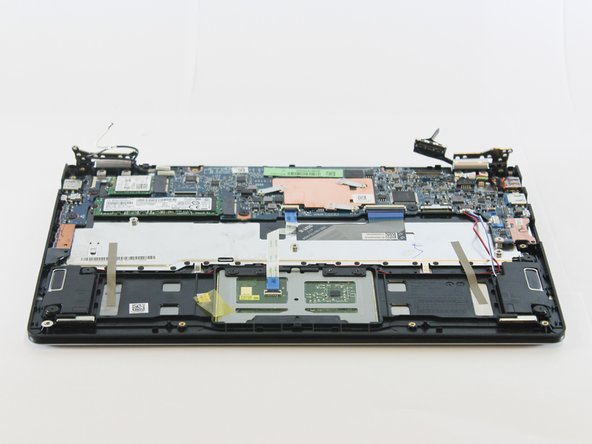
    • Remove the base from the LCD by lifting it upwards.

    • Flip the LCD so that the hinges face you and the screen faces upwards.

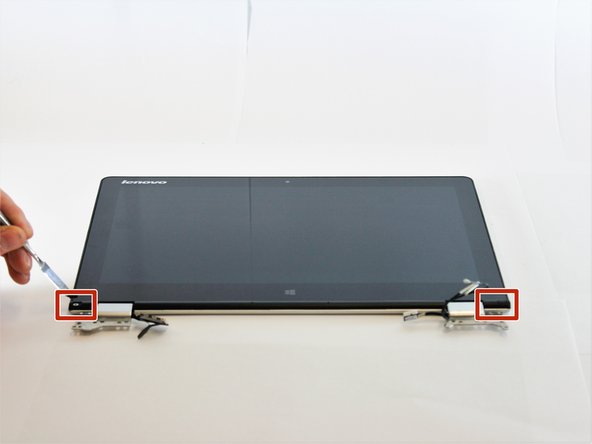
    • Remove the two LCD bezel screw pads located in the bottom left and right outer corners by pulling them up and out.

    • Remove the two 4.4 mm Phillips #1 screws located under the screw pads.

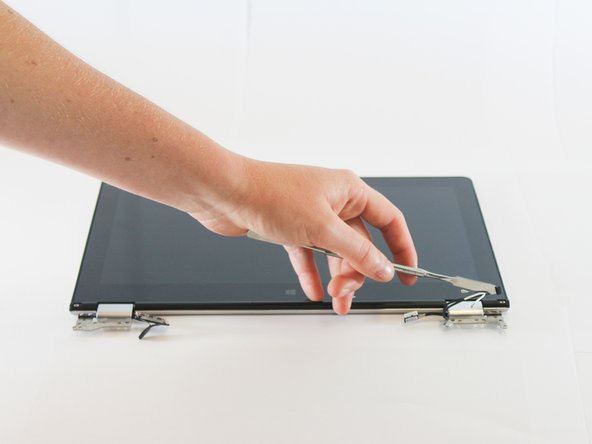
    • Pry the two side hinge covers with a plastic spudger and pull them up and away from the LCD.

  10. Lenovo Yoga 700-11ISK LCD Replacement: 步骤 10 中的图像 1,2 Lenovo Yoga 700-11ISK LCD Replacement: 步骤 10 中的图像 2,2
    • Remove the LCD hinge cover by gently prying the pieces with a plastic spudger and lifting the hinge cover up and out.

  11. Lenovo Yoga 700-11ISK LCD Replacement: 步骤 11 中的图像 1,3 Lenovo Yoga 700-11ISK LCD Replacement: 步骤 11 中的图像 2,3 Lenovo Yoga 700-11ISK LCD Replacement: 步骤 11 中的图像 3,3
    • Disconnect the white MIC board connecter located near the center of the LCD bezel by pulling it out to the left.

    • Flip the hinges up and remove the hinge rubbers by pulling the wires out and away from the hinges.

  12. Lenovo Yoga 700-11ISK LCD Replacement: 步骤 12 中的图像 1,2 Lenovo Yoga 700-11ISK LCD Replacement: 步骤 12 中的图像 2,2
    • Remove the LCD by carefully pulling away from the hinges and upwards.

结论

To reassemble your device, follow these instructions in reverse order.

7等其他人完成本指南。

Gabrielle Bullen

于10/06/16注册

372 声望

创作了2篇指南

团队

Cal Poly, Team 15-6, Livingston Fall 2016 Cal Poly, Team 15-6, Livingston Fall 2016 的会员

CPSU-LIVINGSTON-F16S15G6

4 名成员

创作了7篇指南

一条评论

Just what I needed to replace the adhesive tape on my screen. Thanks!

Stephen - 回复

添加评论

浏览统计数据:

过去 24 小时: 1

过去 7 天: 2

过去 30 天: 7

总计 8,621