跳转到主内容

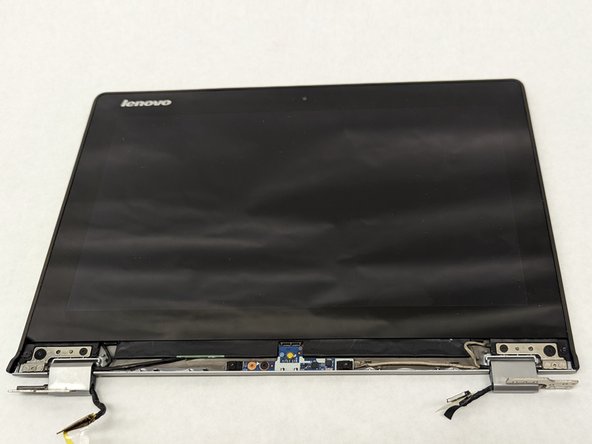
Lenovo Yoga 2 11" 20428 Display Replacement

你所需要的

  1. Lenovo Yoga 2 11" 20428 Display Replacement, Display: 步骤 1 中的图像 1,2 Lenovo Yoga 2 11" 20428 Display Replacement, Display: 步骤 1 中的图像 2,2
    • Remove the plastic square covers on the hinge cover.

  2. Lenovo Yoga 2 11" 20428 Display Replacement: 步骤 2 中的图像 1,2 Lenovo Yoga 2 11" 20428 Display Replacement: 步骤 2 中的图像 2,2
    • Remove the two 3.8 mm screws from the hinge cover.

  3. Lenovo Yoga 2 11" 20428 Display Replacement: 步骤 3 中的图像 1,2 Lenovo Yoga 2 11" 20428 Display Replacement: 步骤 3 中的图像 2,2
    • Remove the hinge cover.

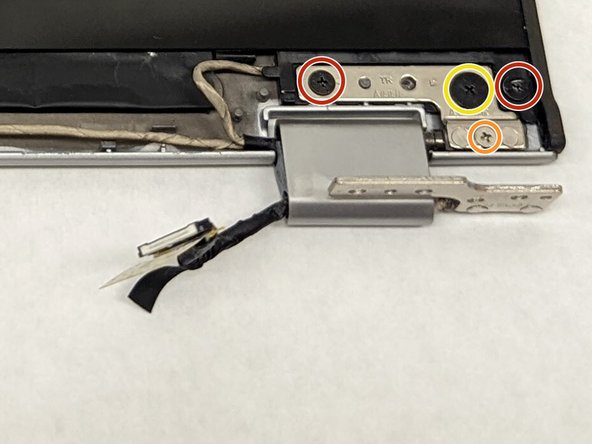
  4. Lenovo Yoga 2 11" 20428 Display Replacement: 步骤 4 中的图像 1,3 Lenovo Yoga 2 11" 20428 Display Replacement: 步骤 4 中的图像 2,3 Lenovo Yoga 2 11" 20428 Display Replacement: 步骤 4 中的图像 3,3
    • Remove the 2.8mm screws.

    • Remove the 5mm screws.

    • Remove the 2.4mm screws.

  5. Lenovo Yoga 2 11" 20428 Display Replacement: 步骤 5 中的图像 1,2 Lenovo Yoga 2 11" 20428 Display Replacement: 步骤 5 中的图像 2,2
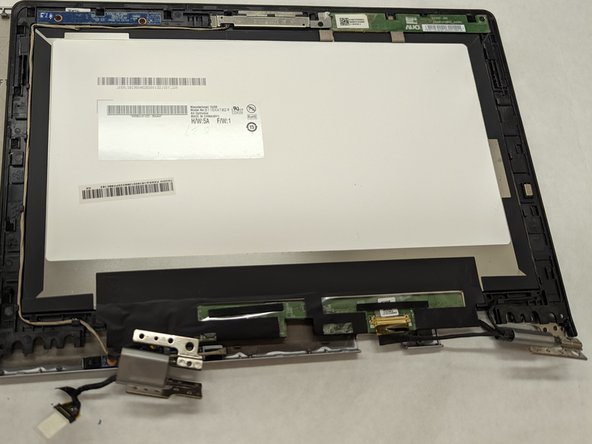
    • Remove the front cover of the display

  6. Lenovo Yoga 2 11" 20428 Display Replacement: 步骤 6 中的图像 1,1
    • Unplug the button sensor board.

    • Do not damage the teeth. Damaging the teeth of the sensor board may require you to replace the part.

  7. Lenovo Yoga 2 11" 20428 Display Replacement: 步骤 7 中的图像 1,2 Lenovo Yoga 2 11" 20428 Display Replacement: 步骤 7 中的图像 2,2
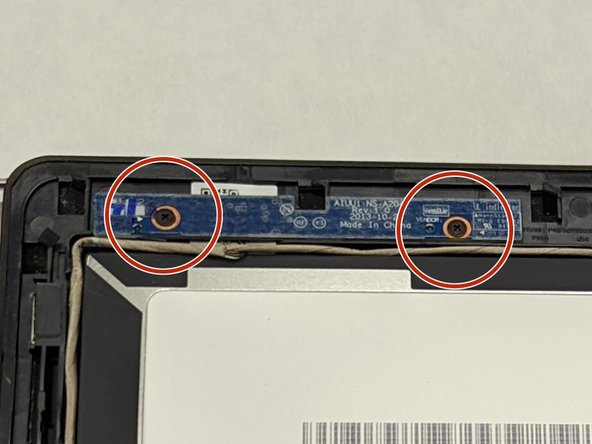
    • Remove the 2.1 mm screws from the brightness sensor board.

  8. Lenovo Yoga 2 11" 20428 Display Replacement: 步骤 8 中的图像 1,2 Lenovo Yoga 2 11" 20428 Display Replacement: 步骤 8 中的图像 2,2
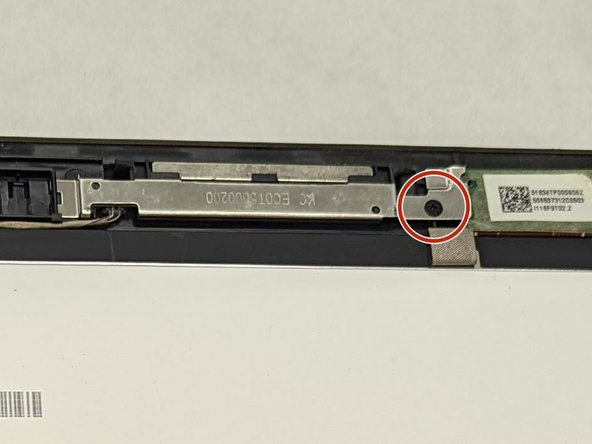
    • Remove the 3.3 mm screw on the camera.

    • Removal of the camera will result in the connecting wire to be disconnected as well

  9. Lenovo Yoga 2 11" 20428 Display Replacement: 步骤 9 中的图像 1,2 Lenovo Yoga 2 11" 20428 Display Replacement: 步骤 9 中的图像 2,2
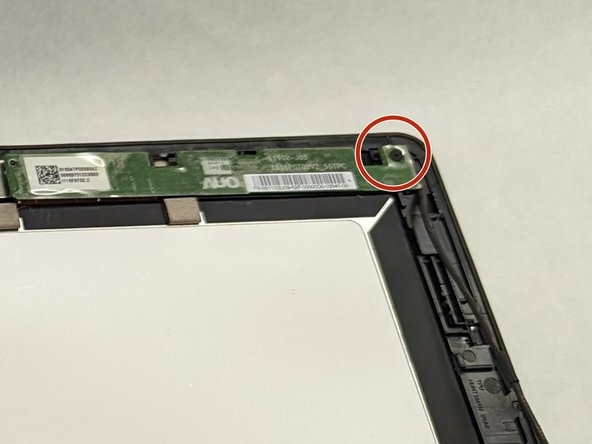
    • Remove the 3.3 mm screw on the touch control board.

  10. Lenovo Yoga 2 11" 20428 Display Replacement: 步骤 10 中的图像 1,2 Lenovo Yoga 2 11" 20428 Display Replacement: 步骤 10 中的图像 2,2
    • Remove the touch control board

    • Do not damage the teeth. Damaging the teeth may call for replacement of the part.

    • Removal of the touch control board will result in the connecting wires to be removed as well

结论

To reassemble your device, follow these instructions in reverse order.

另外一个人完成了本指南。

Devin McCuen

于03/30/22注册

181 声望

撰写一个指南

团队

IUPUI, Team 1-3, Harley Spring 2022 IUPUI, Team 1-3, Harley Spring 2022 的会员

IUPUI-HARLEY-S22S1G3

3 名成员

创作了3篇指南

0条评论

添加评论

浏览统计数据:

过去 24 小时: 2

过去 7 天: 3

过去 30 天: 6

总计 173