简介
Before using this guide, refer to the troubleshooting page to diagnose the problem and verify if it can be fixed without having to replace the device.
Another name for the display is the screen. You would want to replace your display if it cracks or glitches in a way that prevents you from carrying out your usual tasks. Replacing a worn out or malfunctioning display would help you use your laptop better, since it enables you to view the tasks you perform.
Lenovo offers four types of displays for its ThinkPad X1 Carbon 6th Gen and this replacement guide applies to all four. The four displays include: the 14 inch FHD (1920 x 1080) IPS anti-glare 300 nits, 14 inch FHD (1920 x 1080) IPS anti-glare multi-touch, 300 nits, 14 inch WQHD (2560 x 1440) IPS anti-glare 300 nits, and 14 inch HDR WQHD (2560 x 1440) IPS glossy with Dolby Vision 500 nits. The display resolutions are found in the parenthesis.
If you follow the guide closely, you should be able to replace your display without any complications. Be sure to power off your laptop prior to beginning your repair and unplug it from the power source.
你所需要的
-
-
Use a Phillips #0 screwdriver to unscrew the five screws that secure the back cover to the laptop.
-
-
-
Use the Phillips #0 screwdriver to remove the four 5 mm screws that secure the battery to the laptop frame.
-
-
-
-
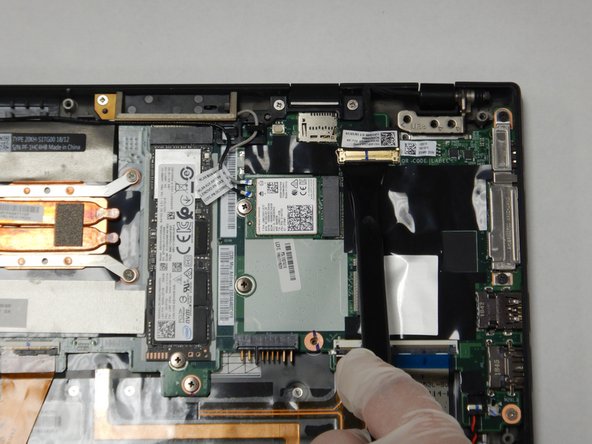
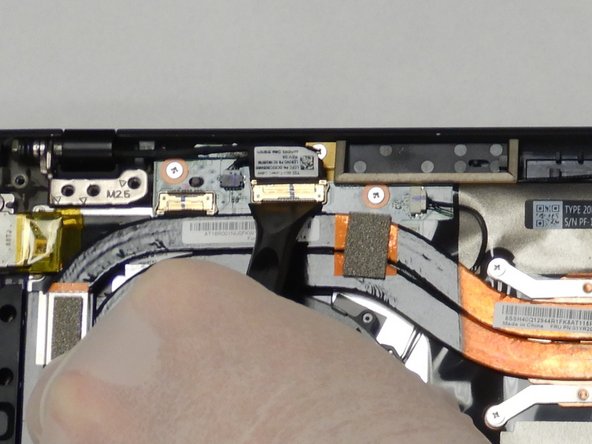
Disconnect the two display cables from the motherboard by lifting the press fit connectors off the board with a spudger.
-


To reassemble your device, follow these instructions in reverse order.
To reassemble your device, follow these instructions in reverse order.
4等其他人完成本指南。
团队

The Citadel Military College of South Carolina, Team S1-G2, Eggleston Fall 2020 The Citadel Military College of South Carolina, Team S1-G2, Eggleston Fall 2020 的会员
CMCSC-EGGLESTON-F20S1G2
3 名成员
创作了5篇指南
2条评论
This only explains how to remove the complete lid assembly. What about replacing the screen itself??
Yes, I agree this guide is not complete. There are 2 types of bezels and they stick onto the screen rather than being fastened or clipped. In order to actually replace the LCD part listed here the bezel will need to be peeled off and it needs to be replaced as well since the adhesive isn't designed to be reused. From what I recall (and this is to be taken with a grain of salt as I last did this exact replacement 2 years ago), once the lid assembly is removed from the hinges and bezel peeled off, the LCD just pops out.
Philip Lee - 回复