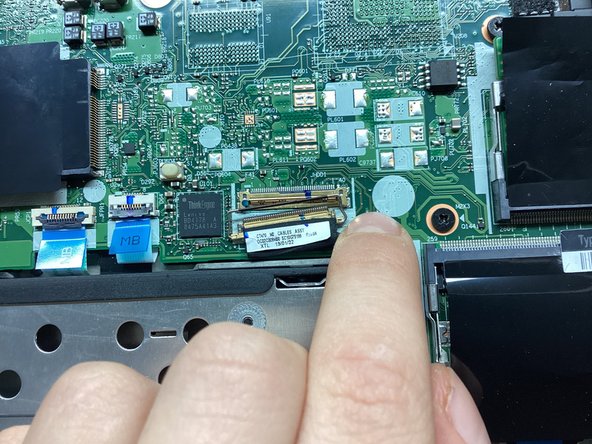
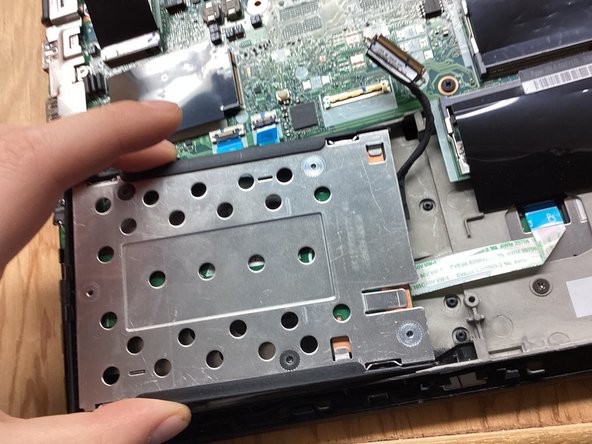
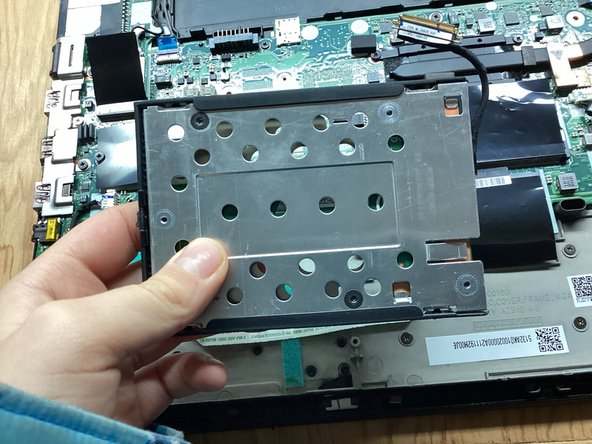
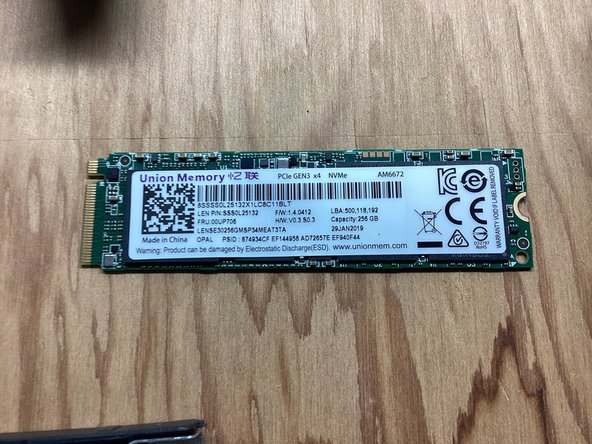
跳转到主内容

Lenovo ThinkPad T480 SSD Replacement

你所需要的

  1. Lenovo ThinkPad T480 SSD Replacement, SSD: 步骤 1 中的图像 1,1
    • Flip laptop over on its back.

  2. Lenovo ThinkPad T480 SSD Replacement: 步骤 2 中的图像 1,2 Lenovo ThinkPad T480 SSD Replacement: 步骤 2 中的图像 2,2
    • Push Clip 1 to the side. While holding Clip 2 to the side, push the battery out of the laptop.

  3. Lenovo ThinkPad T480 SSD Replacement: 步骤 3 中的图像 1,1
    • Remove all Phillip-head screws shown.

    • The screws will not come out of the casing, so unscrew them all the way until they don’t go any higher.

  4. Lenovo ThinkPad T480 SSD Replacement: 步骤 4 中的图像 1,1
    • Pry up on the casing using a spudger or a flat-head screwdriver and remove the back.

  5. Lenovo ThinkPad T480 SSD Replacement: 步骤 5 中的图像 1,3 Lenovo ThinkPad T480 SSD Replacement: 步骤 5 中的图像 2,3 Lenovo ThinkPad T480 SSD Replacement: 步骤 5 中的图像 3,3
    • Pry up on the little metal bar on the connector and pull the connector out of its socket.

  6. Lenovo ThinkPad T480 SSD Replacement: 步骤 6 中的图像 1,3 Lenovo ThinkPad T480 SSD Replacement: 步骤 6 中的图像 2,3 Lenovo ThinkPad T480 SSD Replacement: 步骤 6 中的图像 3,3
    • Pry up on the left side of the SSD casing. Pull the casing to the left, and remove.

  7. Lenovo ThinkPad T480 SSD Replacement: 步骤 7 中的图像 1,2 Lenovo ThinkPad T480 SSD Replacement: 步骤 7 中的图像 2,2
    • Remove the following 4mm Phillip-head screws and remove the plate.

  8. Lenovo ThinkPad T480 SSD Replacement: 步骤 8 中的图像 1,3 Lenovo ThinkPad T480 SSD Replacement: 步骤 8 中的图像 2,3 Lenovo ThinkPad T480 SSD Replacement: 步骤 8 中的图像 3,3
    • Remove the 4mm Phillip-head screw and pull the SSD out of its socket.

结论

To reassemble your device, follow these instructions in reverse order.

另外一个人完成了本指南。

0条评论

添加评论

浏览统计数据:

过去 24 小时: 7

过去 7 天: 39

过去 30 天: 234

总计 1,461