简介
Use this guide to replace the IO board.
你所需要的
-
-
Look at the back of the tablet and locate the speakers on top of the rear cover.
-
There is a smaller indentation in the plastic cover that runs across the top of the device.
-
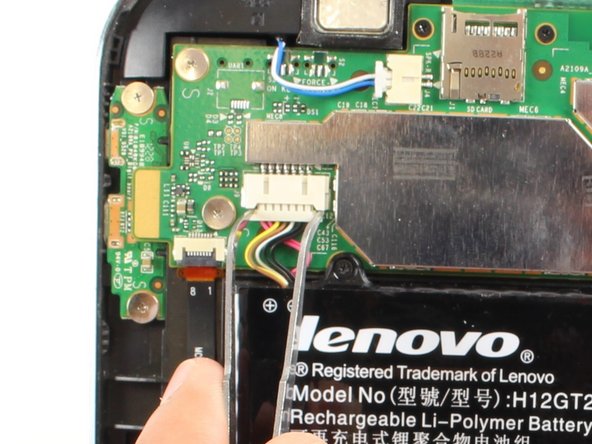
Wedge the plastic opening tool, under the middle of the cover as shown, then push up and the cover will pop off.
-
-
-
-
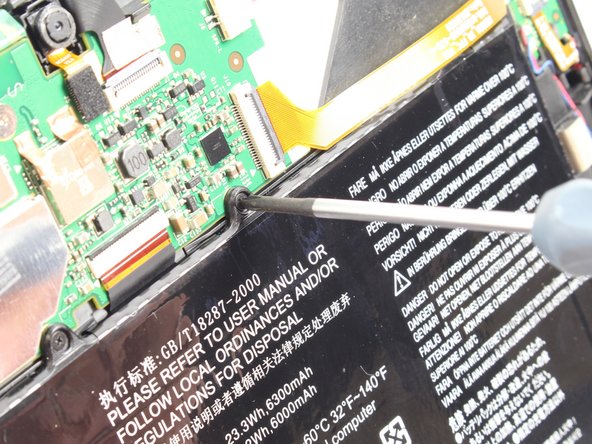
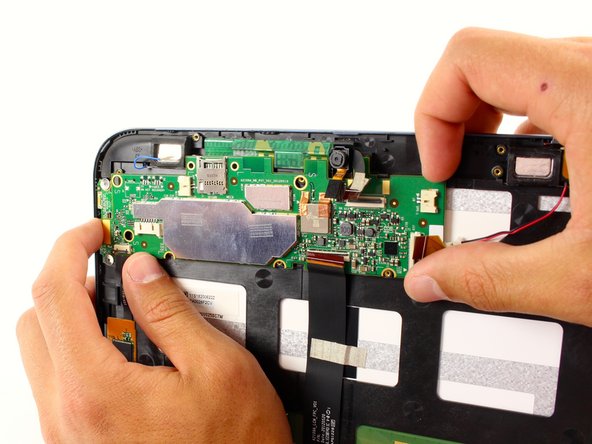
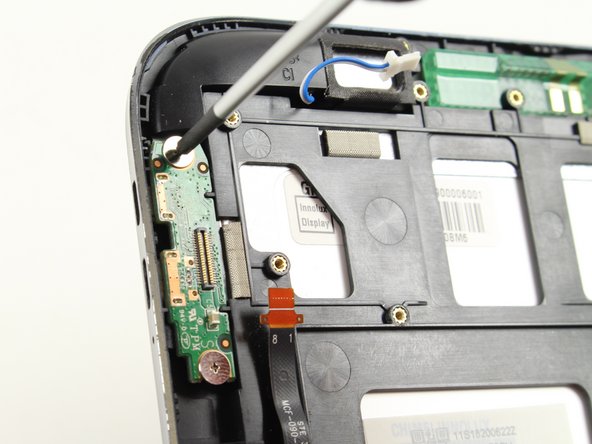
Remove two black 3mm Phillips #00 screws.
-
Remove three silver 1.8 mm Phillips #00 screws.
-


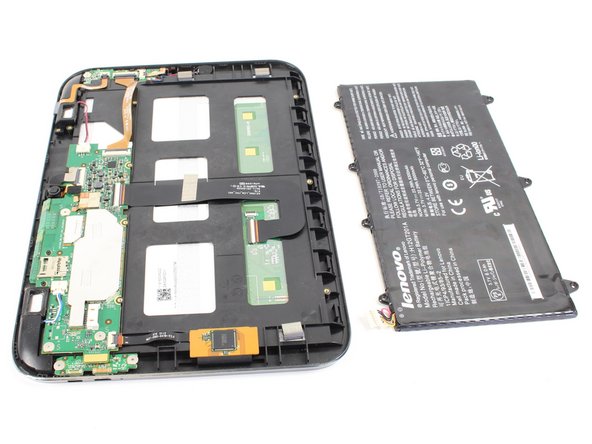


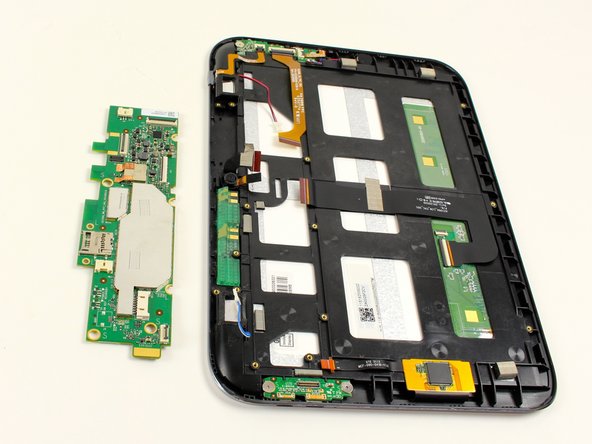


To reassemble your device, follow these instructions in reverse order.
To reassemble your device, follow these instructions in reverse order.
9等其他人完成本指南。
团队

Cal Poly, Team 7-19, Regan Spring 2014 Cal Poly, Team 7-19, Regan Spring 2014 的会员
CPSU-REGAN-S14S7G19
4 名成员
创作了15篇指南
6条评论
Great guide but make sure you REMOVE THE AUX SD CARD FIRST if installed or you will break the card and or card slot.
Other than that, no problems. I got the io board for $26 and I put it in for free.
James Bush - 回复
I need an io board for cheap... I might have to make a guide on how to attempt to repair io card without proper tools and a filed down soldering iron tip
Thank you this was helpful. I think I fixed my screen flickers the LCD ribbon is under the battery and the ribbon from the volume board on the right I think that's related to the screen rotation lock. Those needed to be flipped up and reseated. Thanks
Excelente guía. Muchas gracias.