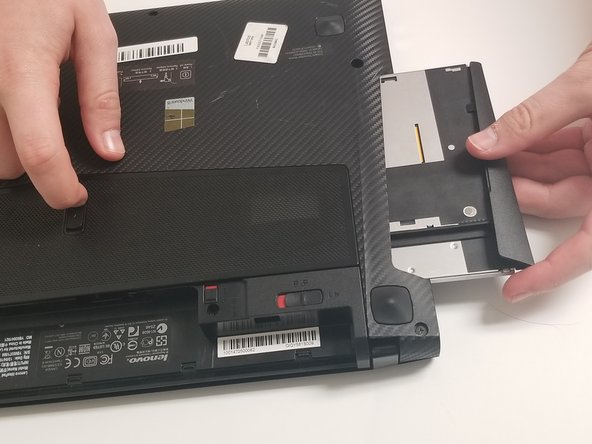
跳转到主内容

Lenovo IdeaPad Y400 Optical Drive Replacement

  1. Lenovo IdeaPad Y400 Optical Drive Replacement, Battery: 步骤 1 中的图像 1,3 Lenovo IdeaPad Y400 Optical Drive Replacement, Battery: 步骤 1 中的图像 2,3 Lenovo IdeaPad Y400 Optical Drive Replacement, Battery: 步骤 1 中的图像 3,3
    • Make sure the laptop is upside down, then turn the laptop so that the battery is facing you. Now that the battery is facing you, there will be two locks, one on the left and one on the right.

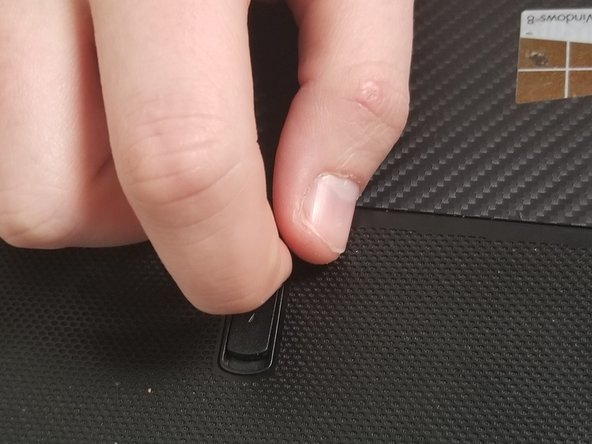
    • Slide the lock to the right until you can hear a "click". Once you hear this click, you should be able to see the color red.

  2. Lenovo IdeaPad Y400 Optical Drive Replacement: 步骤 2 中的图像 1,2 Lenovo IdeaPad Y400 Optical Drive Replacement: 步骤 2 中的图像 2,2
    • Unlike the first lock, the left lock does not stay in place. You will need to hold it in place as you take the battery out.

    • Slide the second (left) lock to the left and hold it there.

  3. Lenovo IdeaPad Y400 Optical Drive Replacement: 步骤 3 中的图像 1,1
    • Gently pull the battery out.

  4. Lenovo IdeaPad Y400 Optical Drive Replacement, Optical Drive: 步骤 4 中的图像 1,2 Lenovo IdeaPad Y400 Optical Drive Replacement, Optical Drive: 步骤 4 中的图像 2,2
    • Move the lock down until you see red and hear a slight click.

  5. Lenovo IdeaPad Y400 Optical Drive Replacement: 步骤 5 中的图像 1,3 Lenovo IdeaPad Y400 Optical Drive Replacement: 步骤 5 中的图像 2,3 Lenovo IdeaPad Y400 Optical Drive Replacement: 步骤 5 中的图像 3,3
    • Hold this lock down while removing the optical drive.

结论

To reassemble your device, follow these instructions in reverse order.

0条评论

添加评论

浏览统计数据:

过去 24 小时: 0

过去 7 天: 0

过去 30 天: 1

总计 227