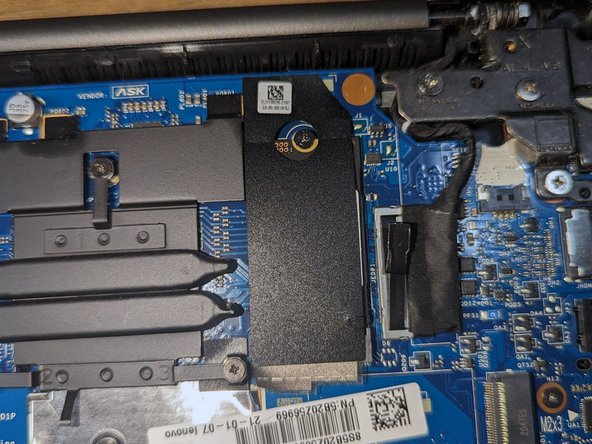
跳转到主内容

Lenovo IdeaPad 5 14ARE05 SSD Replacement

你所需要的

  1. Lenovo IdeaPad 5 14ARE05 SSD Replacement, SSD: 步骤 1 中的图像 1,2 Lenovo IdeaPad 5 14ARE05 SSD Replacement, SSD: 步骤 1 中的图像 2,2
    • Place your laptop with the bottom facing up.

    • Remove the three 9.3 mm screws from the upper side of the laptop using a T5 Torx screwdriver.

    • Remove four 4.5 mm screws from the lower side of the laptop using a T5 Torx screwdriver.

  2. Lenovo IdeaPad 5 14ARE05 SSD Replacement: 步骤 2 中的图像 1,1
    • Use a Jimmy to pry open the back cover.

  3. Lenovo IdeaPad 5 14ARE05 SSD Replacement: 步骤 3 中的图像 1,3 Lenovo IdeaPad 5 14ARE05 SSD Replacement: 步骤 3 中的图像 2,3 Lenovo IdeaPad 5 14ARE05 SSD Replacement: 步骤 3 中的图像 3,3
    • Remove the black sticker from the SSD.

    • Remove the single 4 mm screw from the SSD using a Phillips #00 screwdriver.

  4. Lenovo IdeaPad 5 14ARE05 SSD Replacement: 步骤 4 中的图像 1,1
    • The SSD, once unscrewed, will be angled at about 45 degrees.

    • Remove the SSD from its socket.

  5. Lenovo IdeaPad 5 14ARE05 SSD Replacement: 步骤 5 中的图像 1,2 Lenovo IdeaPad 5 14ARE05 SSD Replacement: 步骤 5 中的图像 2,2
    • Align your new SSD with the notches on the laptop and insert it at a 45 degree angle, just as it was when you removed it.

    • You'll know the SSD is inserted correctly once you no longer see the gold pins and the half circle at the other end of the SSD aligns with the screw hole.

结论

To reassemble your device, follow these instructions in reverse order.

0条评论

添加评论

浏览统计数据:

过去 24 小时: 2

过去 7 天: 9

过去 30 天: 46

总计 243