Do not use unleaded solder! This variant includes a special flux core which is toxic if inhaled.
60/40 lead solder includes lead. Lead is a toxic element, and should be handled carefully. After handling leaded solder do not touch your mouth or any other mucus membranes (ear, nose, etc) before washing your hands.
This iron gets HOT! Use caution when handling the iron apparatus and anything it comes in contact with. When in doubt, assume the surface is hot.
The rubber handle of the iron should not get hot (although it may become warm over time, this is not an issue). This is the safe location to handle the iron.
Any exposed metallic portion of the iron WILL be hot. The majority of the heat is located in the tip, but the base of the heating element (near the hand grips) is also hot enough to burn. DON'T TOUCH IT. EVER. WE MEAN IT.
Keep the iron in it's stand when not currently in use. Never leave a warm iron unattended. Before leaving a setup, ensure that the iron is UNPLUGGED and COLD. (Do not touch the tip of the iron to confirm this! If the iron is hot, this will be evident by observing radiating heat.)
Make sure the soldering iron is properly plugged into the base unit and is powered on. (red power switch is located on the side of the base unit)
Use the dial to set the temperature to read 600 degrees Fahrenheit.
Soak the included sponge with water, then squeeze excess water out. [photo]
This sponge is in constant contact with leaded solder. Any water it comes in contact with is considered dangerously CONTAMINATED and should be handled accordingly. Ensure that there is no possibility of an individual consuming or otherwise coming in contact with the same water source as the sponge has.
Example of POOR procedure: dunking the sponge in a glass of water, then leaving the water out for an individual to accidentally drink.
Example of SAFE procedure: rinsing the sponge in a utility sink marked as unsuitable for drinking, in addition to ensuring that the sink has completely drained (drain disposal is okay for this quantity of lead).
Desoldering tools are great for cleaning up mistakes. They're really easy to use!
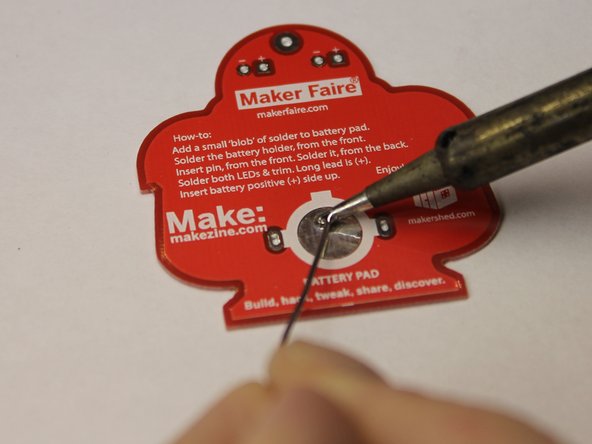
Apply a copious amount of solder to the battery pad, as explained in the previous step. [photo with copious solder, iron, and desoldering tool in play]
Depress the plunger in the desoldering tool until it clicks.
Heat up the joint until the solder flows.
Press the tip of the desoldering tool into the pool of solder. Simultaneously press the return button on the tool.
Whoop! Away goes the solder! Press the plunger down again to release the solder it collected. [photo with iron and desoldering tool in play, solder gone]
If at any point in this tutorial you make a mistake, just remove the solder from the joint with this method and start that step over.
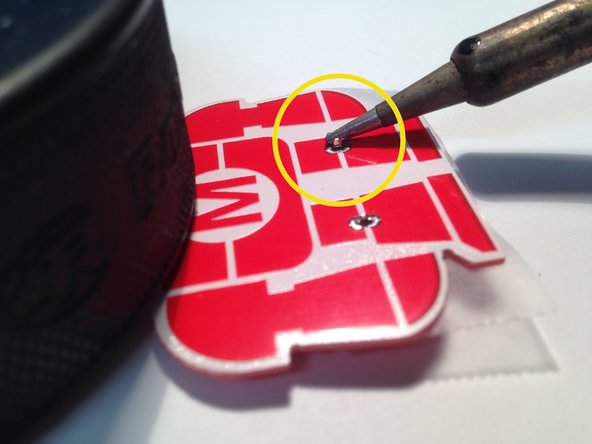
Place a heavy object on the board to keep it from sliding around on the table.
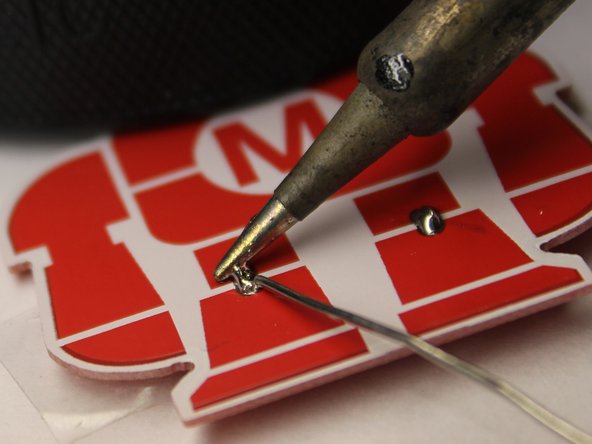
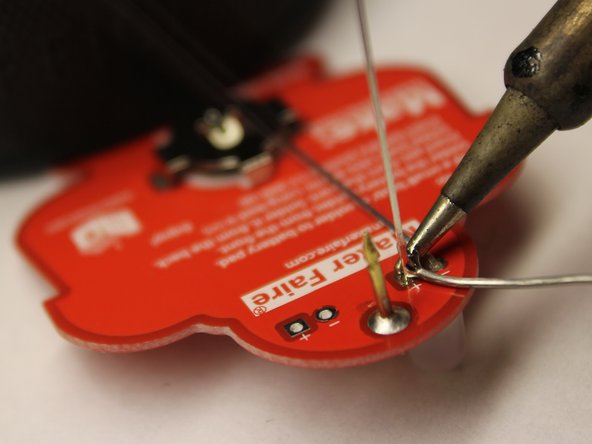
Rest the iron between the extruding battery holder tab and the corresponding solder pad to begin heating them up.
The junction will not heat up immediately. It is necessary to hold the iron in place for about 20-30 seconds before sufficiently hot.
Applying pressure to the junction, as opposed to simply laying the iron, will improve heat conductivity. This will speed up the process and result in a better solder joint.
Check if the junction is hot enough. Without removing the iron, begin feeding solder into the junction between the tab and the pad. If the iron is on one side of the tab, feed the solder from the other side (as depicted).
Applying solder directly to the iron may appear sufficient, but will result in a cold joint. Always apply solder to a junction, not directly to the iron.
Smoke is a normal occurrence, and is safe to breath (but obviously not in a prolonged setting). The smoke is due to the rosin flux core burning off. It contains no additional toxins.
If solder melts immediately upon contact, the junction is hot enough!
If solder only partially melts, or does not melt at all, more time is required to heat up the junction.
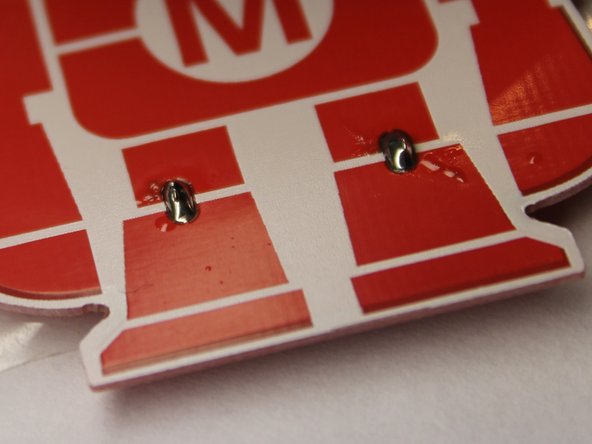
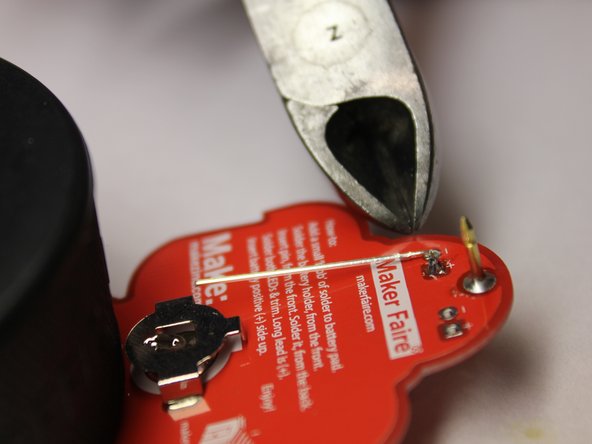
Apply a generous amount of solder to the junction. The resulting solder joint should be shiny and appear as shown. If this is not the case, lay the iron back on the pad and reflow the joint until the solder liquifies again.
Tin the tip of the iron and then return it to its stand.
Cold solder joints, or "crappy" solder joints, aren't electrically or structurally stable. If a joint doesn't appear perfect, it's probably cold. Reflow the joint by applying the iron and allowing the solder to flow through the junction again.
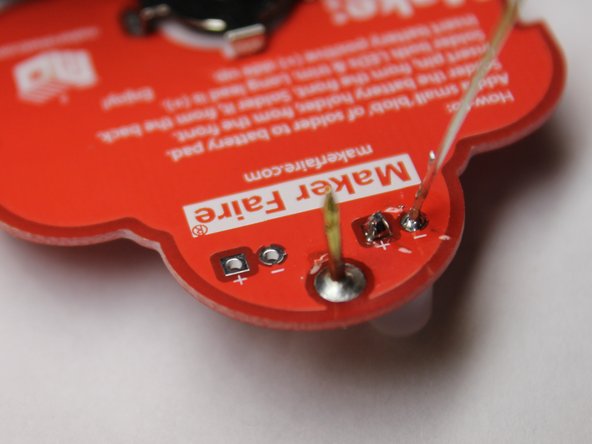
Cold solder joint
Same joint, reflowed for perfection
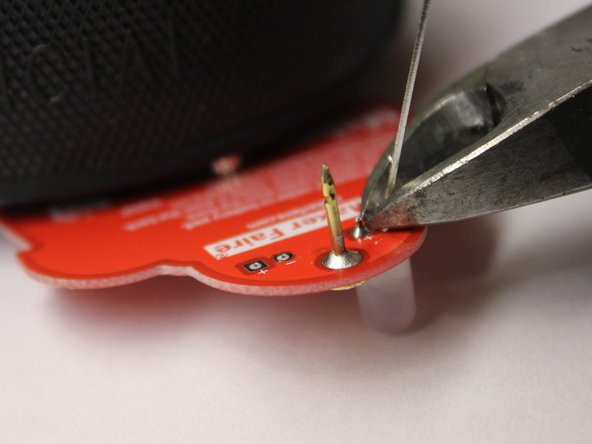
If ever a joint seems out of luck, feel free to start over. Use the solder sucker to remove the solder in the joint, then reheat the junction and re-add the solder.
Continue heating the junction by positioning the iron as previously instructed.
The material in this junction is sufficiently greater in mass than the battery holder, thus it will require more heat to raise it to the correct temperature. Leave the iron in place a little longer than previously, and check how well solder flows when you begin.
Feed solder into the junction.
Check for a cold solder joint. Reflow if necessary.
Tin the tip of the iron and return the iron to its stand.
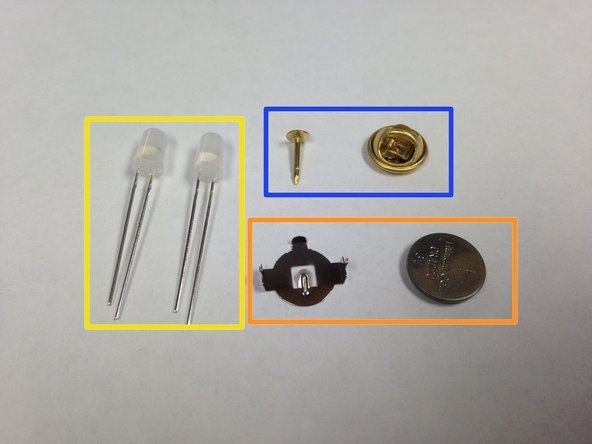
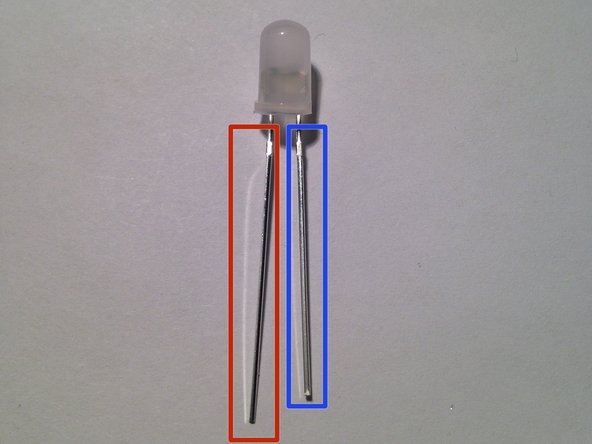
LEDs are polarized: one side of the diode is positive, the other is negative. It is typical convention for an LED to be manufactured with its positive lead longer than the negative lead.
Positive lead (longer)
Negative lead (shorter)
Insert the LED into the PCB as illustrated. Be sure to match up the positive lead of the LED (the longer one) with the positive pad on the PCB (marked with a "+").
Bend one of the leads down tightly. This serves as a securement so the part doesn't fall away while you solder.
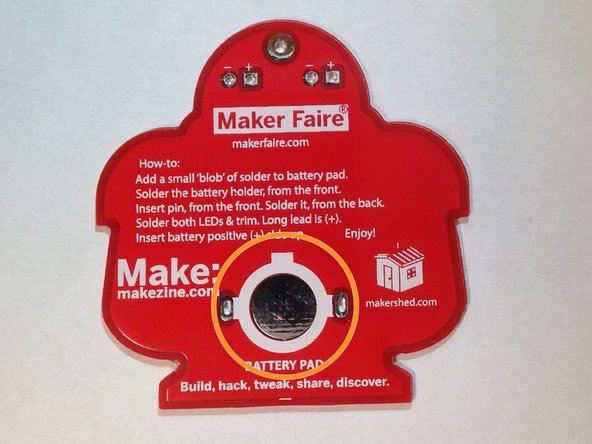
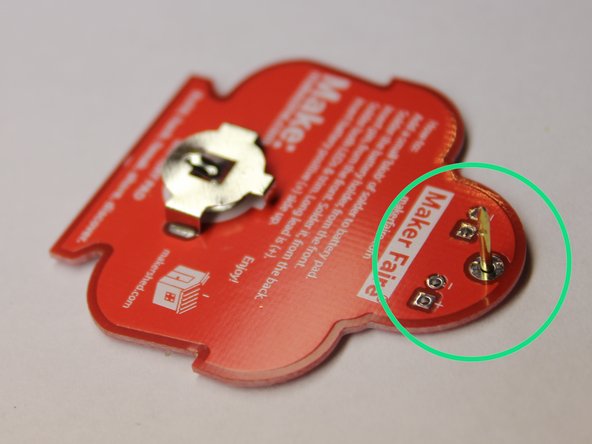
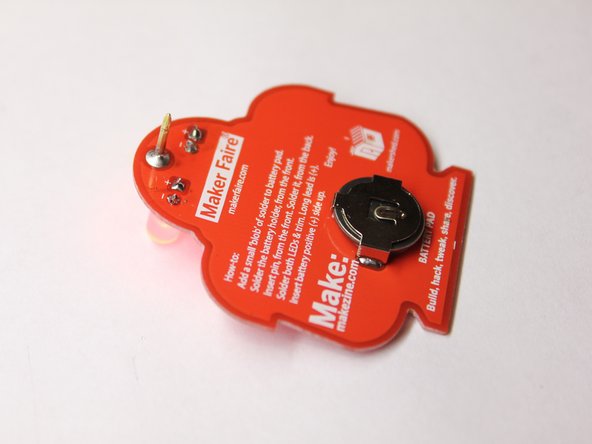
Slide the battery into the battery holder on the badge. One side of the battery has text -- this side should be facing up (away from the PCB) as illustrated.
If the LEDs do not light up, chances are the battery was inserted upside down. Don't fret! The electronics are fine! Just flip the battery around and it should work.