跳转到主内容

LeapFrog LeapPad2 Explorer Back Cover Replacement

你所需要的

  1. LeapFrog LeapPad2 Explorer Back Cover Replacement, Battery: 步骤 1 中的图像 1,2 LeapFrog LeapPad2 Explorer Back Cover Replacement, Battery: 步骤 1 中的图像 2,2
    • Before disassembling your LeapPad, ensure your device is shut off.

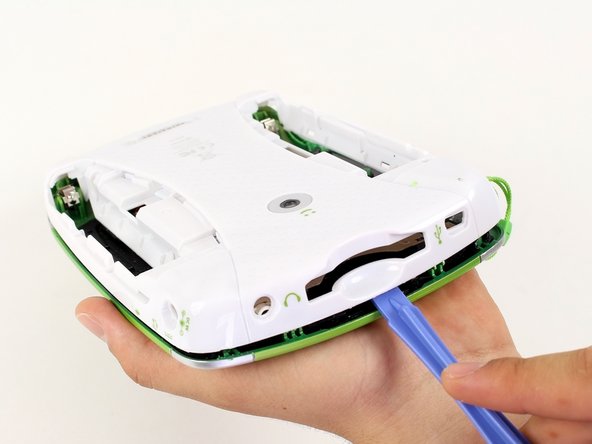
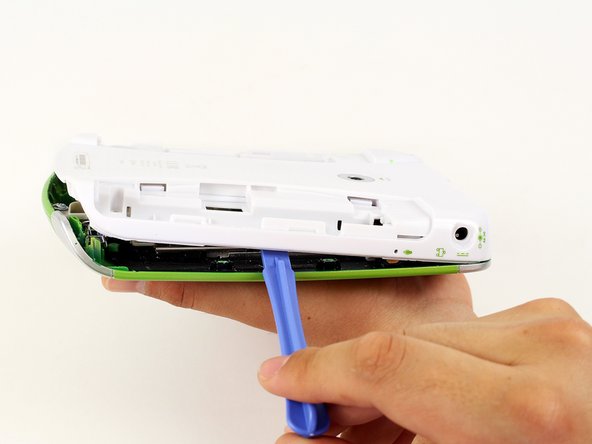
    • Push outward on the plastic side panels to remove and reveal battery.

    • The panels should detach fully from the main device.

  2. LeapFrog LeapPad2 Explorer Back Cover Replacement: 步骤 2 中的图像 1,3 LeapFrog LeapPad2 Explorer Back Cover Replacement: 步骤 2 中的图像 2,3 LeapFrog LeapPad2 Explorer Back Cover Replacement: 步骤 2 中的图像 3,3
    • Push down from the positive end of the battery towards the negative end to pry the battery up out of its dispenser.

    • Remove all four AA alkaline batteries from the device.

  3. LeapFrog LeapPad2 Explorer Back Cover Replacement, Back Cover: 步骤 3 中的图像 1,2 LeapFrog LeapPad2 Explorer Back Cover Replacement, Back Cover: 步骤 3 中的图像 2,2
    • This step will void your device warranty.

    • Remove the following screws securing the back cover to the main device:

    • Two 10.0 mm Phillips screws

    • Four 4.0 mm Phillips screws

    • Three 3.0 mm Phillips screws

  4. LeapFrog LeapPad2 Explorer Back Cover Replacement: 步骤 4 中的图像 1,3 LeapFrog LeapPad2 Explorer Back Cover Replacement: 步骤 4 中的图像 2,3 LeapFrog LeapPad2 Explorer Back Cover Replacement: 步骤 4 中的图像 3,3
    • Insert a plastic opening tool into the seam between the front and rear covers to detach the back cover from the rest of the device.

    • Move the plastic opening tool around the perimeter of the LeapPad2.

    • Lift up and remove the rear case from the tablet.

    • A butter knife can help when prying the device.

结论

To reassemble your device, follow these instructions in reverse order.

Nupur Garg

于04/12/14注册

867 声望

创作了7篇指南

团队

Cal Poly, Team 8-10, Regan Spring 2014 Cal Poly, Team 8-10, Regan Spring 2014 的会员

CPSU-REGAN-S14S8G10

4 名成员

创作了16篇指南

0条评论

添加评论

浏览统计数据:

过去 24 小时: 0

过去 7 天: 0

过去 30 天: 5

总计 1,408