当前版本的文档还未经巡查,您可以查看最新的已查核版本。
-
-
Flip over the Pad to its back side to begin the removal of the back panel.
-
Begin by removing the blue rim along the edge of the device. It runs along the green silicone lining.
-
This is very difficult to remove , so do be patient. To help remove the seal, both a metal spudger and plastic opening tool may be used.
-
Remove the pen from its place before starting to avoid tangling.
-
-
Once the blue rim is removed, the 12 screws will be visible.
-
Use the Phillips #1 screwdriver to unscrew all 12 screws.
-
-
-
Begin with the removal of the battery from its place.
-
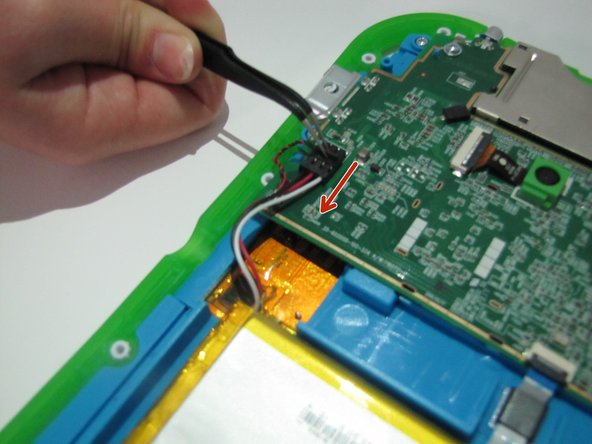
Flip the black switch that is connecting the battery to the motherboard.
-
Then pull gently and should disconnect.
-
-
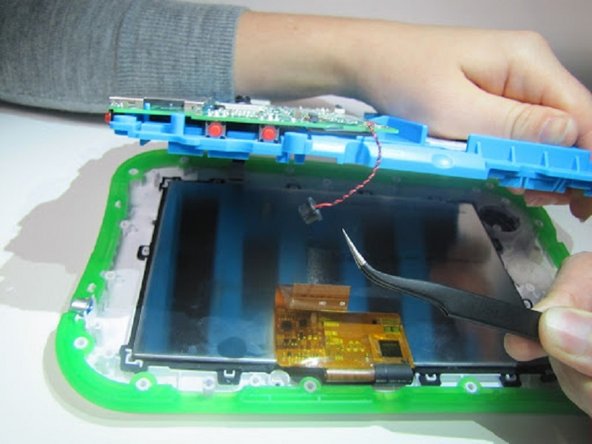
Remove the black and white ribbon structures from the side of the motherboard.
-
Next, remove the three screws along the corners of the motherboard using the Phillips # 1 screwdriver.
-
-
嵌入本指南
选择一个尺寸并复制下面的代码,将本指南作为一个小插件嵌入到你的网站/论坛中。
预览