简介
Our neighbours asked us if we wanted their old but still in pretty good shape, leather Lazy Boy powered recliner, the leg lift didn’t work anymore and their dog had chewed the remote control cable. They were getting a new one and were hoping the old one didn’t have to go to the landfill. It was still a useful chair, but needed some repairing.
Note, I went to a Lazy Boy store and wanted to buy a replacement part, I was told I would have to put in a Service request and wait for them to contact me. I could in-vision that become very costly very fast. This is why I fixed it myself.
你所需要的
-
-
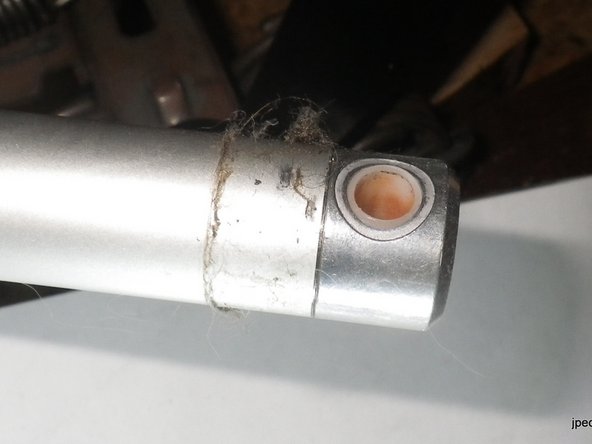
Pictured the broken connector inside the linear actuator. To the right is the lifting part it was connected to.
-
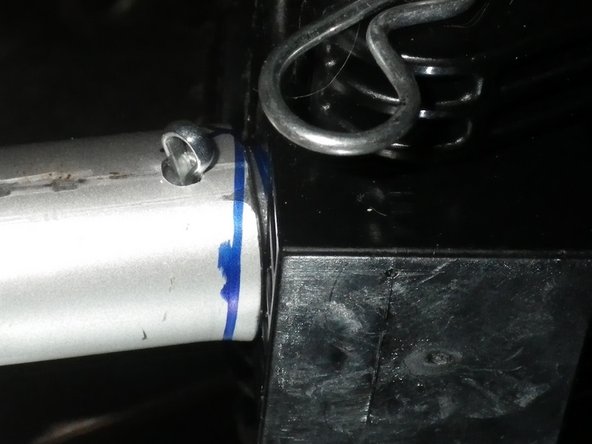
Next picture is the linear actuator and where it is connected at the other end.
-
-
-
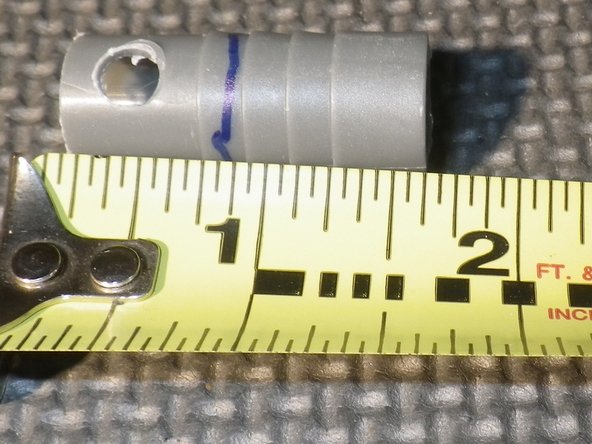
This is what the manufactured part looks like, it is made of metal, it is threaded and has a 1/4 inch bushing at the other end for the locking pin.
-
-
-
-
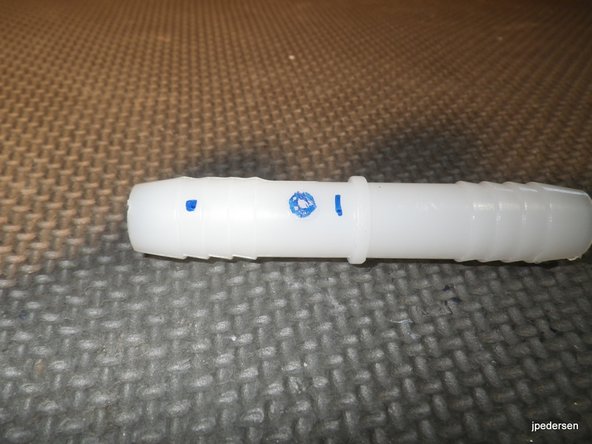
The white connector is made out of nylon and is what I used for the fix, the gray connector was made out of polypropylene, it failed on the first test after the initial repair, It was used as a template for the repair with the nylon piece that continues to work well, day after day since I put it in.
-
The nylon is self lubricating so there is no need for an additional bushing for the connector pin.
-
-
-
The "new" part had a 1/4inch hole drilled into one end of it using measurements from the other manufactured part. The barbed part was then inserted into the threaded end and since it could not be tightened, I drilled an 1/8 inch hole through the hole assembly and inserted a cotter pin to hold ti in place.
-
-
-
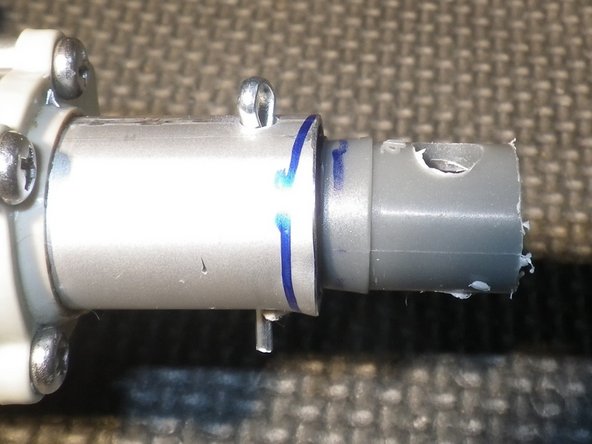
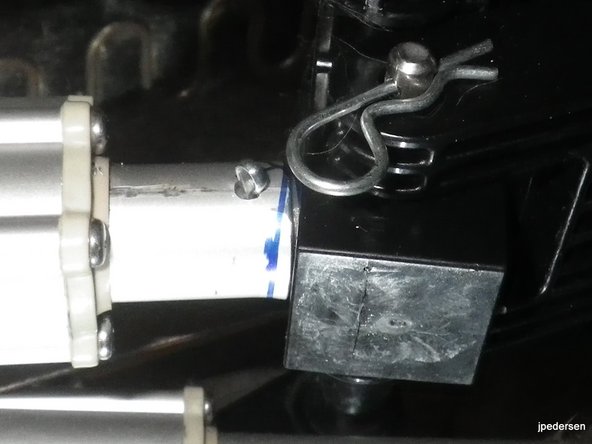
The linear actuator is reinstalled and connected to the lifting mechanism.
-
-
-
I didn't include information on the wired repair, since it was just cutting out the damaged wires and reconnecting them with wire connectors .
-


To reassemble your device, follow these instructions in reverse order.
To reassemble your device, follow these instructions in reverse order.