本指南有最近更改,您可查看未经巡查的最新版本。
简介
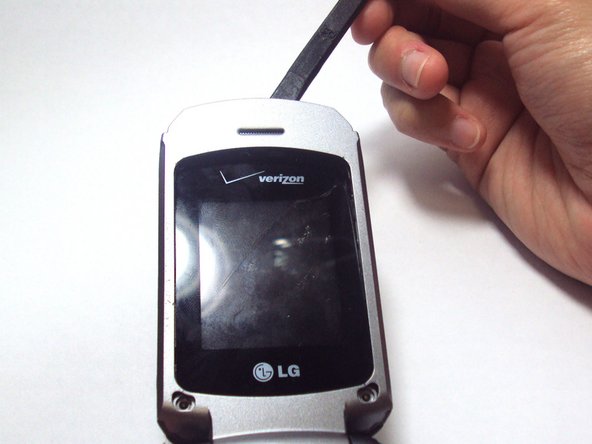
In order to install a new camera to your LG VX5600, you will be required to disassemble most of the top half of the phone.
你所需要的
-
-
Hold your phone with the back casing facing you and the bottom of the phone towards the sky.
-
Push down on the cover and slide down to remove. You should only have to apply minimal pressure.
-
-
-
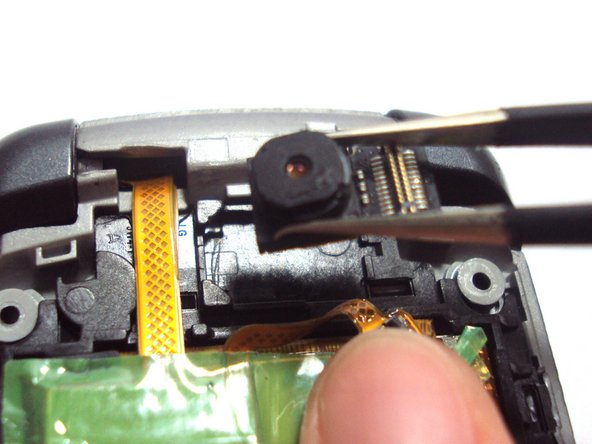
Use tweezers to remove the two rubber covers found at the left and right corners below the inside screen.
-
-
-
-
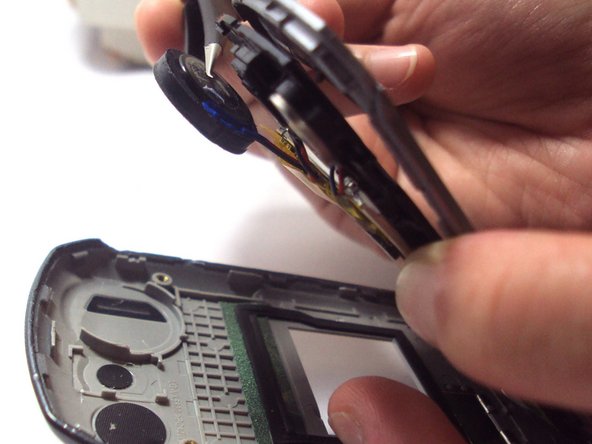
Use one hand to grasp the phone and prop the inner grey casing up.
-
Unscrew the two 3.0-mm Phillips #000 screws located at the upper left and right corners.
-


To reassemble your device, follow these instructions in reverse order.
To reassemble your device, follow these instructions in reverse order.
另外一个人完成了本指南。
团队

University of Kentucky Louisville, Team 1-5, Chamberlain Spring 2013 University of Kentucky Louisville, Team 1-5, Chamberlain Spring 2013 的会员
LOUISVILLE-CHAMBERLAIN-S13S1G5
2 名成员
创作了12篇指南