跳转到主内容

LG G2 Camera Replacement

你所需要的

  1. 注意:步骤 1-10 源自标记为进行中的 指南

    LG G2 Camera Replacement, Motherboard: 步骤 1 中的图像 1,1
    • Using the plastic opening tool, or the thin side of the spudger to separate the back cover from the phone. Start at the bottom corner of the phone. Be gentle because it may cause cosmetic and internal damage if not done with care.

  2. LG G2 Camera Replacement: 步骤 2 中的图像 1,2 LG G2 Camera Replacement: 步骤 2 中的图像 2,2
    • With the back cover removed you will get a view like this.

    • Use the Phillips 00 screw driver to remove all visible screws. Try to organize the screws so there is no confusion when reassembling the phone.

    • 6 silver cross head phillips #1 4mm screws circled in red.

    • 5 gold cross head phillips #1 4mm screws circled in yellow.

    • 1 black cross head phillips #2 2mm screws circled in blue.

  3. LG G2 Camera Replacement: 步骤 3 中的图像 1,2 LG G2 Camera Replacement: 步骤 3 中的图像 2,2
    • After all visible screws have been removed use the spudger to pop off the top plastic cover.

  4. LG G2 Camera Replacement: 步骤 4 中的图像 1,2 LG G2 Camera Replacement: 步骤 4 中的图像 2,2
    • Do the same for the bottom plastic cover.

  5. LG G2 Camera Replacement: 步骤 5 中的图像 1,3 LG G2 Camera Replacement: 步骤 5 中的图像 2,3 LG G2 Camera Replacement: 步骤 5 中的图像 3,3
    • The motherboard should be full visible now.

    • Start loosening all the connectors to the motherboard with the pointy side of the spudger. Look at picture to make sure all connectors have been disconnected.

  6. LG G2 Camera Replacement: 步骤 6 中的图像 1,2 LG G2 Camera Replacement: 步骤 6 中的图像 2,2
    • After all connector are loosened up the motherboard should be free, but before removing it lets disconnect it a little further.

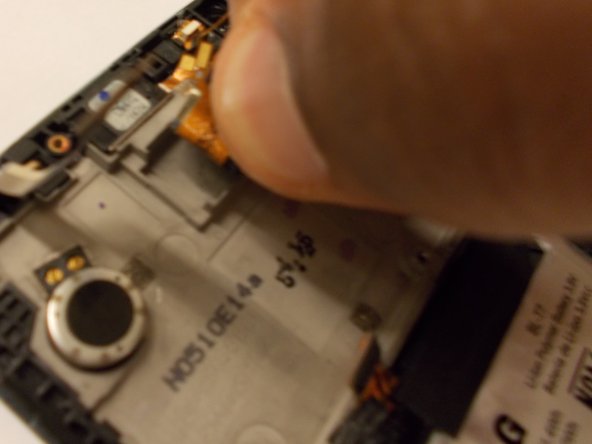
    • The flex cables running on the left and right side of the battery are connected to a smaller board connected which on their turn is connected with small amounts of adhesive materials to the motherboard. Use the spudger to carefully separate the smaller board of the motherboard.

  7. LG G2 Camera Replacement: 步骤 7 中的图像 1,1
    • Make sure you pay attention when removing the left flex cable because it is also connected to the side. Simply just peal this part away also. It may be a little more difficult than the upper connections, but just peel away. It may bend a little but be careful not to break.

  8. LG G2 Camera Replacement: 步骤 8 中的图像 1,1
    • It may seem as if the flex cable are free to remove, but not yet. The two flex cable are both together at the bottom, and connected to a small control board. Therefore we need to remove the control board completely.

  9. LG G2 Camera Replacement: 步骤 9 中的图像 1,1
    • Disconnect the 2 connectors. The LCD connector (red color coded) and the Digitizer (yellow color coded). Together with these 2, remove the 2 antenna connections (green color coded) also.

  10. LG G2 Camera Replacement: 步骤 10 中的图像 1,2 LG G2 Camera Replacement: 步骤 10 中的图像 2,2
    • The motherboard is also held down with some adhesive but carefully can be pried up. Make use of Spudger.

    • When motherboard is removed you will get a view like this.

  11. LG G2 Camera Replacement, Camera: 步骤 11 中的图像 1,2 LG G2 Camera Replacement, Camera: 步骤 11 中的图像 2,2
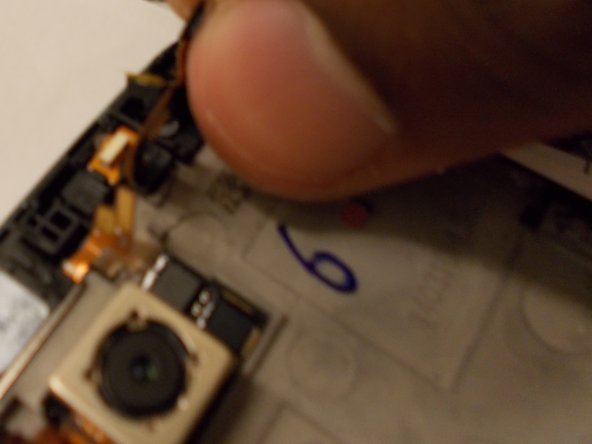
    • Front camera is located on the top right.

    • To remove the front camera simply grab the connector and pull out.

  12. LG G2 Camera Replacement: 步骤 12 中的图像 1,2 LG G2 Camera Replacement: 步骤 12 中的图像 2,2
    • Back camera is located top middle.

    • Use spudger to pry away, and gently remove the camera.

结论

To reassemble your device, follow these instructions in reverse order.

14等其他人完成本指南。

Jair

于10/09/14注册

1,518 声望

创作了4篇指南

团队

USF Tampa, Team 2-1, Blackwell Fall 2014 USF Tampa, Team 2-1, Blackwell Fall 2014 的会员

USFT-BLACKWELL-F14S2G1

4 名成员

创作了5篇指南

0条评论

添加评论

浏览统计数据:

过去 24 小时: 0

过去 7 天: 0

过去 30 天: 0

总计 3,068