简介
If the image through the view finder on your Kodak Signet 35 camera is unclear, then the beamsplitter may be damaged or dirty. This guide will walk you through the process of removing the beamsplitter for proper cleaning or replacing. Please take into consideration the necessary tools and enough time to disassemble and reassemble the device with proper care.
你所需要的
-
-
While holding the dial with one hand, use a 4mm flathead screw driver to remove the flathead screw that holds the dial in place.
-
Remove the washer located underneath each dial.
-
Repeat the same process for the other dial/knob.
-
-
-
-
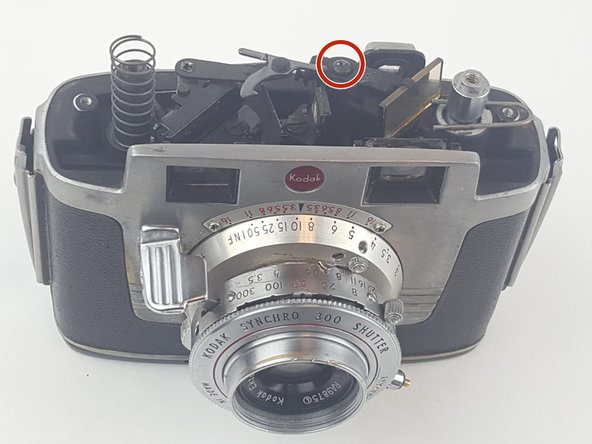
Using a Phillips head screwdriver, remove the vertical-facing Phillips screw that holds the metal bracket in place located near the viewfinder.
-
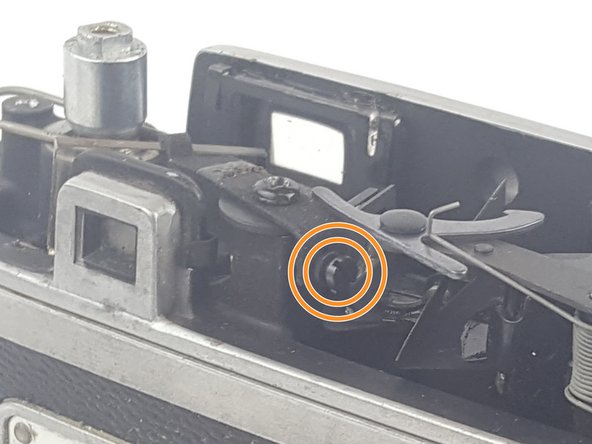
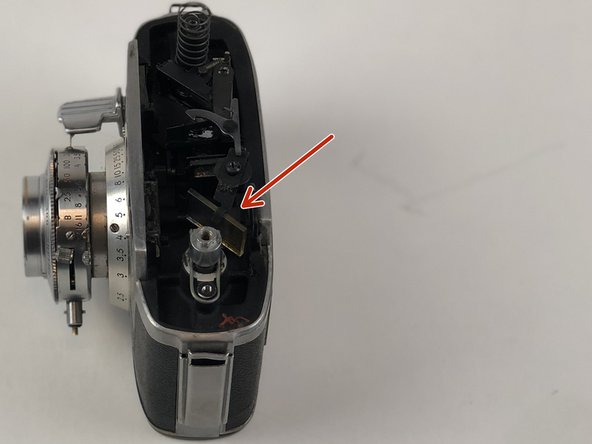
Using a 2.5mm flathead screw driver, gently loosen the horizontal screw that holds the metal bracket just enough to make it easier to release the beamsplitter.
-


To reassemble your device, follow these instructions in reverse order.
To reassemble your device, follow these instructions in reverse order.

团队

USF Tampa, Team S9-G2, Remmell Fall 2017 USF Tampa, Team S9-G2, Remmell Fall 2017 的会员
USFT-REMMELL-F17S9G2
4 名成员
创作了6篇指南
一条评论
Assembling note.The hooked arm for the film counter dial needs to be held back so it will hit the counter ratchet wheel. I did it with the waxed paper left over from double-sided tape. You can stick the paper so the hook arm is held back from its normal moving position. Once the lid is held in place you carefully pull the paper out. Otherwise you will struggle with the counter as the catch won’t hit the ratchet wheel.