跳转到主内容
加入维修社区 - 创建账户
Kodak EasyShare C913 LCD Screen Replacement

你所需要的

  1. Kodak EasyShare C913 LCD Screen Replacement, Batteries: 步骤 1 中的图像 1,3 Kodak EasyShare C913 LCD Screen Replacement, Batteries: 步骤 1 中的图像 2,3 Kodak EasyShare C913 LCD Screen Replacement, Batteries: 步骤 1 中的图像 3,3
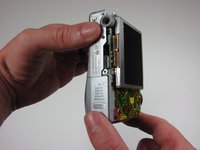
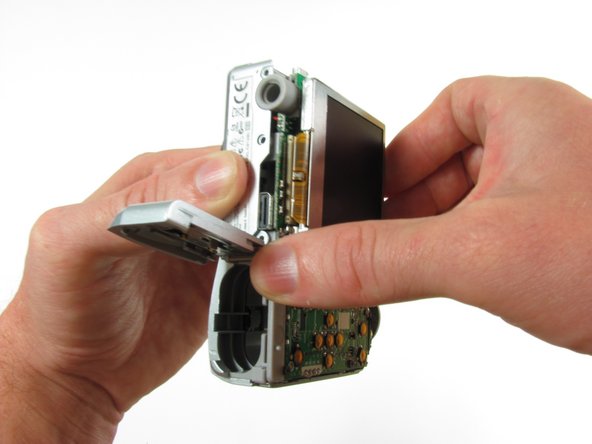
    • Position the camera with the bottom facing up.

    • Slide the battery cover in the direction of the arrow with your finger gently.

    • Remove the batteries

    询问修复机器人
  2. Kodak EasyShare C913 LCD Screen Replacement, Back Case: 步骤 2 中的图像 1,3 Kodak EasyShare C913 LCD Screen Replacement, Back Case: 步骤 2 中的图像 2,3 Kodak EasyShare C913 LCD Screen Replacement, Back Case: 步骤 2 中的图像 3,3
    • Remove the seven 4.5mm screws with a Phillips #00 screwdriver.

    • 2 screws on the left, 2 screws on the right, 3 screws on the bottom

    询问修复机器人
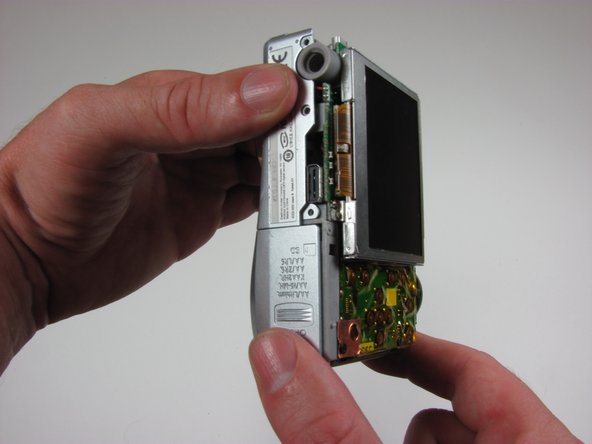
  3. Kodak EasyShare C913 LCD Screen Replacement: 步骤 3 中的图像 1,3 Kodak EasyShare C913 LCD Screen Replacement: 步骤 3 中的图像 2,3 Kodak EasyShare C913 LCD Screen Replacement: 步骤 3 中的图像 3,3
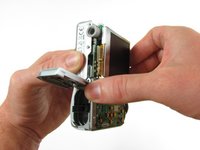
    • Firmly grasp the back of the camera and pull the casing away.

    询问修复机器人
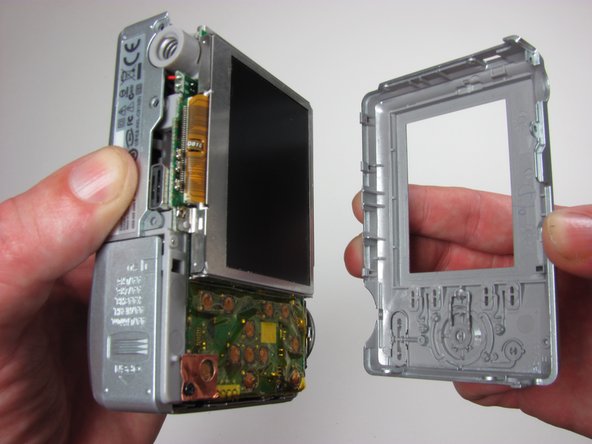
  4. Kodak EasyShare C913 LCD Screen Replacement, Front Case: 步骤 4 中的图像 1,3 Kodak EasyShare C913 LCD Screen Replacement, Front Case: 步骤 4 中的图像 2,3 Kodak EasyShare C913 LCD Screen Replacement, Front Case: 步骤 4 中的图像 3,3
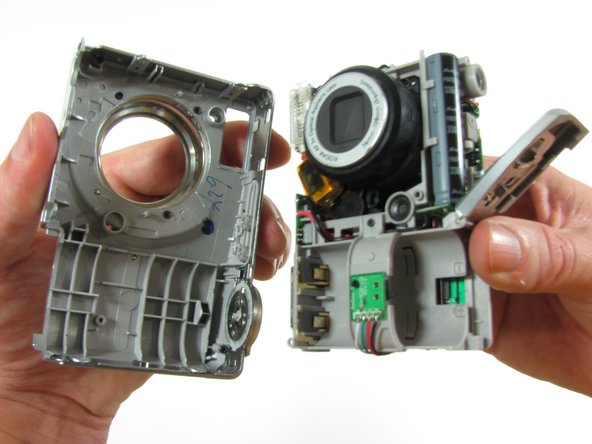
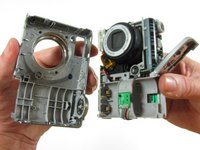
    • Keep the battery door open

    • Firmly grasp the front casing and pull it away from the camera.

    询问修复机器人
  5. Kodak EasyShare C913 LCD Screen Replacement, LCD Screen: 步骤 5 中的图像 1,3 Kodak EasyShare C913 LCD Screen Replacement, LCD Screen: 步骤 5 中的图像 2,3 Kodak EasyShare C913 LCD Screen Replacement, LCD Screen: 步骤 5 中的图像 3,3
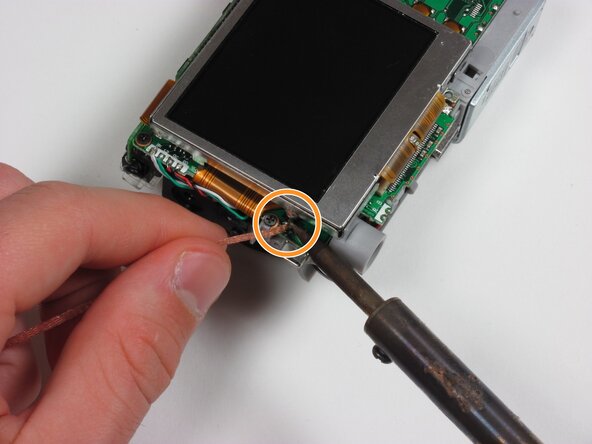
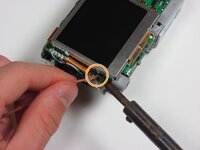
    • Look at the LCD casing and find the two smaller solder joints. One on either side of the camera secures the circuit board's casing. These are usually shiny and metallic points where the casing connects to the board.

    • Apply the tip of the heated solder to the first joint to remove it. Continue with the other side.

    询问修复机器人
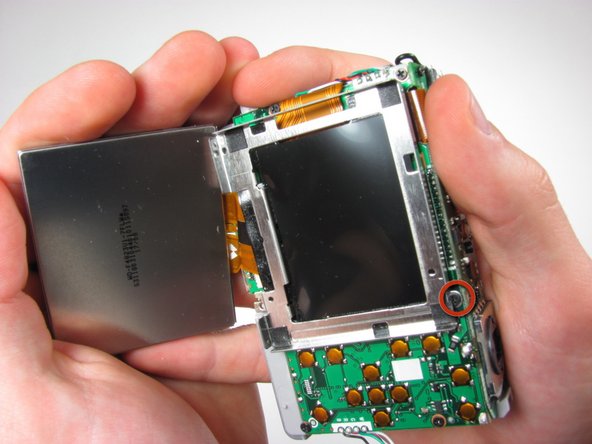
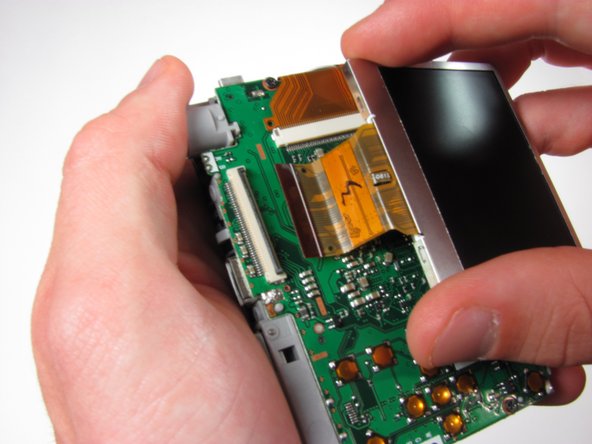
  6. Kodak EasyShare C913 LCD Screen Replacement: 步骤 6 中的图像 1,3 Kodak EasyShare C913 LCD Screen Replacement: 步骤 6 中的图像 2,3 Kodak EasyShare C913 LCD Screen Replacement: 步骤 6 中的图像 3,3
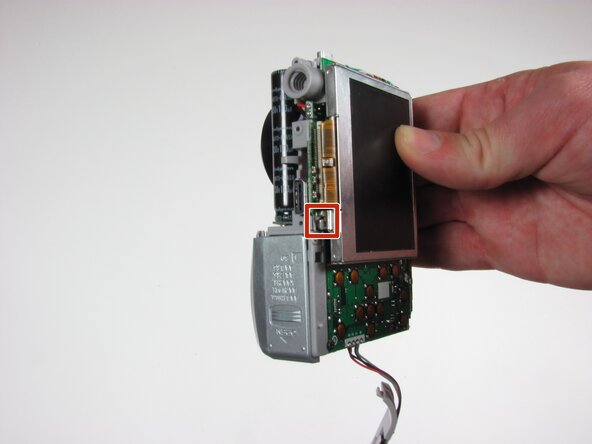
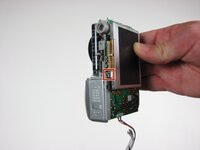
    • Gently grasp the lower right side of LCD screen.

    • Lift the screen out of its casing.

    • Remove the 3 mm screw from the LCD casing using a #00 screwdriver.

    询问修复机器人
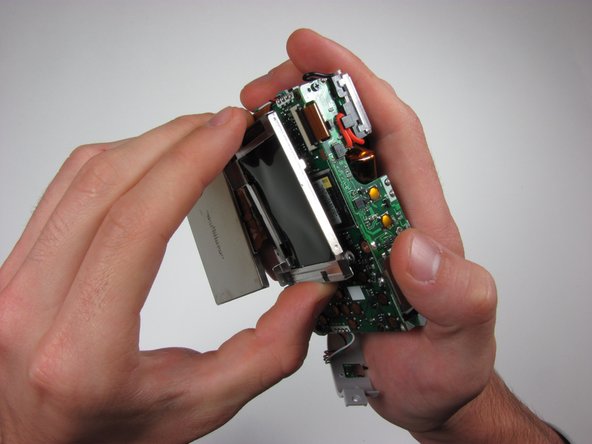
  7. Kodak EasyShare C913 LCD Screen Replacement: 步骤 7 中的图像 1,3 Kodak EasyShare C913 LCD Screen Replacement: 步骤 7 中的图像 2,3 Kodak EasyShare C913 LCD Screen Replacement: 步骤 7 中的图像 3,3
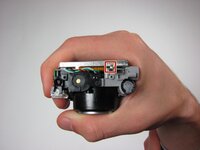
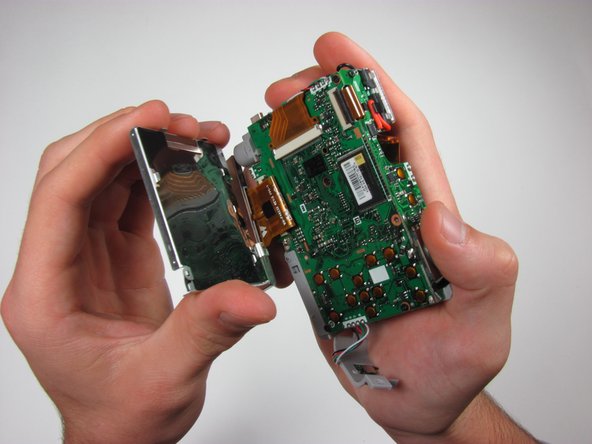
    • Gently grab the sides of the LCD casing and remove it from the camera.

    询问修复机器人
  8. Kodak EasyShare C913 LCD Screen Replacement: 步骤 8 中的图像 1,2 Kodak EasyShare C913 LCD Screen Replacement: 步骤 8 中的图像 2,2
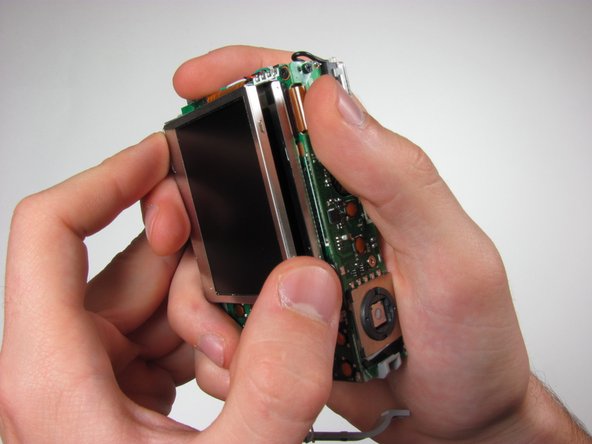
    • Lift the black tab gently with your finger.

    • Gently remove ribbon from underneath black tab.

    询问修复机器人
结论

To reassemble your device, follow these instructions in reverse order. Take your e-waste to an R2 or e-Stewards certified recycler.

另外一个人完成了本指南。

团队

Cal Poly, Team 7-51, Amido Fall 2010 Cal Poly, Team 7-51, Amido Fall 2010 的会员

CPSU-AMIDO-F10S7G51

4 名成员

创作了14篇指南

0指南评论

添加评论

浏览统计数据:

过去 24 小时: 1

过去 7 天: 13

过去 30 天: 80

总计 4,955