跳转到主内容

本指南有最近更改,您可查看未经巡查的最新版本

Kodak EasyShare C142 LCD Replacement

你所需要的

  1. Kodak EasyShare C142 LCD Replacement, LCD: 步骤 1 中的图像 1,3 Kodak EasyShare C142 LCD Replacement, LCD: 步骤 1 中的图像 2,3 Kodak EasyShare C142 LCD Replacement, LCD: 步骤 1 中的图像 3,3
    • Make sure the batteries and memory card of the camera are removed.

    • Remove the screws on either side of the camera. There are four (4) total screws, highlighted in red in the gallery.

  2. Kodak EasyShare C142 LCD Replacement: 步骤 2 中的图像 1,3 Kodak EasyShare C142 LCD Replacement: 步骤 2 中的图像 2,3 Kodak EasyShare C142 LCD Replacement: 步骤 2 中的图像 3,3
    • Remove the two (2) screws from the bottom of the camera.

    • Split the case from the battery compartment carefully until the rear case is separated from the rest of the camera, as shown in the third image.

  3. Kodak EasyShare C142 LCD Replacement: 步骤 3 中的图像 1,3 Kodak EasyShare C142 LCD Replacement: 步骤 3 中的图像 2,3 Kodak EasyShare C142 LCD Replacement: 步骤 3 中的图像 3,3
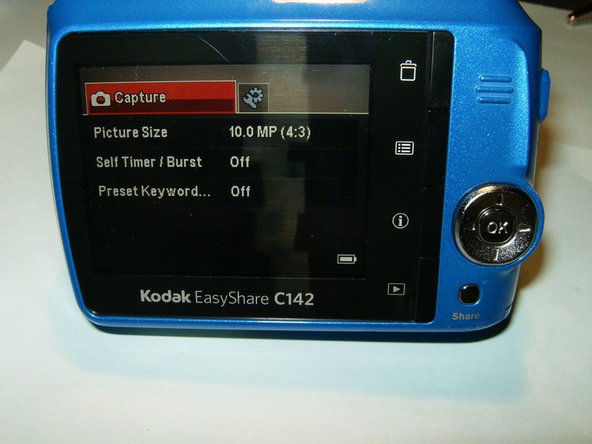
    • Carefully slide the LCD out of its holder until the connector, highlighted in blue, is visible. Open the clip on the connector by pulling it with your fingernail to the right of the screen.

    • Remove the damaged LCD and insert the replacement.

    • After clipping the connector again, reassemble the camera using the six (6) previously removed screws.

结论

To reassemble your device, follow these instructions in reverse order.

oldturkey03

于09/29/10注册

782,145 声望

创作了119篇指南

团队

Global Fixers Global Fixers 的会员

Community

33 名成员

创作了537篇指南

0条评论

添加评论

浏览统计数据:

过去 24 小时: 1

过去 7 天: 6

过去 30 天: 13

总计 1,846