跳转到主内容

Kindle 7th Generation Screen Replacement

你所需要的

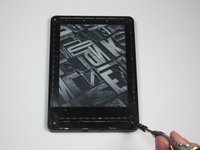
  1. Kindle 7th Generation Screen Replacement, Front Panel: 步骤 1 中的图像 1,2 Kindle 7th Generation Screen Replacement, Front Panel: 步骤 1 中的图像 2,2
    • Power off your Kindle before beginning disassembly.

    • At each corner, use the blue plastic opening tool to unhook and separate the front panel from the adhesive.

    • Run the tool along the seams to pry open the front panel.

  2. Kindle 7th Generation Screen Replacement: 步骤 2 中的图像 1,1
    • Peel the front panel off to remove it from the Kindle.

    • If this is the first time the front panel has been removed, the adhesive may require a significant amount of force to undo.

    • To prevent damaging the front panel, peel the panel from the corners towards the middle of the Kindle.

    • When reassembling your device, if you are replacing the front panel, additional adhesive may be required.

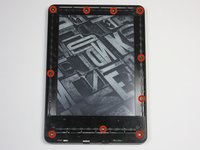
  3. Kindle 7th Generation Screen Replacement, Back Panel: 步骤 3 中的图像 1,2 Kindle 7th Generation Screen Replacement, Back Panel: 步骤 3 中的图像 2,2
    • Remove the ten 5.0 mm T5 Torx screws.

    • A magnetized screw mat can help you keep track of your screws.

  4. Kindle 7th Generation Screen Replacement: 步骤 4 中的图像 1,1
    • Working evenly along the corners and edges, separate the internal contents from the back panel.

    • There are many clips securing the screen to the back panel. Force will be required to remove the back, but you should never feel that the Kindle may break.

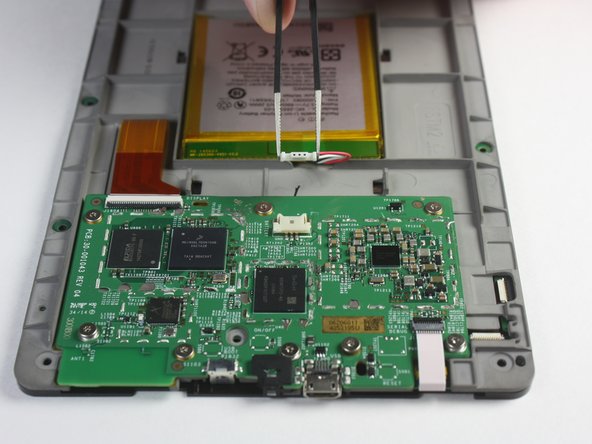
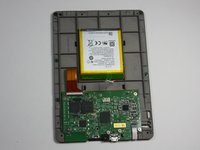
  5. Kindle 7th Generation Screen Replacement, Motherboard: 步骤 5 中的图像 1,2 Kindle 7th Generation Screen Replacement, Motherboard: 步骤 5 中的图像 2,2
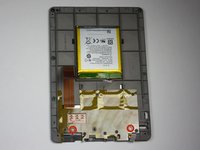
    • Flip the screen over to face the motherboard and battery pack.

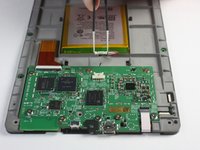
    • Use the blunted precision tweezers to gently unclip and detach the cable connecting the battery pack and motherboard.

  6. Kindle 7th Generation Screen Replacement: 步骤 6 中的图像 1,3 Kindle 7th Generation Screen Replacement: 步骤 6 中的图像 2,3 Kindle 7th Generation Screen Replacement: 步骤 6 中的图像 3,3
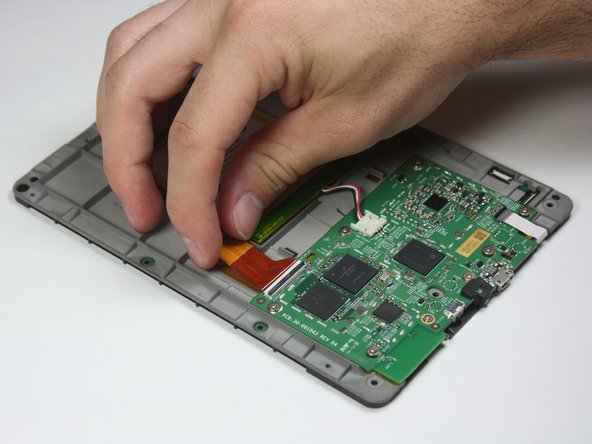
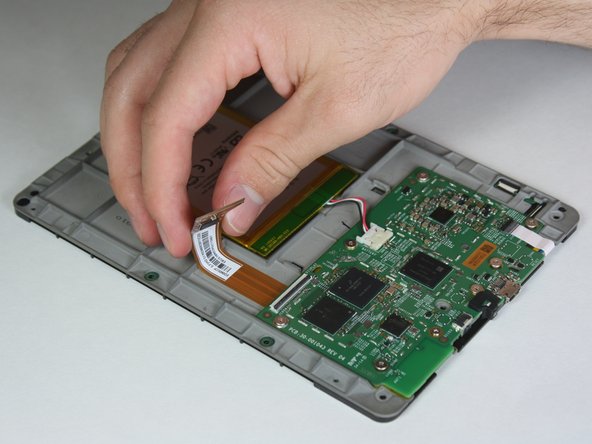
    • Use the tip of the spudger to flip up the small retaining flap on the copper colored zero insertion force (ZIF) connector.

    • Make sure to flip up the flap and not the connection itself.

    • Pull the cable from the connector.

    • No force is required to do this, as the name, ZIF, implies.

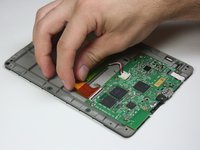
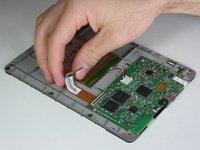
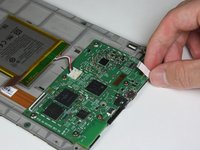
  7. Kindle 7th Generation Screen Replacement: 步骤 7 中的图像 1,2 Kindle 7th Generation Screen Replacement: 步骤 7 中的图像 2,2
    • Similar to the previous step, flip up the retaining flap on the white cable connector.

    • Pull the white cable from the connection.

    • During reassembly, make sure the retaining flaps for both the white and copper colored cable connections are secured. As these are zero insertion force connections, the cables could potentially slide out if this is not done.

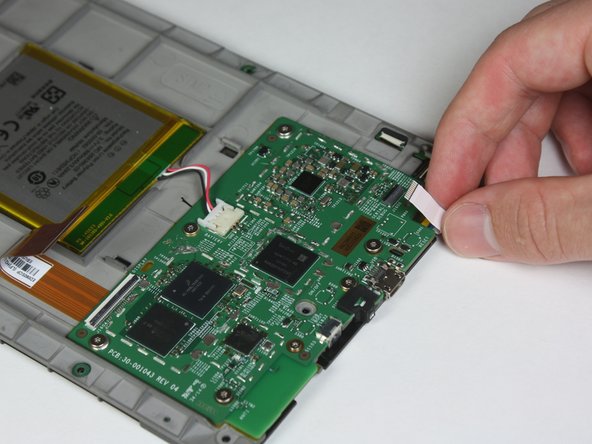
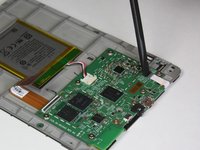
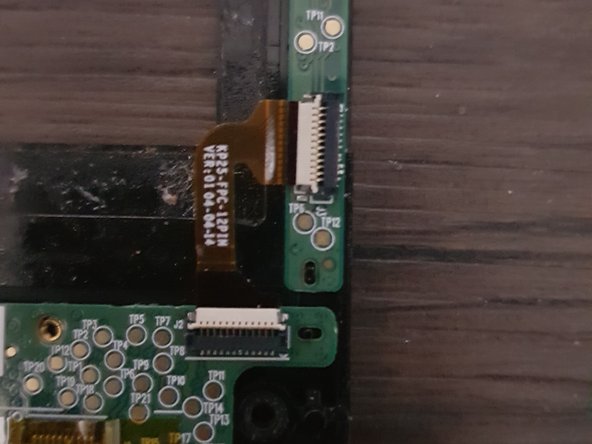
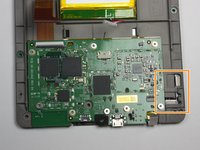
  8. Kindle 7th Generation Screen Replacement: 步骤 8 中的图像 1,2 Kindle 7th Generation Screen Replacement: 步骤 8 中的图像 2,2
    • Disconnect the touch digitiser bridge cable by using your Spudger to lift up the white tabs on both connectors.

    • Use tweezers to pull out the cable.

    • The touch digitiser bridge cable is the one connecting between these two connectors.

  9. Kindle 7th Generation Screen Replacement: 步骤 9 中的图像 1,2 Kindle 7th Generation Screen Replacement: 步骤 9 中的图像 2,2
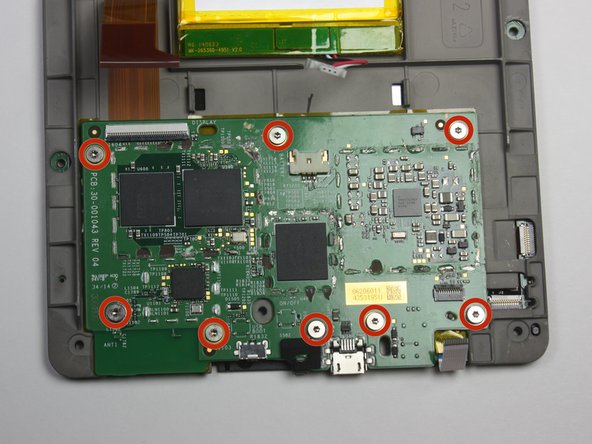
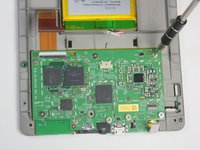
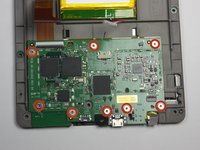
    • Use the T5 Torx screwdriver to remove the eight 3.0 mm Phillips Head screws.

    • Some screws have washers associated with them. It is important to keep track of the washers and remember which thread they came from.

  10. Kindle 7th Generation Screen Replacement: 步骤 10 中的图像 1,1
    • Remove the motherboard.

  11. Kindle 7th Generation Screen Replacement, Screen: 步骤 11 中的图像 1,2 Kindle 7th Generation Screen Replacement, Screen: 步骤 11 中的图像 2,2
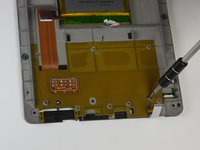
    • Remove the two 2.5 mm Phillips Head screws using the T5 Torx screwdriver.

  12. Kindle 7th Generation Screen Replacement: 步骤 12 中的图像 1,1
    • Use the plastic opening tool to pry the battery from the back side of the screen.

    • The battery has excessive adhesive so this may take some extra effort.

  13. Kindle 7th Generation Screen Replacement: 步骤 13 中的图像 1,1
    • Run the plastic opening tool around the edge to separate the bezel from the adhesive.

  14. Kindle 7th Generation Screen Replacement: 步骤 14 中的图像 1,1
    • Remove the bezel from the screen.

    • Use care, the bezel and circuit board are flimsy and the adhesive is strong.

结论

To reassemble your device, follow these instructions in reverse order.

9等其他人完成本指南。

Mitchell

于01/30/15注册

824 声望

撰写一个指南

团队

Cal Poly, Team 6-28, Amido Winter 2015 Cal Poly, Team 6-28, Amido Winter 2015 的会员

CPSU-AMIDO-W15S6G28

4 名成员

创作了18篇指南

9条评论

Hi, I have a big problem with my kindle 7th genration, the screen is frozen, I tried the root by pushing start buton for 40 sec and more, nothing, even if I took apart every peace of the tablaet ( main board batery...) it still frozen !!!! how can I fix it? thank you

yassine el fakir - 回复

i just let mine sit for a few months i didn’t even turn it on after a few months i plugged it in then turned it on and it worked

Victor Leija -

My screen froze two days ago while doing a reboot. So I read up on advice and nothing worked. Then I contacted Amazon and spent a mammoth six hours on chat trying to sort out the issue. After 5 consultants I ended up ordering a new kindle with a discount. When trying to apply the discount I spoke to an Australian Kindle guy who told me to drain the battery by leaving it for months without charge. Then I found this page and so I disassembled my Kindle up to removing the battery. Then I plugged the battery back in, and switched it on and it worked!! So I reassembled it and now it is working fine. Only problem is I just paid $249 for a new Kindle.

Marts Liena -

添加评论

浏览统计数据:

过去 24 小时: 2

过去 7 天: 30

过去 30 天: 154

总计 21,343