简介
This guide goes through the process to replace the ON/OFF Power and Wifi Switches on the First Generation Amazon Kindle.
你所需要的


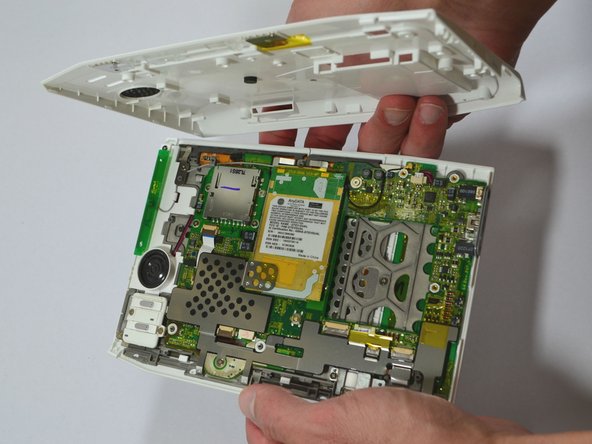


即将完成!
To reassemble your device, follow these instructions in reverse order.
结论
To reassemble your device, follow these instructions in reverse order.
另外一个人完成了本指南。
团队

University of Kentucky Louisville, Team 1-1, Chamberlain Spring 2013 University of Kentucky Louisville, Team 1-1, Chamberlain Spring 2013 的会员
LOUISVILLE-CHAMBERLAIN-S13S1G1
2 名成员
创作了7篇指南