简介
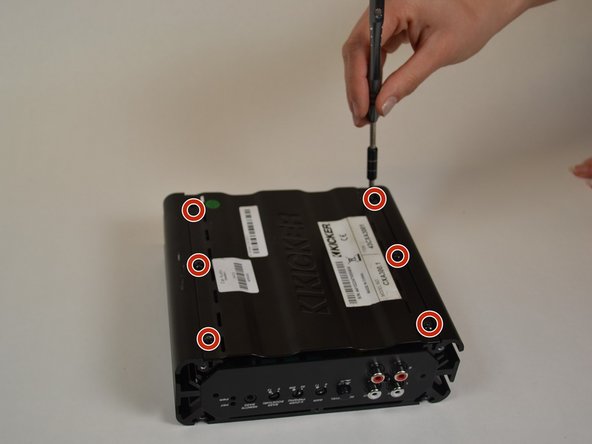
Follow this guide to replace a capacitor in a Kicker CXA 3001 amplifier.
你所需要的


To reassemble your device, follow these instructions in reverse order.
To reassemble your device, follow these instructions in reverse order.
团队

UW Tacoma, Team S1-G3, Liner Spring 2018 UW Tacoma, Team S1-G3, Liner Spring 2018 的会员
UWT-LINER-S18S1G3
3 名成员
创作了4篇指南
一条评论
Are you out of your mind or was this a late April Fools joke?!? That is NOT how you replace a capacitor, all you did was tear one off the board and take pictures of the carnage.
To replace a through-hole or snap-in capacitor you need to remove the board from the heat sink and (de)solder on the under side. In addition, proper selection of your replacement parts is crucial to the long-term viability of your repair.
If you are replacing a leaky/ruptured capacitor (or in this case, one that’s been torn off the board by a caveman) it’s critical to thoroughly clean any areas of the board and all components that were exposed to the electrolyte. The electrolyte in electrolytic capacitors is corrosive and will destroy the circuit board if it is not removed.
Tim, I encourage a response. Lets get some dialogue going.