简介
本指南将帮助您逐步完成更换 Keurig Mini 针的步骤。 要打开设备,您将需要的是#1十字螺丝刀。
你所需要的
-
-
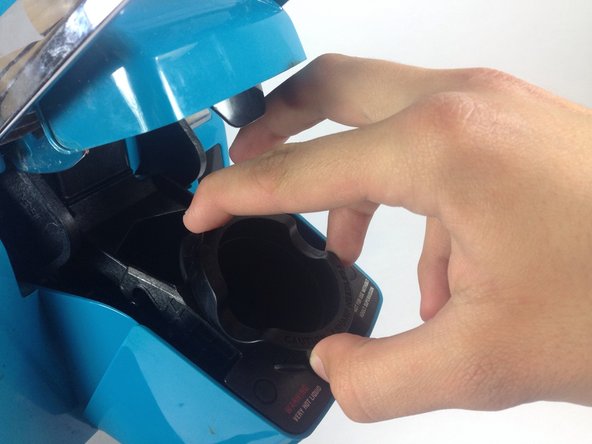
坚决把一个手指放在三的标签,把K杯架到位,每一个,在轻轻推。标签是很难看到的,但他们的存在将使容易清除。顶部的标签位于同一个位置,白色的三角形和底部两个位于塑料凸点突出的图片。
You may want to show a picture of the needles to show what exactly to avoid even though it might be blatantly obvious.
You should write "They" between "inside the K-cup because" and "may puncture your hand"
I did the needle up the 2 pin hole trick and it's working now!
What is a needle up the 2 pin hole trick?
Gina -
-
-
-
-
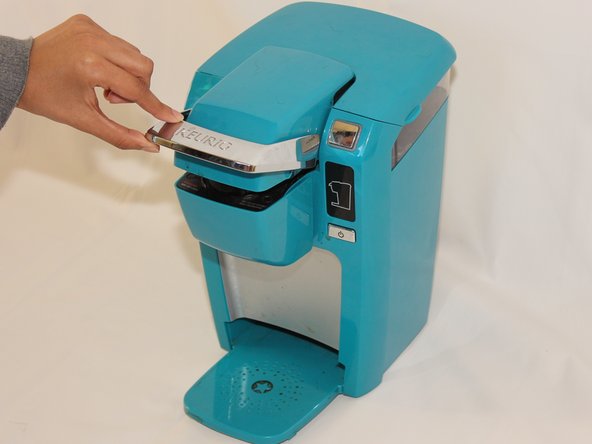
打开 Keurig 的顶盖。
-
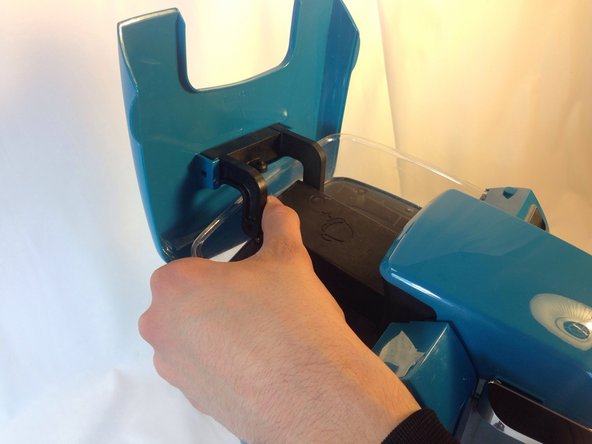
用手抓住顶盖的其中一个连接臂直接向外拉。 这将需要大力一些,以挣脱插销。 一侧的连接臂脱离后,另一条连接臂也重复这个过程。
This step isn’t necessary.
Thank you!! Since I sure cldnt get both arms to come off!
I cannot get the arms to come off at all!
-
-
-
将 Keurig 以竖直方向摆放,并让正面对着你。
-
从 Keurig 顶部拉下盖子。稍稍用力就能轻而易举的拿下。
Not coming off easily. Pull toward front a little helps.
There are two plastic latching tabs that hold down the back of this cover, about 5/8 inch in from either side. It should be possible to locate them by probing along the back parting line with a thin-blade screwdriver and release them by pressing forward. Or apply excessive force like I did and break them off.
Thx for warning, Lytle!
The two tabs face forward so pushing on them won't help. Instead, push the cover BACK while wiggling its sideways. The cover may stick a little at first. You can pry it up SLIGHTLY but once a small gap opens, quit prying...just push back and wiggle sideways until the cover moves back about quarter inch and comes loose.
-
-
-
牢牢抓住软管并将其从塑料喷嘴上拉出。
Before pulling, you can see if this portion of the tube is clogged. If clogged at the other end, you may be wasting time going further. See comments at the last step.
Maybe, but it’s unlikely to be the case. The transition from roomy hose to cramped needle outlets is where syphoned up coffee grounds get caked up. And you might not see it. I squeezed the hose at the union a few times and that made black crud come loose. A visual inspection only would not have shown that.
Our unit's hose end was secured with a plastic zip tie that had to be cut off. When replacing the hose, a new zip tie was required.
DO NOT cut it. Just slide the zip tie with your fingers. Then when reattaching the hose, put on hose first then shimmy zip tie back over union.
Thanks so much Sr Sr Jr for both comments here!
-
-
-
轻轻按下连接软管的喷嘴。 塑料外壳和针头一起弹出,不要太用力。
Handle needs to be in upright position, then it pops out without force.
The screws for the top cover are hard to get back in because they are not attracted to magnets. But they are honestly unnecessary to put back, and most likely there to keep the cover in place during assembly and transport. It clips in nicely on its own and won’t come off during normal use.
-


要重新组装您的设备,请按照相反的顺序执行这些指示。
要重新组装您的设备,请按照相反的顺序执行这些指示。
另外一个人完成了本指南。
团队

Cal Poly, Team 17-1, Forte Winter 2014 Cal Poly, Team 17-1, Forte Winter 2014 的会员
CPSU-FORTE-W14S17G1
5 名成员
创作了17篇指南