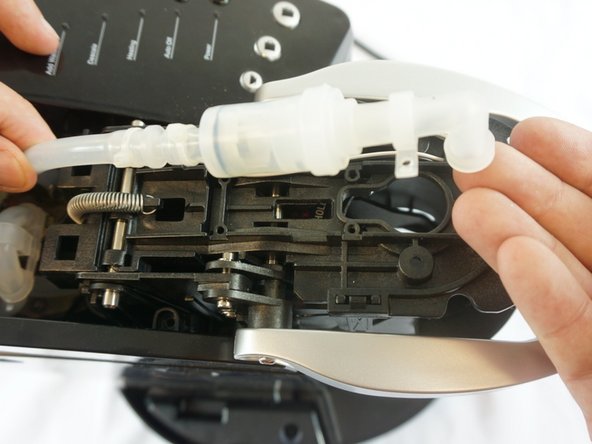
跳转到主内容

Keurig K40 Top Water Pump Replacement

你所需要的

  1. Keurig K40 Top Water Pump Replacement, Top Water Pump: 步骤 1 中的图像 1,1
    • Begin by removing the top cover from the device.

    • Remove the cover by gently rocking it back and forth with an emphasis on lowering the left side underneath an internal peg.

  2. Keurig K40 Top Water Pump Replacement: 步骤 2 中的图像 1,1
    • Unscrew both 1.5mm screws located on the water pump.

  3. Keurig K40 Top Water Pump Replacement: 步骤 3 中的图像 1,2 Keurig K40 Top Water Pump Replacement: 步骤 3 中的图像 2,2
    • Keeping one hand firmly placed on the device, tug upwards on the water pump until it is separated from the device.

    • The water pump and pipe should now be loose and easy to move as shown.

  4. Keurig K40 Top Water Pump Replacement: 步骤 4 中的图像 1,2 Keurig K40 Top Water Pump Replacement: 步骤 4 中的图像 2,2
    • Pull on the point where the pipe meets the water pump.

    • The pipe will come loose and the water filter will be free and ready to be replaced.

结论

To reassemble your device, follow these instructions in reverse order.

5等其他人完成本指南。

团队

USF Tampa, Team 6-1, Eyestone Spring 2016 USF Tampa, Team 6-1, Eyestone Spring 2016 的会员

USFT-EYESTONE-S16S6G1

3 名成员

创作了10篇指南

5指南评论

I NEED ONE OF THESE! Where can I find one????

G Steve - 回复

This is a check valve, not the water pump.

Rick Koen - 回复

Please rename this article. The item is not a water pump.

tvyse46 - 回复

I viewed this to replace the pump. But after the checkvalve was replaced through these instructions my K40 works like new. Thank you.

Glenn Stanley - 回复

After 4 months of storage, my Keurig didn't operate correctly when I tried using it again. The "add water" blue light, the "heat" red light and the middle "coffee cup" blue light, all x3 lights, blinked together... and the unit was seized up it seamed when I would try using it. After pulling the bottom apart and checking all those tubes, I found this web page, and then put the bottom back together again, and removed the top part to get to the "water pump" [check valve actually], and blew into it; it was completely seized. I blew a short spurt really hard un-siezing it. That's all it took. It was stuck from being in storage, dried out and sealed as it dried out. I put everything back together and I had to run the unit a few times until everything worked as it should. I really enjoyed this thread and everyone's collaboration, as it solved the root of my problem, which I couldn't find resolution anywhere else. Thanks a bunch! Don't forget to click on and read the detailed comments people wrote for each step...

John Smith - 回复

添加评论

浏览统计数据:

过去 24 小时: 5

过去 7 天: 19

过去 30 天: 70

总计 10,346