此翻译由机器生成,尚未经过人工审核。 会说这种语言吗? 查看评论。

Keurig K40 顶部水泵更换

最后更新于 2026年8月20日
浏览量: 1.1万
浏览统计数据:
- 过去24小时
- 1
- 过去 7 天:
- 22
- 过去 30 天:
- 131
- 总计
- 11,234
评论: 15
10 comments on steps, 5 guide comments.
Go to guide comments已完成: 5 6
5 人已将本指南标记为“已完成”。你会是下一个完成的人吗?
6 人已将本指南标记为“已完成”。包括你——干的漂亮!
收藏: 0 1
暂时还没有人收藏(和订阅)本指南。你会是第一个收藏(和订阅)的人吗?
1 人收藏(并订阅)了本指南——那就是你!
简介
转到步骤 1 ↓本指南将展示如何打开 Keurig K40 的顶部装置。同时还将展示如何拆卸并更换 Keurig K40 设备中的顶部水泵。
你所需要的


 询问修复机器人


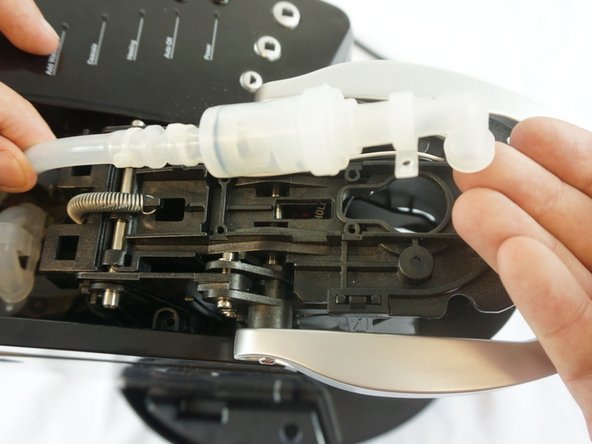
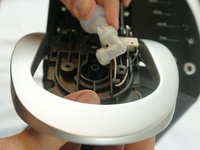
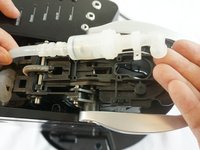

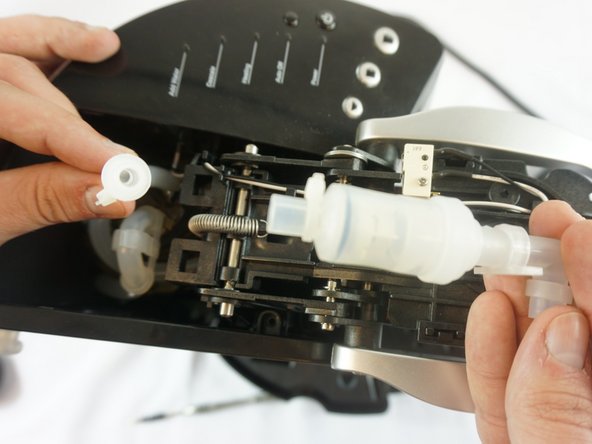
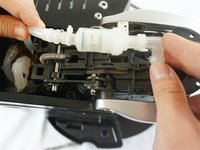
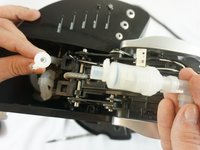
要重新组装设备,请按相反顺序执行这些说明。
5等其他人完成本指南。

团队

USF Tampa, Team 6-1, Eyestone Spring 2016 USF Tampa, Team 6-1, Eyestone Spring 2016 的会员
USFT-EYESTONE-S16S6G1
3 名成员
创作了60篇指南
5指南评论
I viewed this to replace the pump. But after the checkvalve was replaced through these instructions my K40 works like new. Thank you.
After 4 months of storage, my Keurig didn't operate correctly when I tried using it again. The "add water" blue light, the "heat" red light and the middle "coffee cup" blue light, all x3 lights, blinked together... and the unit was seized up it seamed when I would try using it. After pulling the bottom apart and checking all those tubes, I found this web page, and then put the bottom back together again, and removed the top part to get to the "water pump" [check valve actually], and blew into it; it was completely seized. I blew a short spurt really hard un-siezing it. That's all it took. It was stuck from being in storage, dried out and sealed as it dried out. I put everything back together and I had to run the unit a few times until everything worked as it should. I really enjoyed this thread and everyone's collaboration, as it solved the root of my problem, which I couldn't find resolution anywhere else. Thanks a bunch! Don't forget to click on and read the detailed comments people wrote for each step...
John Smith - 回复 分享
