跳转到主内容
加入维修社区 - 创建账户

此翻译由机器生成,尚未经过人工审核。 会说这种语言吗? 查看评论。

Keurig 2.0-400 微型泵更换

你所需要的

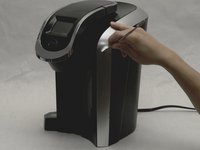
    1. Keurig 2.0-400 微型泵更换, 水箱: 步骤 1 中的图像 1,1
      • 用手找到并握住水箱。

      询问修复机器人

      添加评论

    2. Keurig 2.0-400 微型泵更换, 提起水箱: 步骤 2 中的图像 1,3 Keurig 2.0-400 微型泵更换, 提起水箱: 步骤 2 中的图像 2,3 Keurig 2.0-400 微型泵更换, 提起水箱: 步骤 2 中的图像 3,3
      • 向上提起水箱。它应该很容易与咖啡机主体分离。

      询问修复机器人

      添加评论

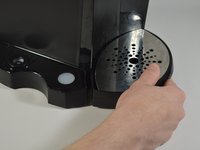
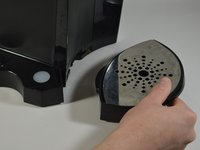
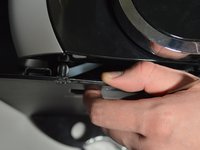
    1. Keurig 2.0-400 微型泵更换, 拆下接水盘: 步骤 3 中的图像 1,2 Keurig 2.0-400 微型泵更换, 拆下接水盘: 步骤 3 中的图像 2,2
      • 将接水盘向外拉,使其脱离设备。

      • 此接水盘是 Keurig 咖啡机底部可拆卸的部件,用于放置杯子或马克杯。

      询问修复机器人
      添加评论

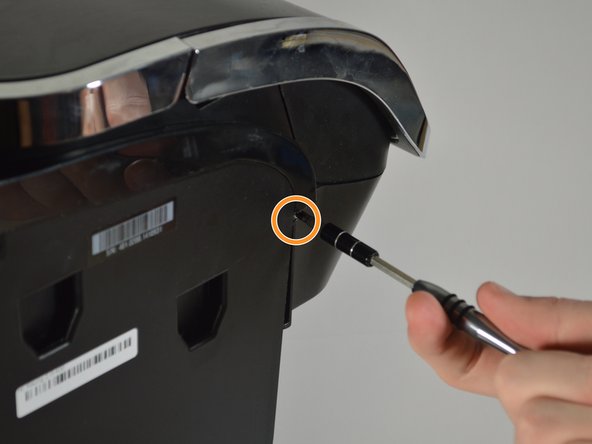
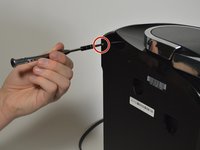
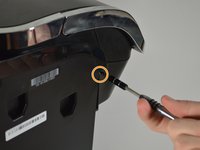
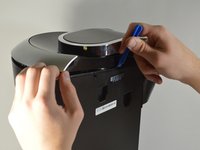
    2. Keurig 2.0-400 微型泵更换: 步骤 4 中的图像 1,1
      • 使用 Phillips 螺丝刀,拧下 Keurig 机器底部的六颗 140mm 螺丝。

      • 如果仅使用 Phillips 螺丝刀头难以拧下,请将 60mm 加长杆插入螺丝刀的后端来提供辅助。

      询问修复机器人
      添加评论

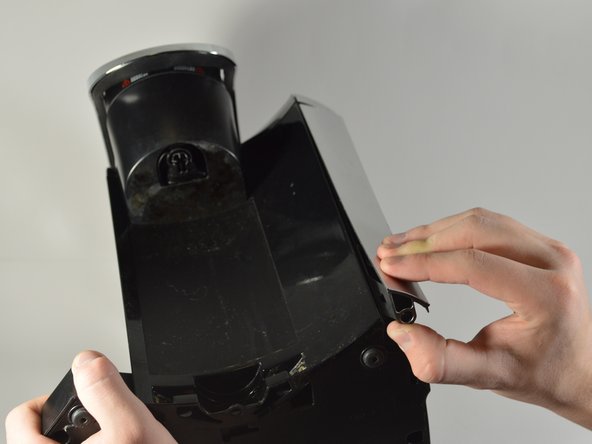
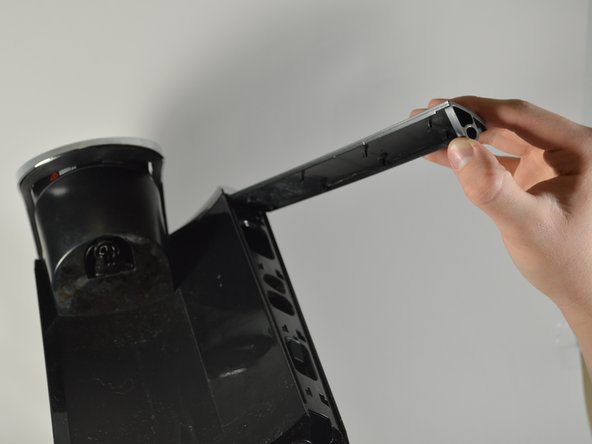
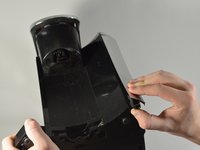
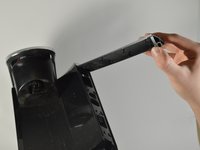
    3. Keurig 2.0-400 微型泵更换: 步骤 5 中的图像 1,3 Keurig 2.0-400 微型泵更换: 步骤 5 中的图像 2,3 Keurig 2.0-400 微型泵更换: 步骤 5 中的图像 3,3
      • 使用金属撬棒撬开 Keurig 咖啡机右侧的银色面板。

      • 将咖啡机倾斜倒置,并抓住银色面板的底部。

      • 用手将银色面板从 Keurig 咖啡机上剥离。

      询问修复机器人

      添加评论

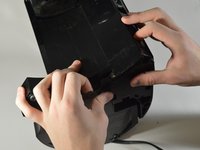
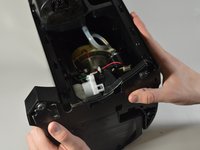
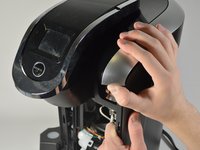
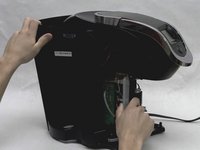
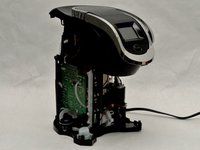
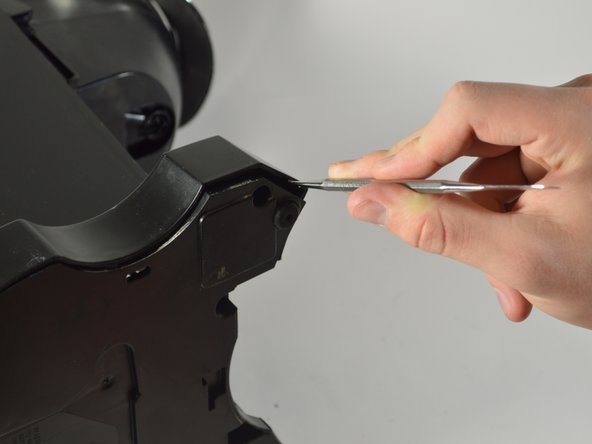
    4. Keurig 2.0-400 微型泵更换: 步骤 6 中的图像 1,2 Keurig 2.0-400 微型泵更换: 步骤 6 中的图像 2,2
      • 用一只手的一根手指伸入银色面板曾连接的中框内,并扶住底座。

      • 用另一只手向下拉,将 Keurig 咖啡机的外壳弹开。

      • 现在你应该可以看到 Keurig 咖啡机内部的组件了。

      询问修复机器人
      添加评论

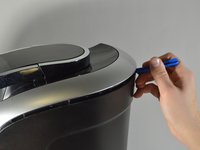
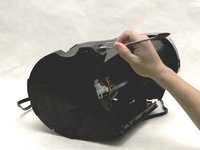
    5. Keurig 2.0-400 微型泵更换: 步骤 7 中的图像 1,2 Keurig 2.0-400 微型泵更换: 步骤 7 中的图像 2,2
      • 用手从 Keurig 的右侧撬开咖啡机的后盖外壳。

      • 使用蓝色开启工具将右上角的银色面板与后盖外壳分离开。

      询问修复机器人
      添加评论

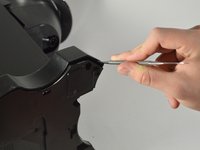
    6. Keurig 2.0-400 微型泵更换: 步骤 8 中的图像 1,2 Keurig 2.0-400 微型泵更换: 步骤 8 中的图像 2,2
      • 使用 Phillips 螺丝刀,拧下位于冲泡器侧面、原水箱位置左上角的 120 mm 螺丝。

      • 使用 Phillips 螺丝刀,拧下位于 Keurig 左侧空槽末端下方的 140 mm 螺丝。

      询问修复机器人
      添加评论

    7. Keurig 2.0-400 微型泵更换: 步骤 9 中的图像 1,2 Keurig 2.0-400 微型泵更换: 步骤 9 中的图像 2,2
      • 将侧面板从咖啡机的中框上拆下,必要时可以使用蓝色开启工具辅助。

      询问修复机器人

      添加评论

    8. Keurig 2.0-400 微型泵更换: 步骤 10 中的图像 1,2 Keurig 2.0-400 微型泵更换: 步骤 10 中的图像 2,2
      • 如图所示,将咖啡机侧放。

      • 使用金属撬棒从底部开始,撬开 Keurig 咖啡机侧面的外壳。

      • 沿着底座周边依次进行操作。

      询问修复机器人

      添加评论

    9. Keurig 2.0-400 微型泵更换, 拆卸外壳: 步骤 11 中的图像 1,2 Keurig 2.0-400 微型泵更换, 拆卸外壳: 步骤 11 中的图像 2,2
      • 拆下连接 Keurig 背部外壳与顶部银色中框的锁扣,从而拆下整个背部外壳。为此,请使用金属撬棒将锁扣向上向外撬起。

      • 现在你应该可以看到 Keurig 的内部了。

      添加评论

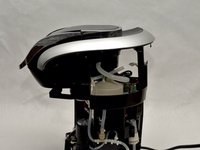
    10. Keurig 2.0-400 微型泵更换, 调整咖啡机方向: 步骤 12 中的图像 1,3 Keurig 2.0-400 微型泵更换, 调整咖啡机方向: 步骤 12 中的图像 2,3 Keurig 2.0-400 微型泵更换, 调整咖啡机方向: 步骤 12 中的图像 3,3
      • 如图所示调整咖啡机的方向。

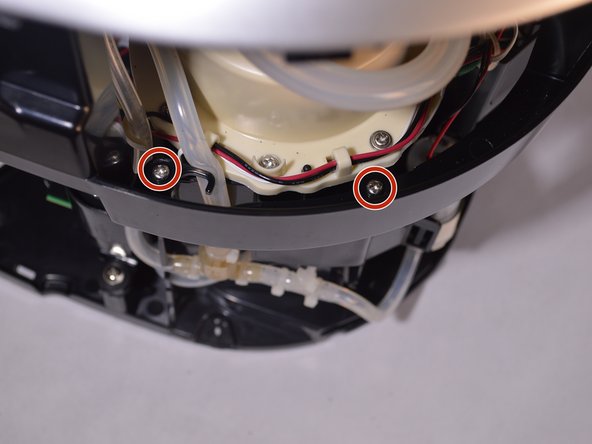
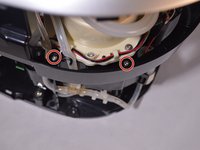
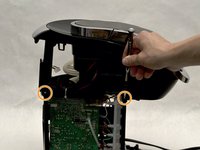
      • 找到固定 Keurig 顶部中框的四颗 140 mm 螺丝。使用 Phillips 螺丝刀拆下这些螺丝。

      • 其中两颗螺丝位于中框内侧,靠近热水器的地方。

      • 你可能需要减小螺丝刀的尺寸以便伸入中框内部。为此,请取下螺丝刀的延长杆。

      • 另外两颗螺丝位于中框外侧。

      询问修复机器人

      添加评论

    11. Keurig 2.0-400 微型泵更换: 步骤 13 中的图像 1,1
      • 拆下包围电路板的中框顶部。

      • 拆下连接在电路板顶部的布线。

      • 捏住多色布线的底座将其拔出。

      • 带有黑色布线和一根红色布线的线束连接在电路板的最顶部。要拆下这些布线,请在拔出时向内按压白色卡扣。

      询问修复机器人

      添加评论

    12. Keurig 2.0-400 微型泵更换: 步骤 14 中的图像 1,1
      • 使用金属撬棒,将电路板从底部的卡扣中撬出。

      询问修复机器人

      添加评论

    13. Keurig 2.0-400 微型泵更换: 步骤 15 中的图像 1,2 Keurig 2.0-400 微型泵更换: 步骤 15 中的图像 2,2
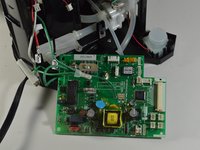
      • 握住线缆的底座将其拔下,断开其余连接到电路板上的线缆。

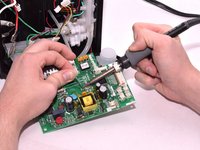
      • 为了彻底取出电路板,你必须对固定它的焊接连接进行拆焊。请参考我们的 如何焊接与拆焊连接指南,以正确且安全地完成此操作。

      • 将电路板从设备中取出。

      添加评论

    1. Keurig 2.0-400 微型泵更换, 微型泵: 步骤 16 中的图像 1,2 Keurig 2.0-400 微型泵更换, 微型泵: 步骤 16 中的图像 2,2
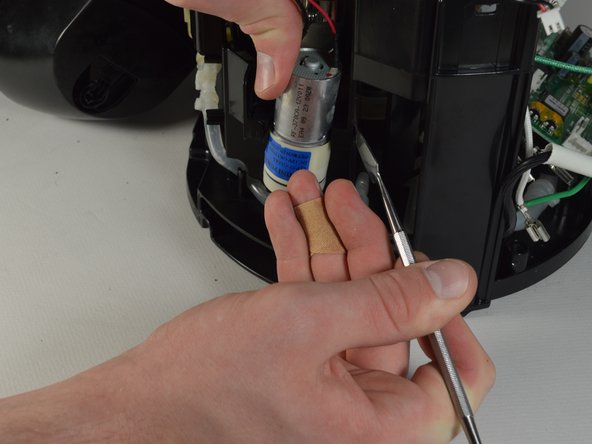
      • 使用金属撬棒将其从中框中撬出。

      询问修复机器人

      添加评论

    2. Keurig 2.0-400 微型泵更换: 步骤 17 中的图像 1,1
      • 用手向上提起迷你气泵,将其从中框中取出。

      询问修复机器人

      添加评论

    3. Keurig 2.0-400 微型泵更换: 步骤 18 中的图像 1,2 Keurig 2.0-400 微型泵更换: 步骤 18 中的图像 2,2
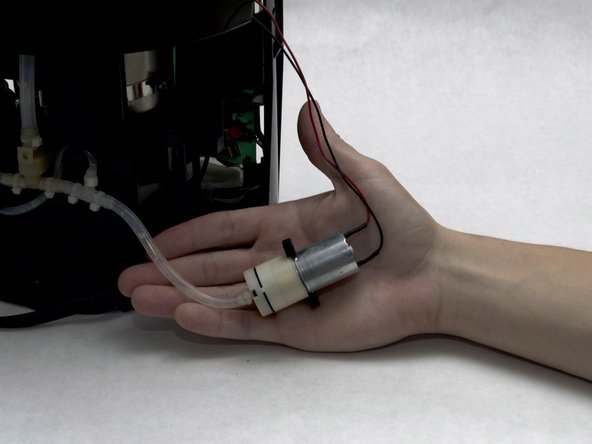
      • 拆下连接迷你泵和 Keurig 的布线,包括气管。

      • 此时迷你泵应该已经从咖啡机上拆下来了。

      询问修复机器人

      添加评论

结论

要重新组装设备,请按相反顺序执行这些说明。

取消:我没有完成这个指南。

9等其他人完成本指南。

团队

Cal Poly, Team S24-G8, Maness Spring 2018 Cal Poly, Team S24-G8, Maness Spring 2018 的会员

CPSU-MANESS-S18S24G8

4 名成员

创作了60篇指南

6指南评论

Why remove the circuit board?

Mel Jenkins - 回复 分享

Exactly my question ;)

John Armstrong - 回复 分享

Link to a new pump please

Spencer Long - 回复 分享

I agree. Why take out the circuit board. On the older Keurig models it was necessary to obtain access to the minipump, but for the 2.0 once the casing is completely removed access to the minipump is simple. However, if due to the failure of the minipump the pressure sensor ended up getting wet, then there might be a reason: to replace the sensor. There are videos claiming that 0V (0mV in this case) is the right output for the sensor. Not so, the correct output should be around 40mV when the pressure is zero. To test this, attach a voltmeter across pins 1 (-) & 3 (+) on the circuit board (pin 1 is above where the tube goes into the circuit board on the upper left side, 3 is upper right side, pins 4, 5, 6 on the bottom. Spec sheet for that device (FPN-07PG) is at https://www.fujikura.co.jp/eng/resource/.... With the tube disconnected, it will read ~.040 V. If it doesn't, try adding or subtracting pressure using a syringe--the voltage output should change.

JustJackAtlanta - 回复 分享

Here is the spec sheet for the minipump: https://koge-europe.com/wp-content/uploa...

JustJackAtlanta - 回复 分享

添加评论

浏览统计数据:

过去 24 小时: 9

过去 7 天: 38

过去 30 天: 123

总计 14,017