跳转到主内容
加入维修社区 - 创建账户

Kano Computer Kit Complete Display Board Replacement

你所需要的

    1. Kano Computer Kit Complete Display Board Replacement, Display Board: 步骤 1 中的图像 1,2 Kano Computer Kit Complete Display Board Replacement, Display Board: 步骤 1 中的图像 2,2
      • Take off the clear backing of the computer and set it aside.

      • The Display board is located in the top right corner of the case.

      询问修复机器人

      添加评论

    2. Kano Computer Kit Complete Display Board Replacement: 步骤 2 中的图像 1,2 Kano Computer Kit Complete Display Board Replacement: 步骤 2 中的图像 2,2
      • Always disconnect the battery before performing repairs.

      • Remove the power cable (Circled in red) from the board.

      添加评论

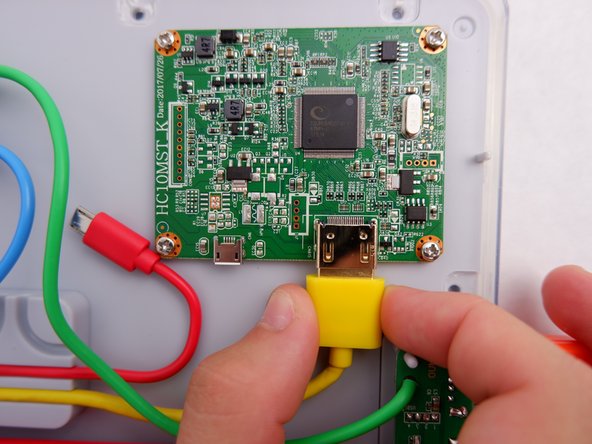
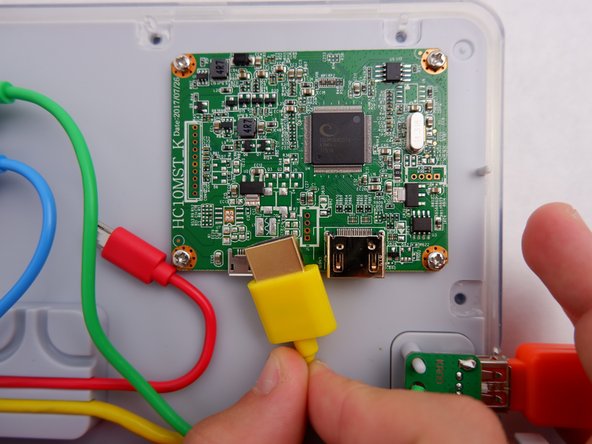
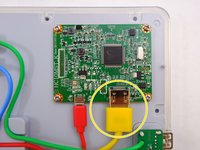
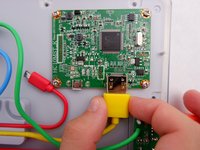
    3. Kano Computer Kit Complete Display Board Replacement: 步骤 3 中的图像 1,3 Kano Computer Kit Complete Display Board Replacement: 步骤 3 中的图像 2,3 Kano Computer Kit Complete Display Board Replacement: 步骤 3 中的图像 3,3
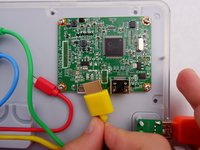
      • Unplug the HDMI cable (Circled in Yellow) from the board

      询问修复机器人

      添加评论

    4. Kano Computer Kit Complete Display Board Replacement: 步骤 4 中的图像 1,1
      • Unscrew the four 8.5mm screws with your Phillips #1 Screwdriver.

      添加评论

    5. Kano Computer Kit Complete Display Board Replacement: 步骤 5 中的图像 1,2 Kano Computer Kit Complete Display Board Replacement: 步骤 5 中的图像 2,2
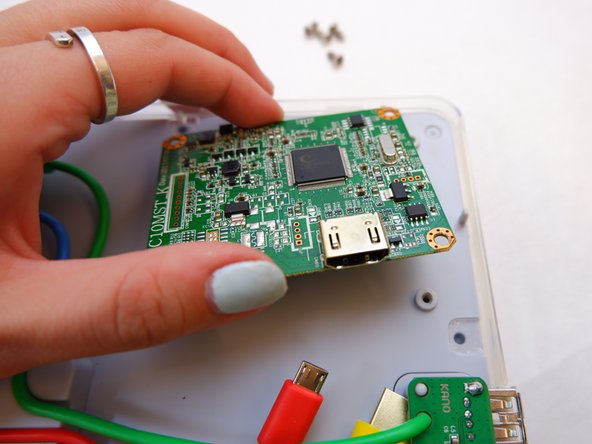
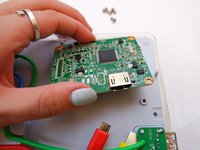
      • Lift the board off the back of the screen.

      • Be gentle as there is a ribbon cable on the underside that will prevent the board from being removed completely.

      添加评论

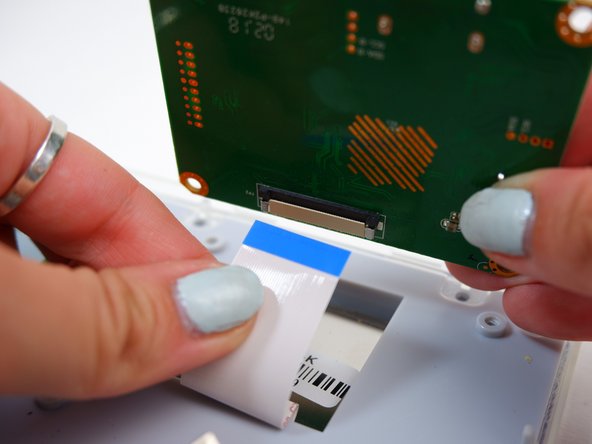
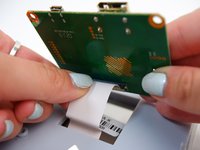
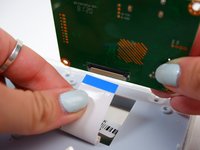
    6. Kano Computer Kit Complete Display Board Replacement: 步骤 6 中的图像 1,2 Kano Computer Kit Complete Display Board Replacement: 步骤 6 中的图像 2,2
      • Disconnect the white ribbon cable that you find underneath the board.

      • Be careful; it will take some force.

      添加评论

结论

To reassemble your device, follow these instructions in reverse order.

取消:我没有完成这个指南。

另外一个人完成了本指南。

0指南评论

添加评论

浏览统计数据:

过去 24 小时: 2

过去 7 天: 9

过去 30 天: 39

总计 2,125