本指南有最近更改,您可查看未经巡查的最新版本。
简介
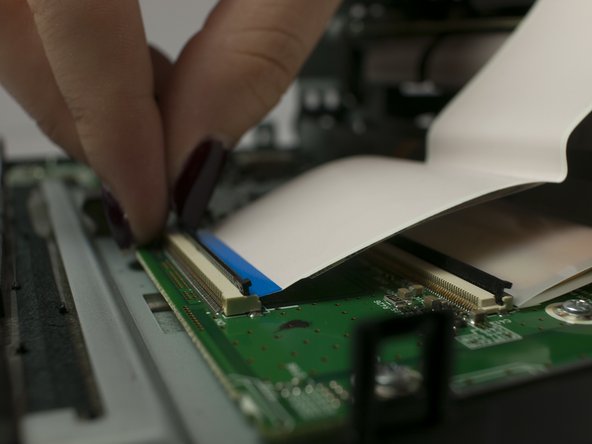
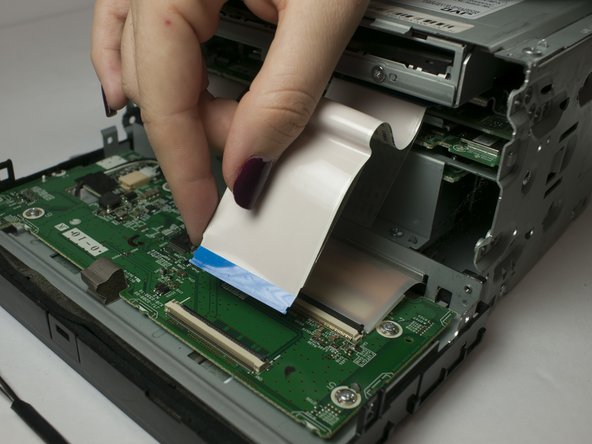
The first step in the service of this device begins with the removal of the front panel assembly. This will allow access to other serviceable components within the device.
你所需要的
-
-
Remove the four 1/8-inch black machine screws using a Phillips #00 screwdriver.
-
-


即将完成!
To reassemble your device, follow these instructions in reverse order.
结论
To reassemble your device, follow these instructions in reverse order.
团队

Linn Benton Community College, Team S1-G6, Johnson Fall 2018 Linn Benton Community College, Team S1-G6, Johnson Fall 2018 的会员
LBCC-JOHNSON-F18S1G6
3 名成员
创作了8篇指南