当前版本的文档还未经巡查,您可以查看最新的已查核版本。
你所需要的
-
-
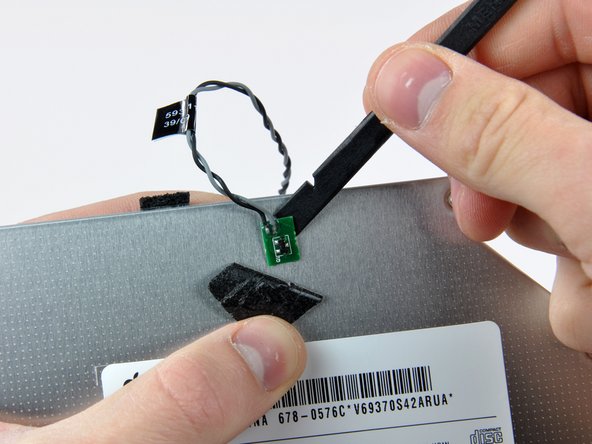
这个步骤还没有翻译 帮忙翻译一下
-
Make sure that the hard drive connectors are facing down before placing it into the enclosure.
-
Gently place the hard drive into the enclosure's hard drive slot.
-
While firmly holding the enclosure in place with one hand, use your other hand to press the hard drive into the enclosure connectors.
-


132等其他人完成本指南。


12条评论
Not terribly difficult, though I did install an SSD in my son's 20" iMac. Used the OWC data doubler bracket, which, of course, isn't designed for the iMac. I had to bend some metal in order to make it work at a very basic level, but otherwise didn't run into any real roadblocks.
I used OWC Data Doubler. Fit no prob.
Success, and not as difficult as I thought. Getting the glass out (27") was a bit nervous but it's strong and the suction cups work well. The display itself has a heavy frame around it so also is strong. I used a large soft artist's brush to dust the display and inner glass. I carefully used needle nose pliers on the cables and connectors, couldn't get enough grip with tweezers.
I have iMac late 2009 (EMC 2374) and the optical bay fits well into it. I installed Samsung SSD 850 PRO 256 Gb with a documented speed 520/550 (write/read). But unfortunately it seems because of ODD (optical disk drive) link I've got only 250/270. Anyway I'm pretty happy, because I merged SSD with my hybrid HDD 2 Tb (150/150) and now have 2.25 Tb Fusion drive with about x2 speed. My advise - don't buy expensive SSD with high speed if you want to link it through optical bay - the speed will be cut anyway.
The real matter is the interface that is an old 3GB/s instead of a recent 6GB/s that limit the performance of SSD drive