你所需要的
-
-
Clear large rocks from the streambed to make it easier to install the strut channel.
-
Set 5 ft steel strut channel into place.
-
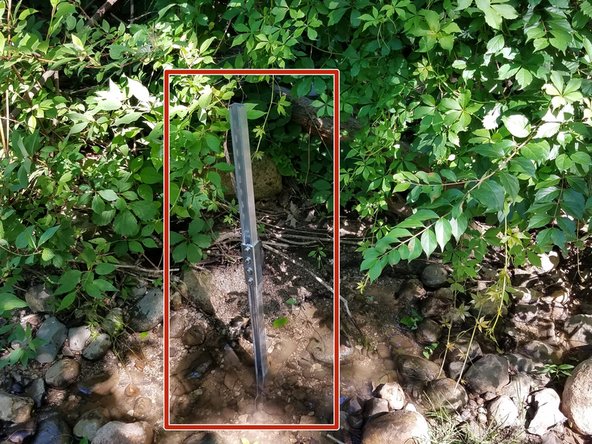
Use the post pounder to drive the strut channel 3 ft into the stream bed.
-
-
-
Place two spring strut channel nuts into the strut channel and then place the strut channel connector.
-
Insert two washers and screws into the nuts.
-
-
-
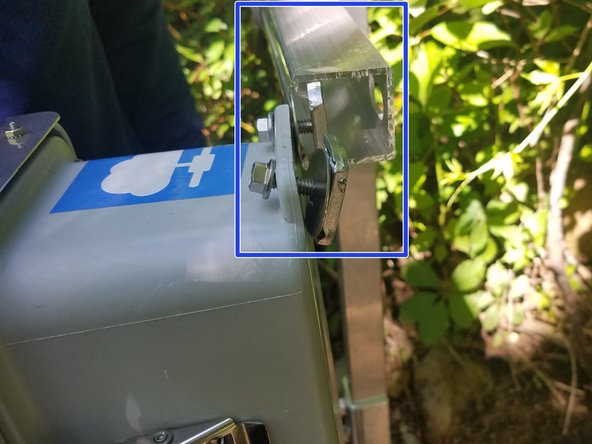
This is what the attached strut channel connector looks like from above.
-
Place two additional spring strut channel nuts into the aluminum strut channel to be attached.
-
Insert the last two washers and screws into the nuts.
-
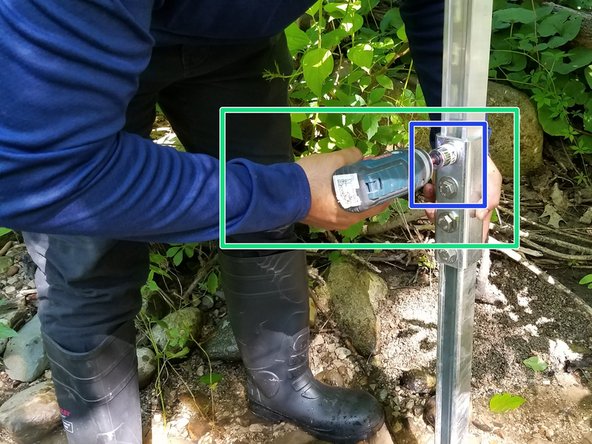
Use an impact driver to secure the screws into place. The impact driver should have a 3/4 '' Socket connected via a socket adapter.
-
This is what the extended strut channel looks like.
-
-
-
Line up a 1 ft strut channel with a u-bracket to the vertical strut channel.
-
Put two spring strut channel nuts into the vertical strut channel. Insert two washers and screws into the u-bracket to hold the strut channel arm.
-
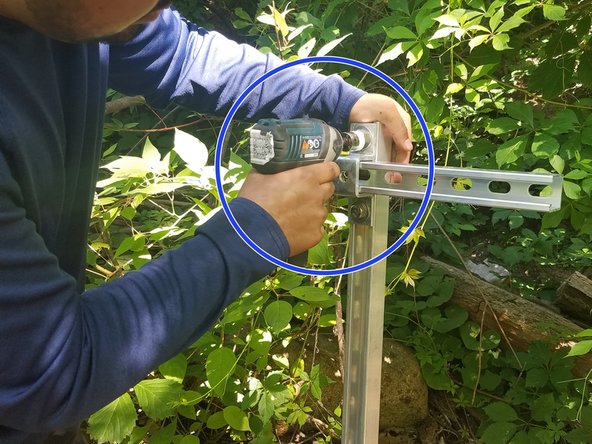
Use the impact driver to tighten the screws.
-
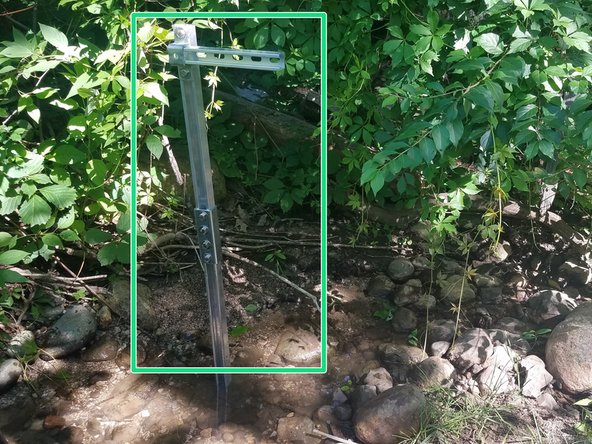
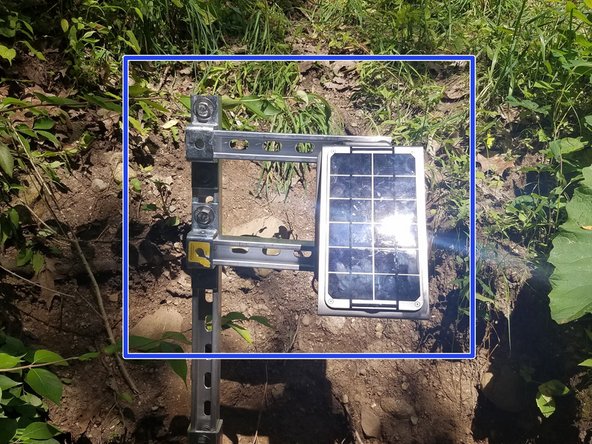
This is a what the final node holding structure looks like.
-
-
-
-
Place two screws into the node enclosure with the 5/16'' washer and strut channel nuts on the backside.
-
Slide the node into the strut channel arm.
-
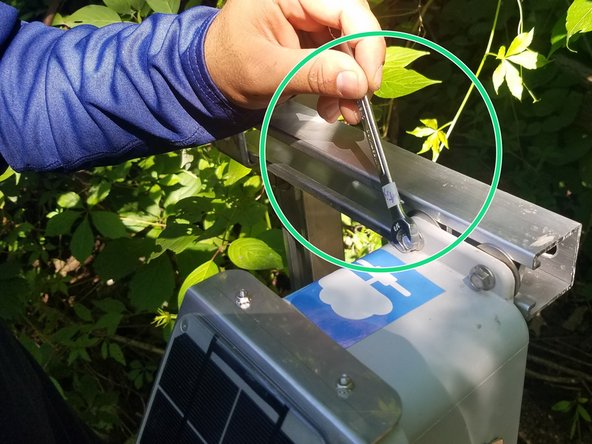
Tighten the screws with a 3/8 inch wrench.
-
-
-
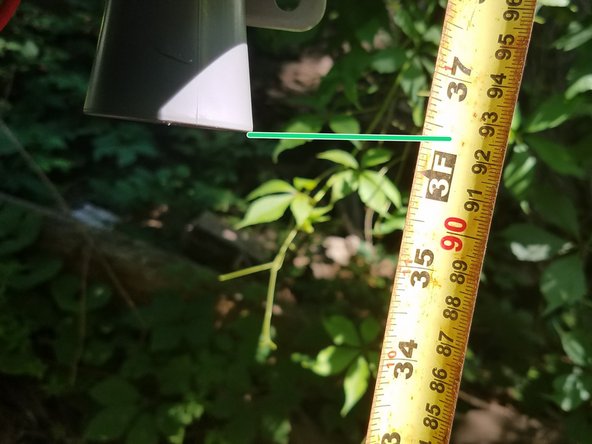
Using a tape measure, measure the length from the bottom of the ultrasonic depth sensor to the water surface.
-
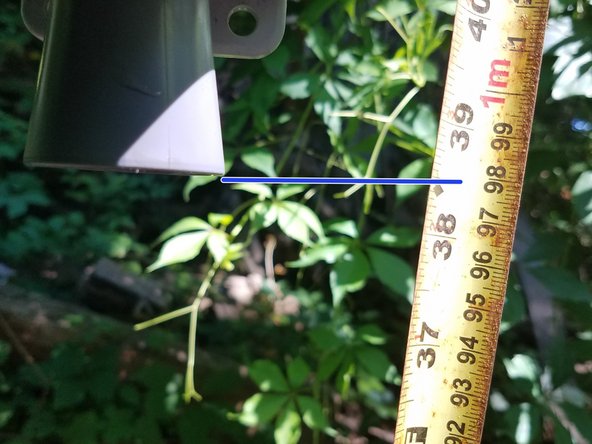
Measure the length from the bottom of the ultrasonic depth sensor to the bottom of the stream bed.
-
-
-
If foliage may block the solar panel from charging, trim some branches.
-
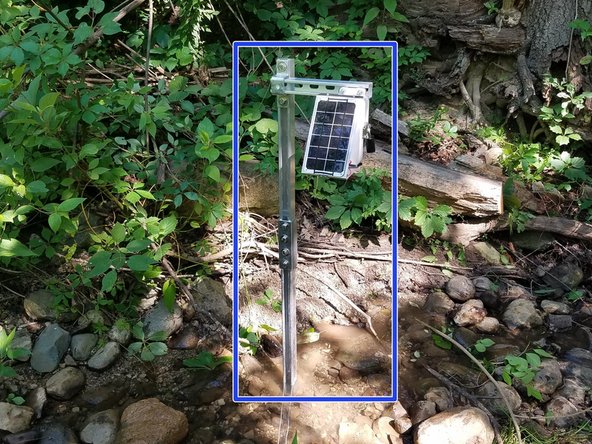
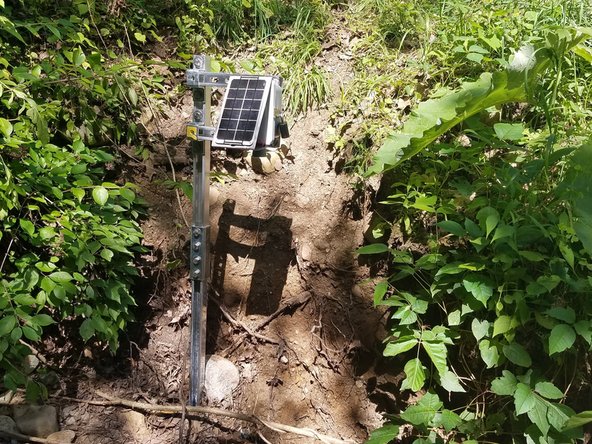
This is a completely installed stream bed depth sensor node!
-
-
-
Attach a second 1 ft strut channel arm using the same hardware as the first strut channel arm.
-
Tighten the screws with the impact drill.
-
-
-
Place four screws into the node enclosure with the washer and strut channel nuts on the backside.
-
Slide the node into the strut channel arm.
-
Tighten the screws with a 3/8 inch wrench.
-
This is what the node looks like attached to two strut channel arms.
-


To reassemble your device, follow these instructions in reverse order.
To reassemble your device, follow these instructions in reverse order.
另外一个人完成了本指南。

团队
