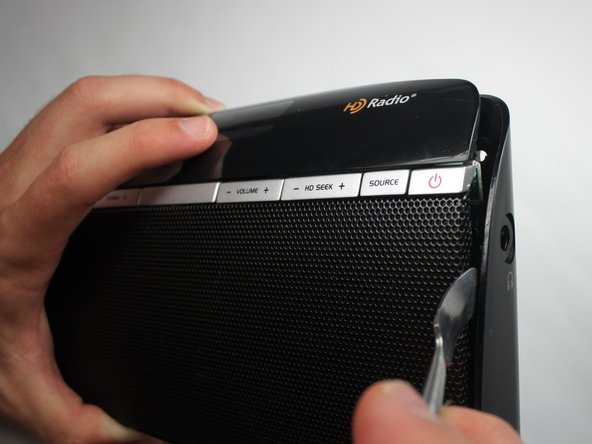
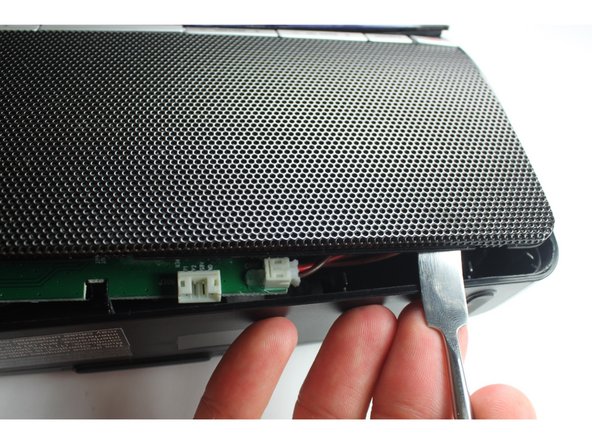
跳转到主内容

Insignia NS-HDRAD Rear Panel Replacement

你所需要的

  1. Insignia NS-HDRAD Rear Panel Replacement, Battery: 步骤 1 中的图像 1,2 Insignia NS-HDRAD Rear Panel Replacement, Battery: 步骤 1 中的图像 2,2
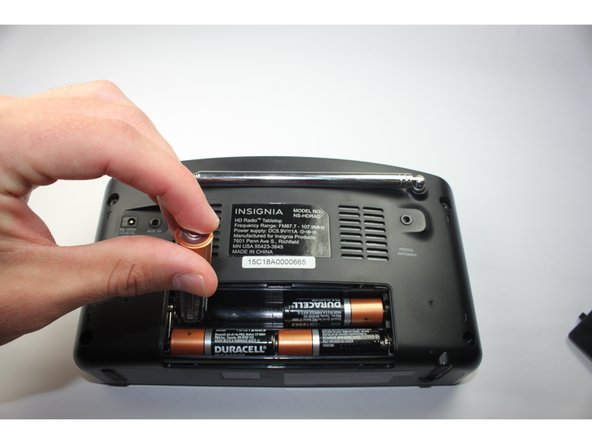
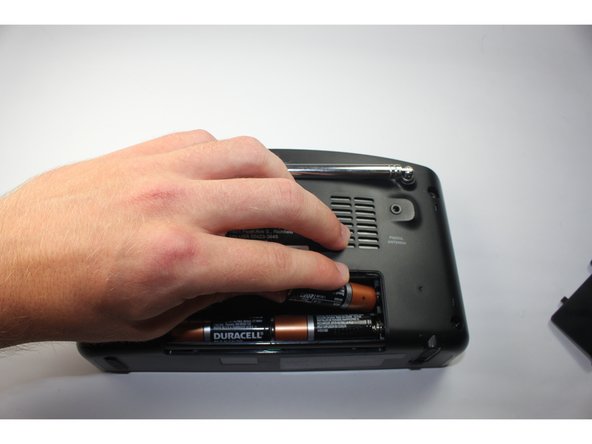
    • Be sure the radio is turned off by pressing the red power button.

    • Or, if using the charger, remove the power cord.

  2. Insignia NS-HDRAD Rear Panel Replacement: 步骤 2 中的图像 1,3 Insignia NS-HDRAD Rear Panel Replacement: 步骤 2 中的图像 2,3 Insignia NS-HDRAD Rear Panel Replacement: 步骤 2 中的图像 3,3
    • Remove the panel on the back side of the radio by pressing the arrow in a downward motion.

  3. Insignia NS-HDRAD Rear Panel Replacement: 步骤 3 中的图像 1,3 Insignia NS-HDRAD Rear Panel Replacement: 步骤 3 中的图像 2,3 Insignia NS-HDRAD Rear Panel Replacement: 步骤 3 中的图像 3,3
    • Remove the batteries one-by-one by pulling from the positive terminal of the top left battery.

    • The battery's positive terminal is indicated by a "+" on the side.

    • Remove the adjacent battery by simply pulling it out of the holder.

    • Repeat for the bottom row of batteries.

  4. Insignia NS-HDRAD Rear Panel Replacement, Rear Panel: 步骤 4 中的图像 1,2 Insignia NS-HDRAD Rear Panel Replacement, Rear Panel: 步骤 4 中的图像 2,2
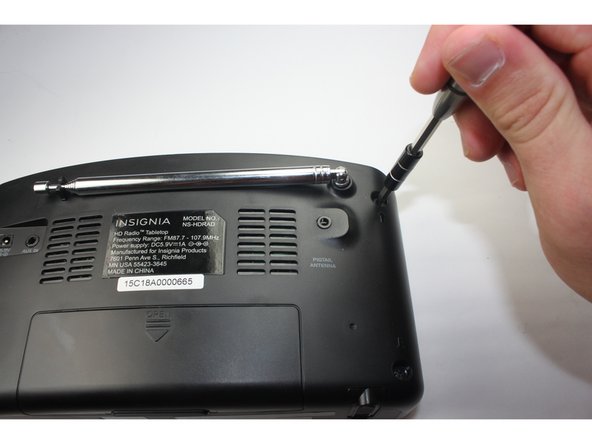
    • Using the J1 Philip's head screwdriver, remove the 4 screws from the back side of the radio.

    • The 2 bottom screws are difficult to remove. Once unscrewed, either use a spudger to pull it out or knock on the front side of the radio to pop it out.

  5. Insignia NS-HDRAD Rear Panel Replacement: 步骤 5 中的图像 1,3 Insignia NS-HDRAD Rear Panel Replacement: 步骤 5 中的图像 2,3 Insignia NS-HDRAD Rear Panel Replacement: 步骤 5 中的图像 3,3
    • Using the metal spudger, pry open the panel with the metal spudger. Work you way around the whole device.

    • The headphone jack is flush with the paneling so the panel must be moved away from the jack completely to remove.

    • When reassembling, the ports don't fit into their respective holes in the back panel. Use the sharp metal end of the spudger and pull the ports to their slots.

  6. Insignia NS-HDRAD Rear Panel Replacement: 步骤 6 中的图像 1,1
    • Using the pliers, separate the wire connector above the left speaker.

    • If this is the first time removing the wire connector, there may be glue holding the wires flush against the panel. Remove this glue with a finger or the plastic spudger.

    • Using regular pliers or needle nose pliers are fine for this tasks. They are interchangeable.

  7. Insignia NS-HDRAD Rear Panel Replacement: 步骤 7 中的图像 1,1
    • Using the J1 Philip's head screwdriver, unscrew the bolt attaching the antenna to the back panel.

结论

To reassemble your device, follow these instructions in reverse order.

Joshua Miller

于09/22/15注册

433 声望

创作了3篇指南

团队

Baylor, Team 4-3, Williams Fall 2015 Baylor, Team 4-3, Williams Fall 2015 的会员

BU-WILLIAMS-F15S4G3

4 名成员

创作了4篇指南

2条评论

I am having a problem with getting a solid left/right sound connection when using the headphone input with my Aux cord. I know it’s the input, and not my cord because the cord works fine on other applications. You must wiggle the cord once inserted to get both channels to play sound. I believe that the internal contacts on the female headphone port are  bent and are not making full contact with the male portion of the plug. If I follow your instructions on removing the back panel, is this an easy task to fix? This is the Model:NS-HDRAD2 which I think may be a little different based on inputs, but overall appears to be same regarding panel removal. you may email me at jeffksbr@mail.com  You have a great site with great instructions. Thank you so much!

Jeffrey Taylor - 回复

Does anyone know the size in MM of the power plug in?

Thanks

r delahoussaye - 回复

添加评论

浏览统计数据:

过去 24 小时: 2

过去 7 天: 2

过去 30 天: 8

总计 480