简介
This guide will teach you how to remove the optical drive from the Insignia NS-D160A14 in case it is damaged.
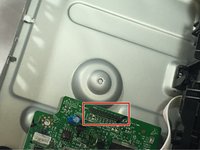
The optical drive will be connected to the AV board via white cables. You will need to remove the case and front plate of the DVD player to remove the drive from the DVD player.
Lets get started!
你所需要的
-
-
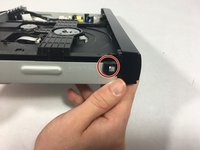
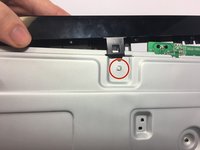
Unhook the 4 hooks on the main casing.
-
There is one hook on the top of the casing, one on the bottom, and one on each side.
-
-
-
-
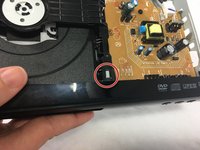
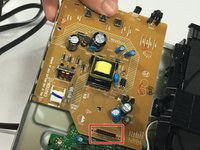
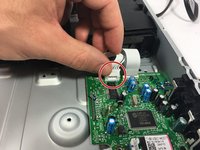
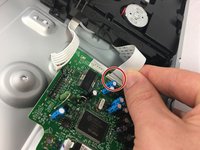
Disconnect the white cables connected to the optical drive from the A/V board using your fingers.
-


To reassemble your device, follow these instructions in reverse order.
To reassemble your device, follow these instructions in reverse order.
团队

University of Memphis, Team 1-5, Kim SU 2016 University of Memphis, Team 1-5, Kim SU 2016 的会员
UM-KIM-SU16S1G5
4 名成员
创作了6篇指南